Create application
- You’ll need to create a new Custom App from your Rippling account if the app is not already in the Rippling app directory.
-
Go to IT Management > Custom App from the left navigation menu.

- Click Create New App button to create a new application.
-
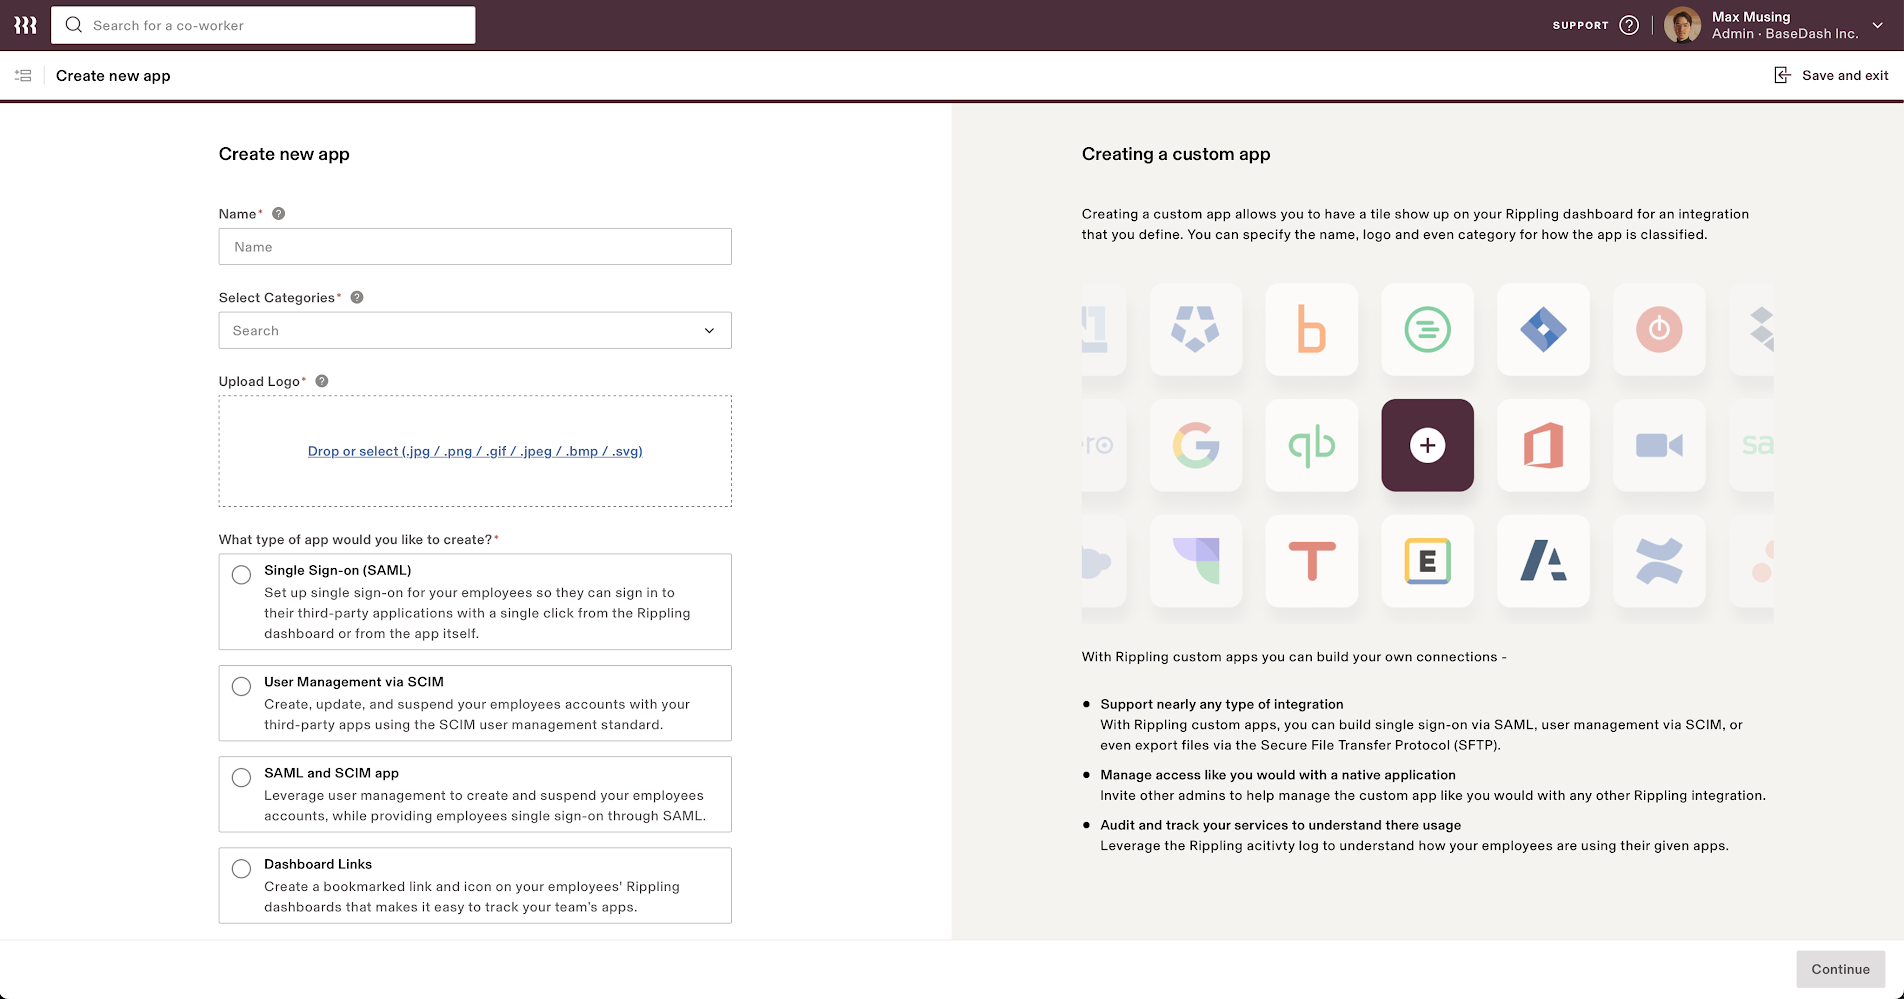
From the next screen, fill in the following fields:
- App Name
- Select Categories
- Upload Logo
-
What type of app would you like to create? - Make sure you select Single Sign-On (SAML) from the list.
Configure application
-
Copy the IdP Metadata URL or IdP Metadata XML from the next screen. You’ll need this value to configure your SAML connection.

-
You’ll need to enter the ACS URL and Entity ID. You’ll get these values from Aampe.
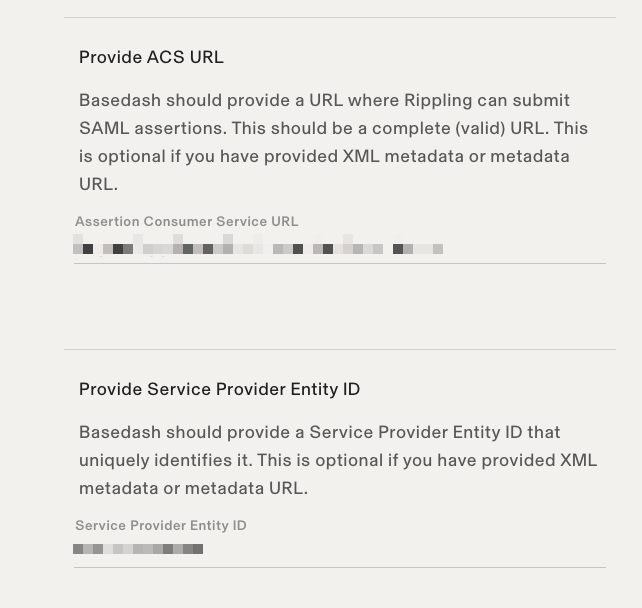
- Make sure that Service Provider Entity ID matches the SAML Audience (SP Entity ID) value from Aampe.
-
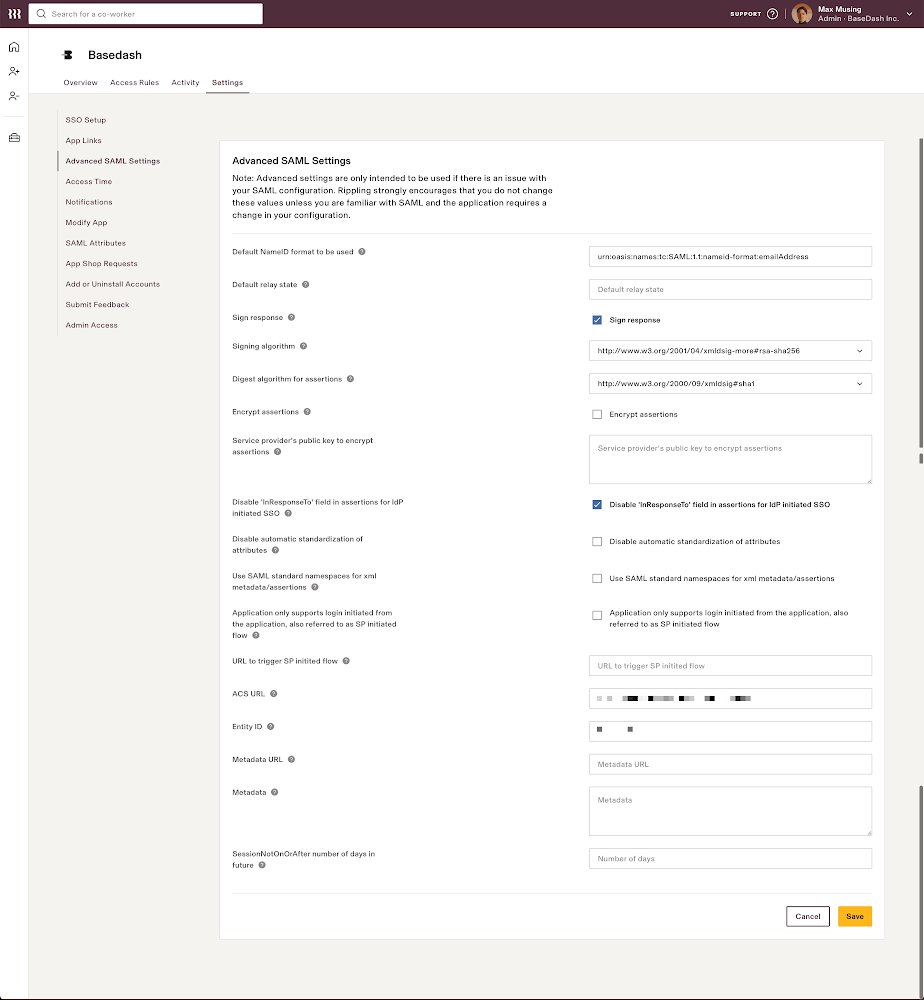
From the Settings tab of custom app you just created. Go to Advanced SAML Settings section and check the box for Disable InResponseTo field in assertions for IdP initiated SSO.
This is because Rippling sends dummy values for the InResponseTo field and Aampe will try to validate the InResponseTo field if it is present.