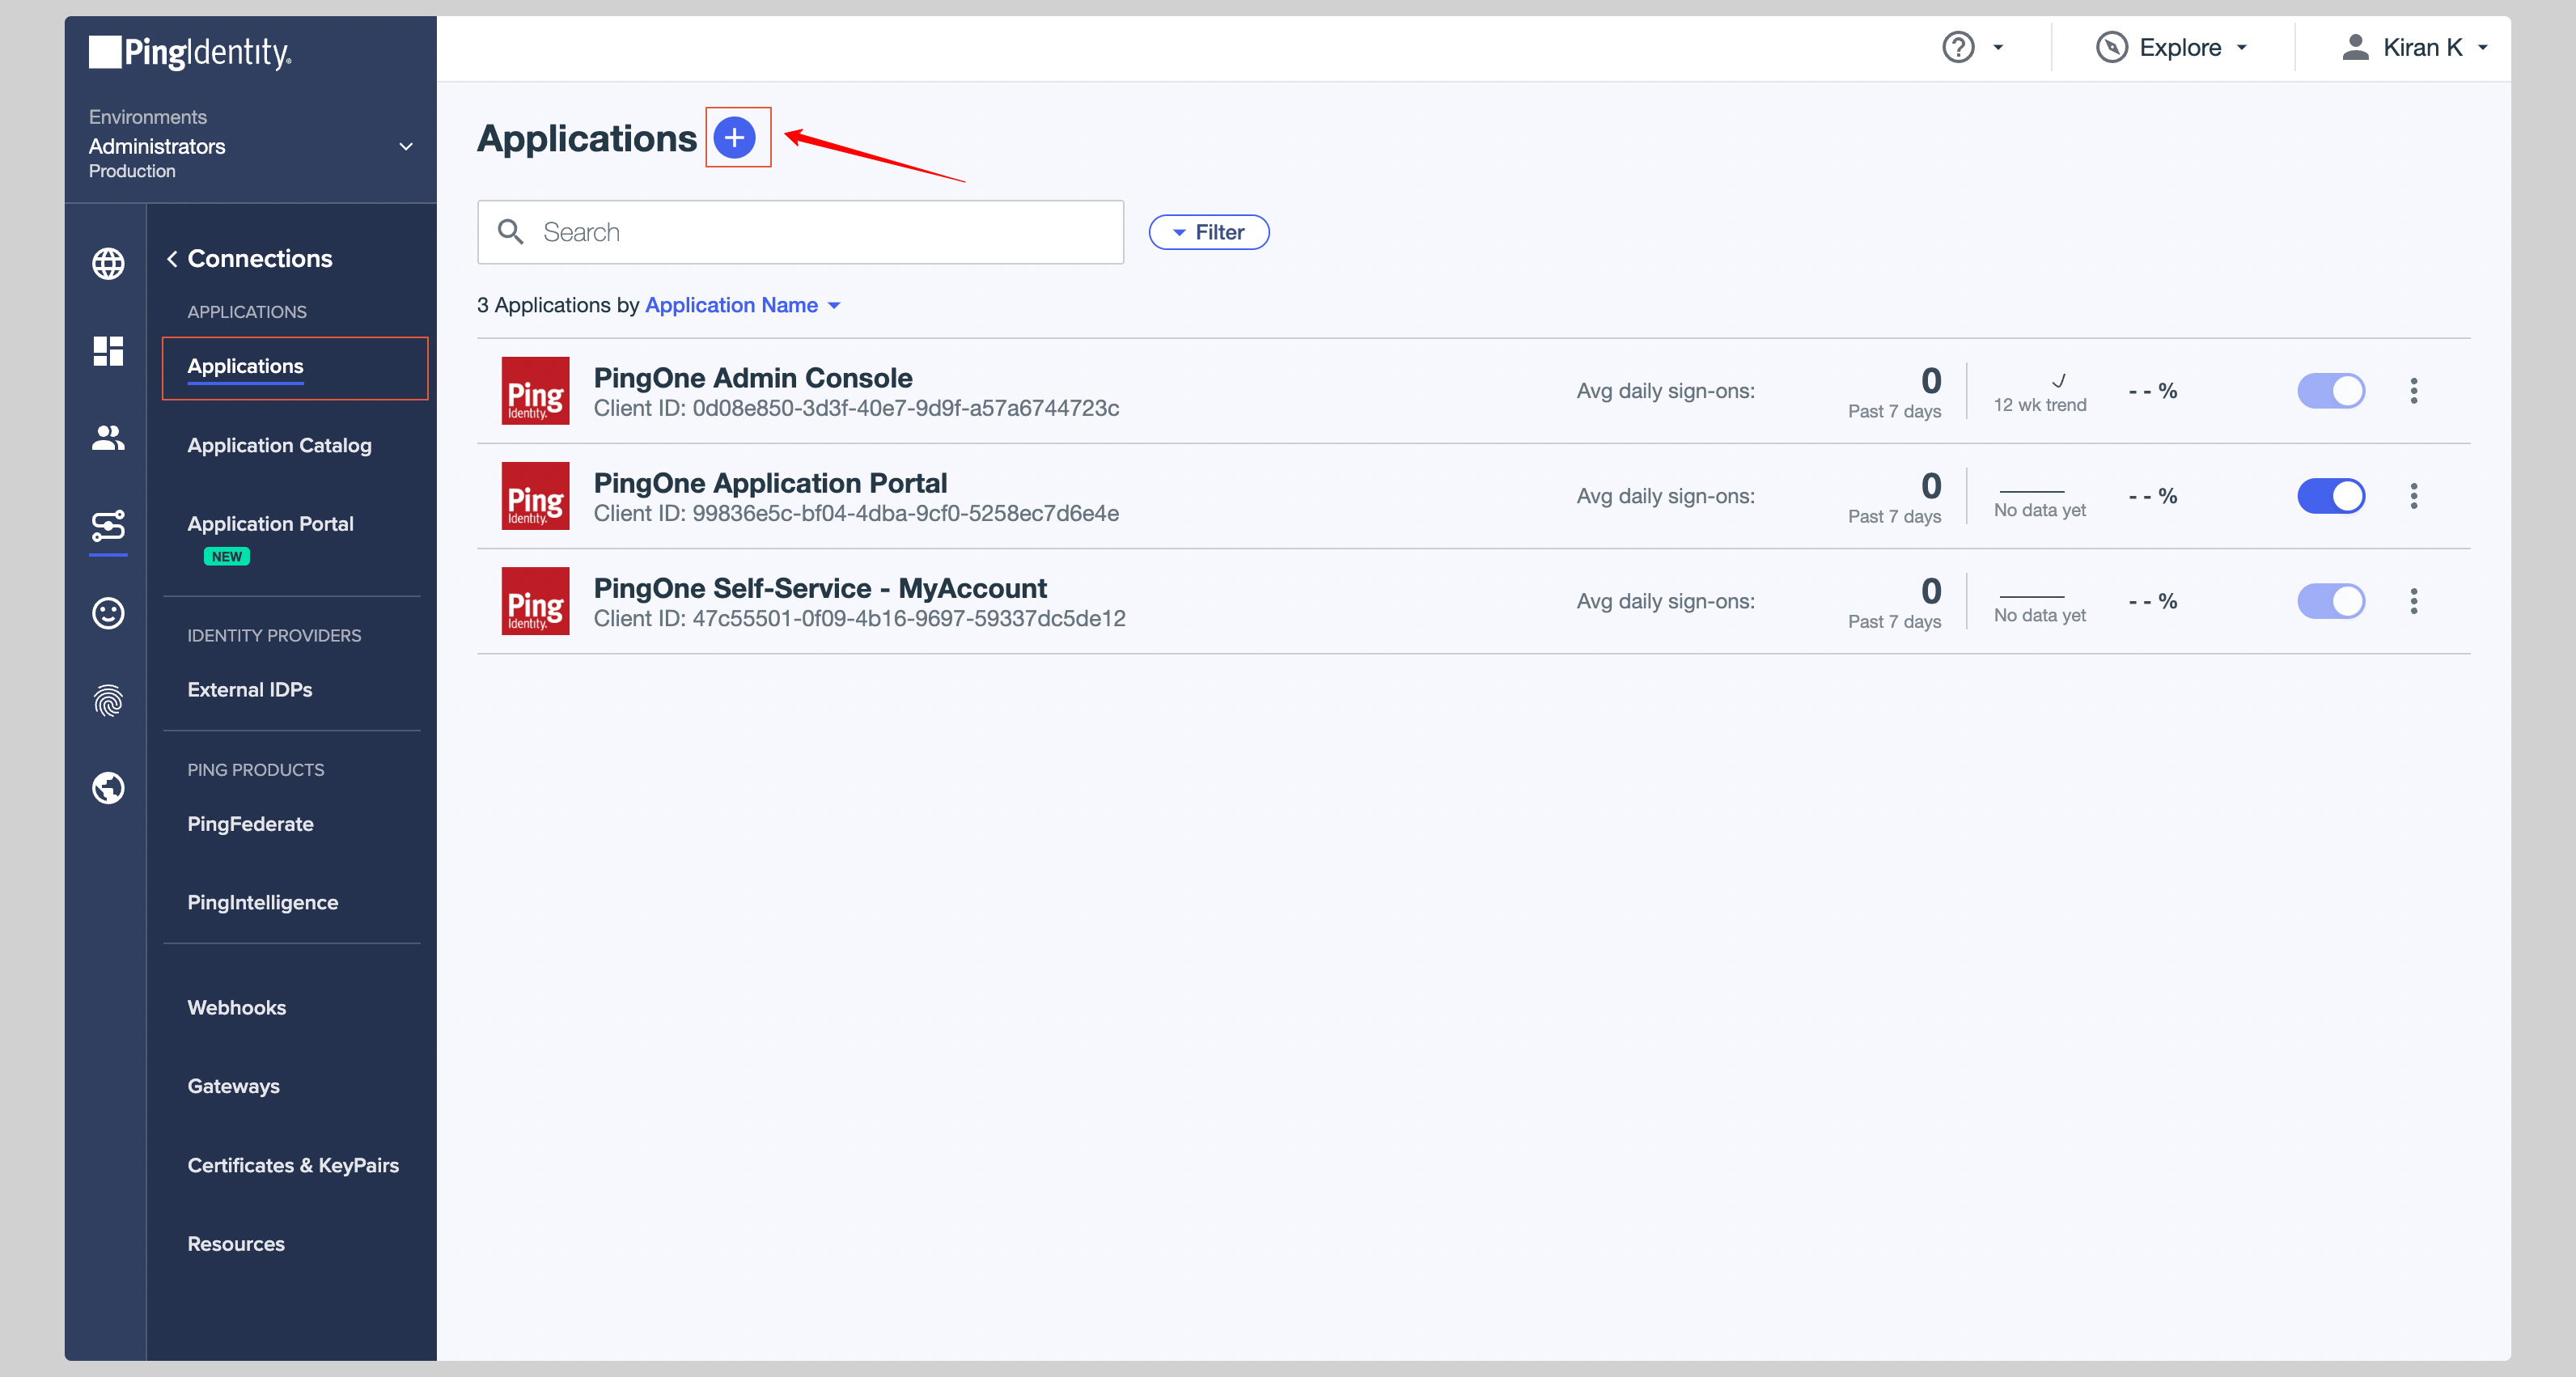
Create application
- From your PingOne account, click Connections > Applications from left navigation menu.
- If your application is already created, choose it from the list and move to the section Configure Application
-
If you haven’t created a SAML application, click plus button to create a new application.
- Give your application an Application Name, choose SAML Application from the Application Type and click Configure.
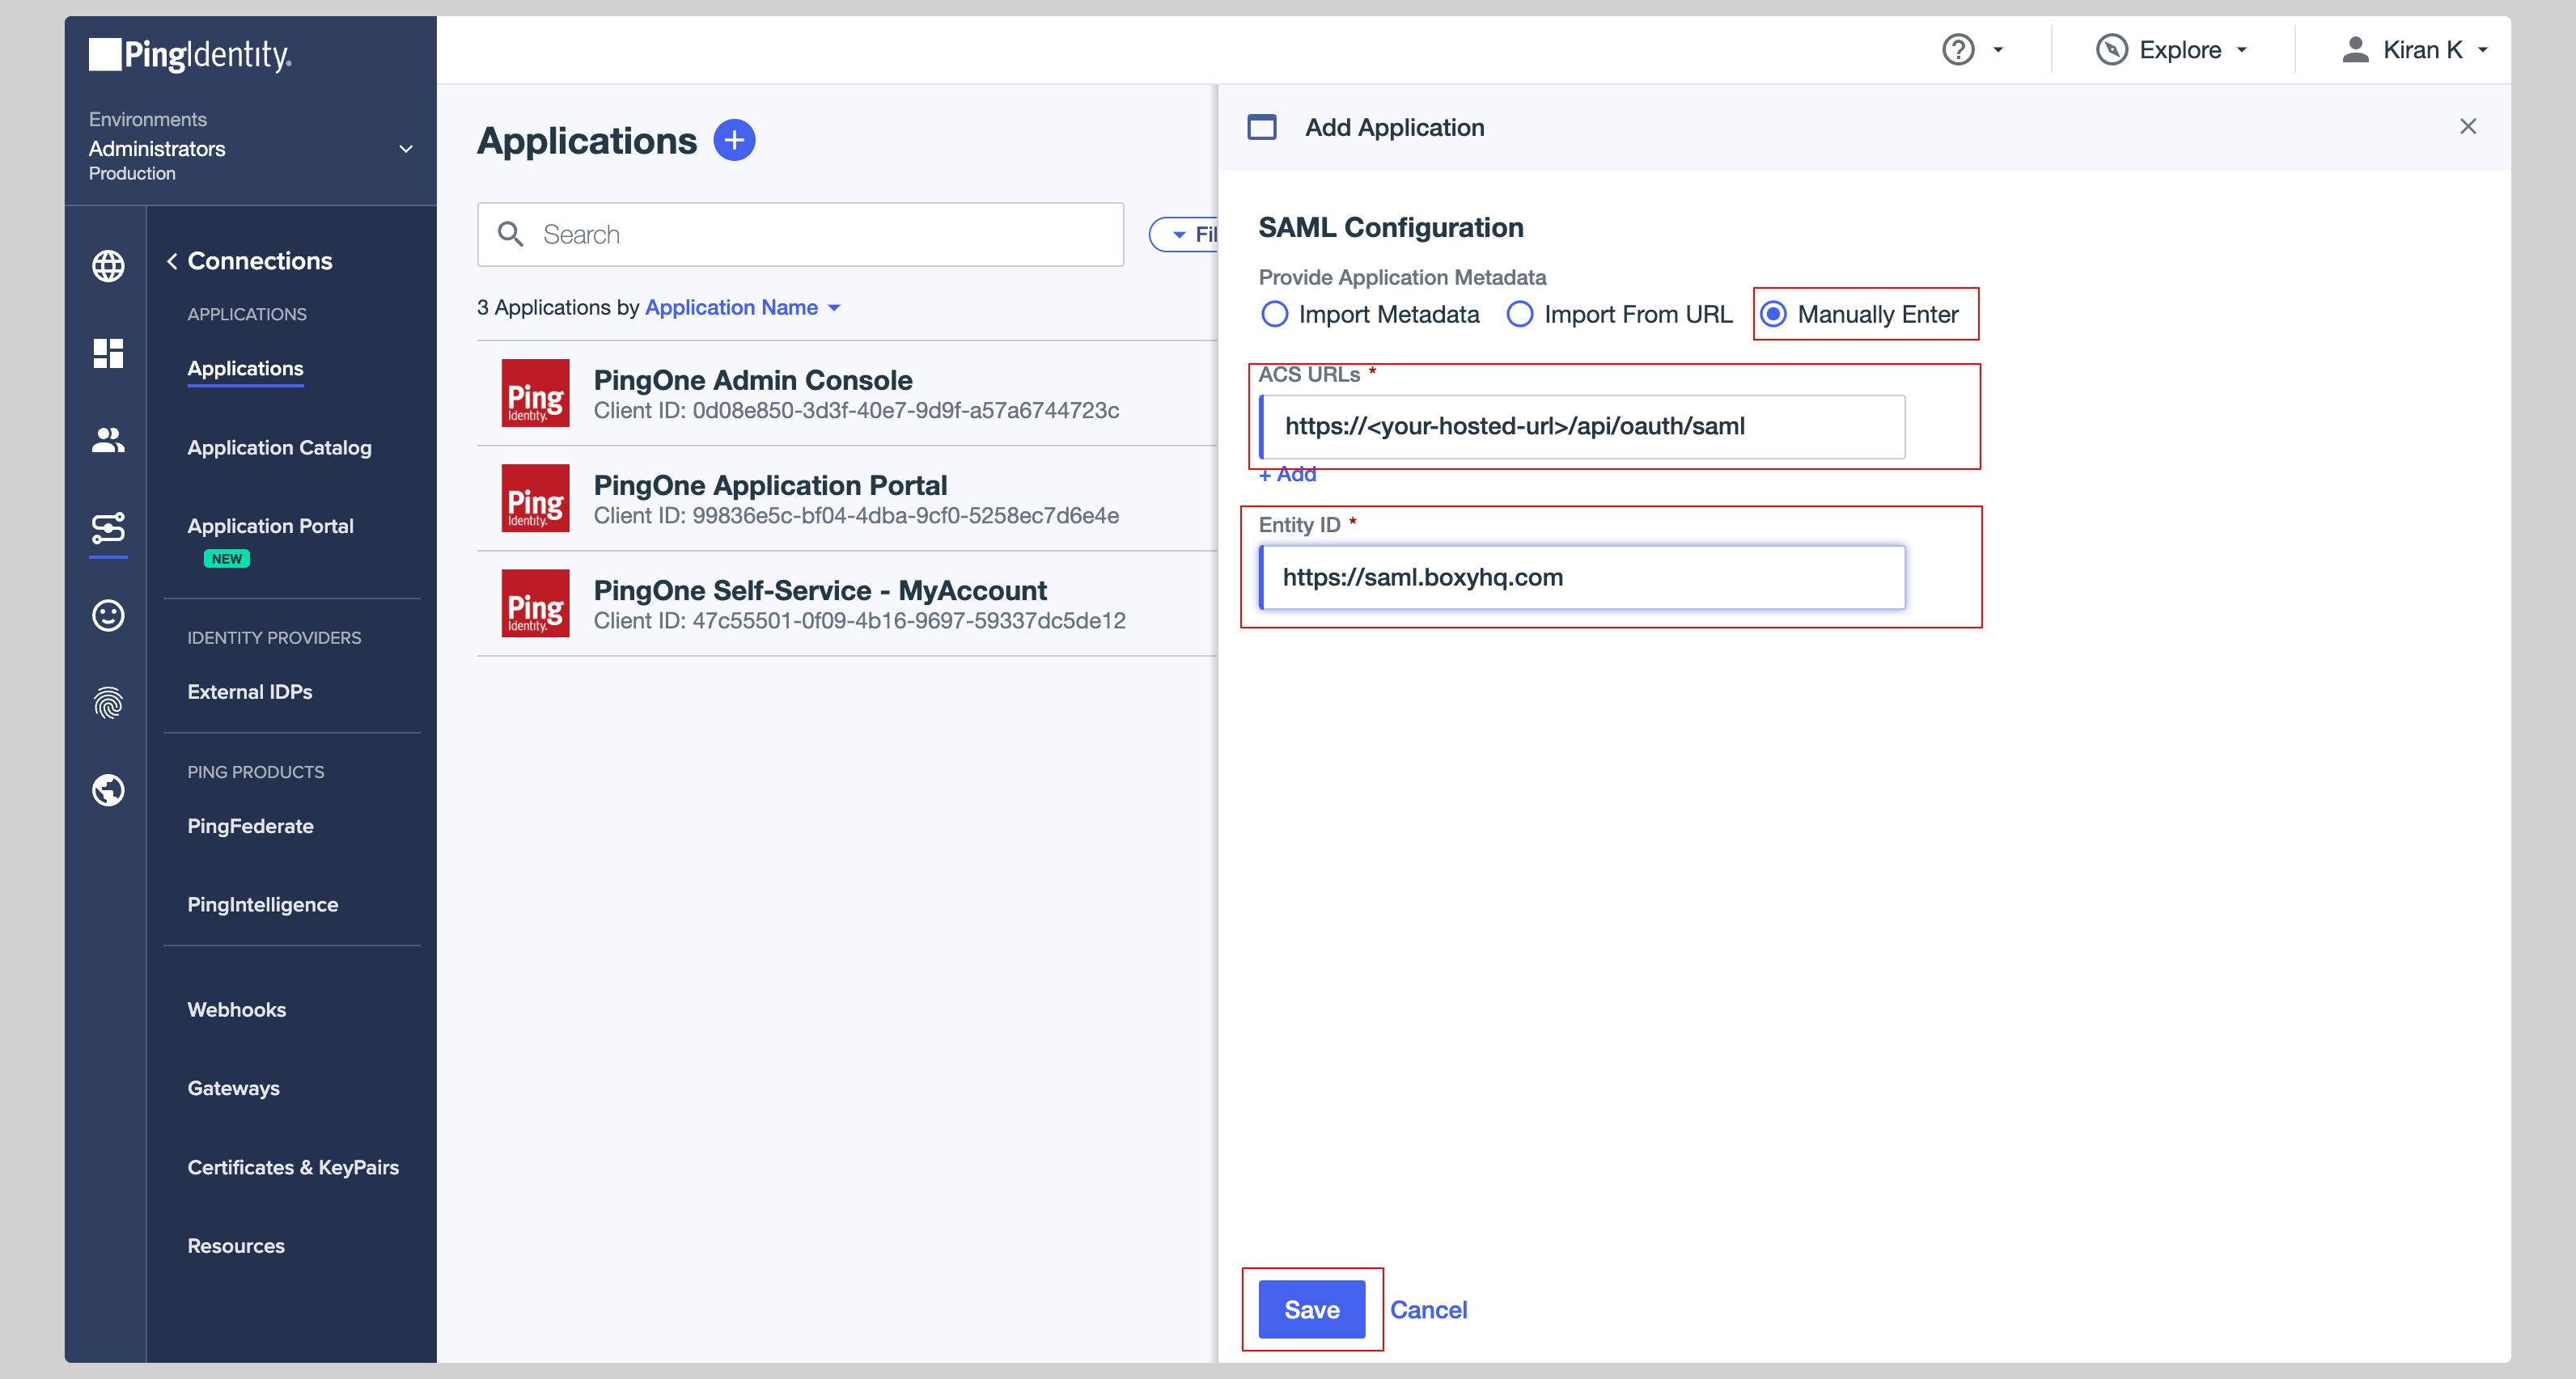
Configure application

-
From the next screen, you have to enter the following values in the SAML Configuration section:
- ACS URLs
- Entity ID
-
Click Save to save the configuration.
-
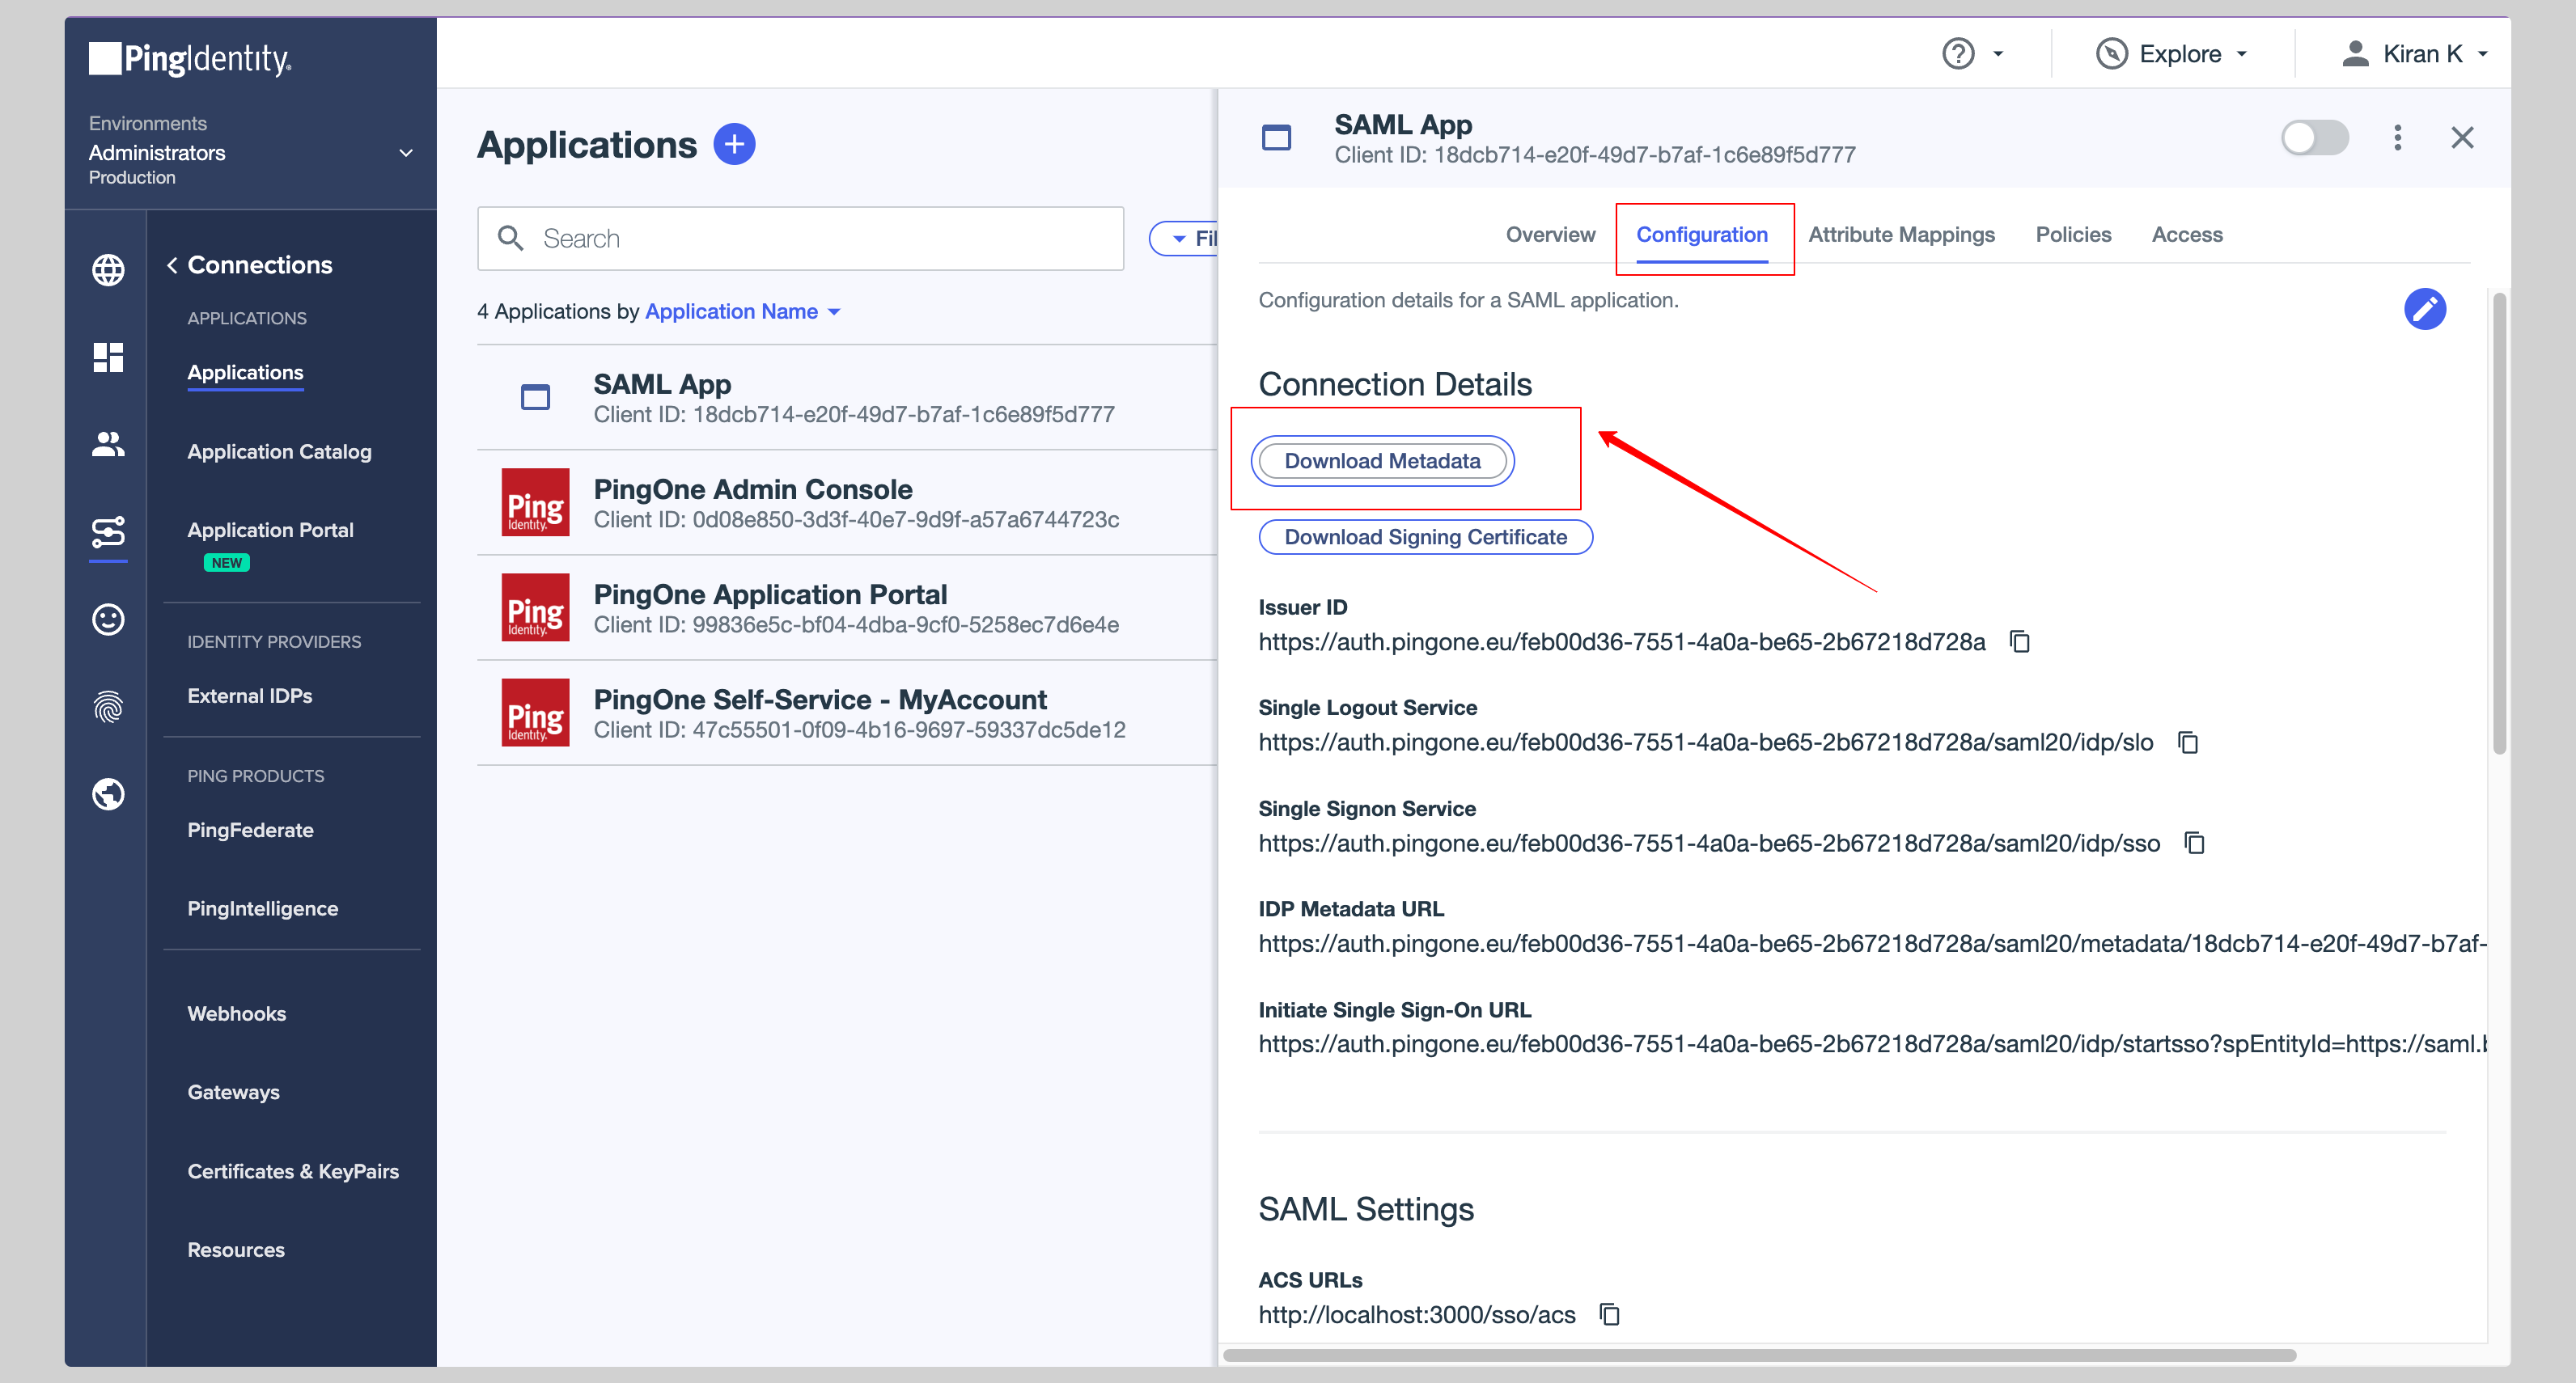
Click the Configuration tab from the top and click Download Metadata to download the metadata XML file.
Attribute mapping
- Click the Attribute Mappings tab from the top and you have to configure the following attributes:
| SAML App | PingOne |
|---|---|
id | User ID |
Email Address | |
firstName | Given Name |
lastName | Family Name |

-
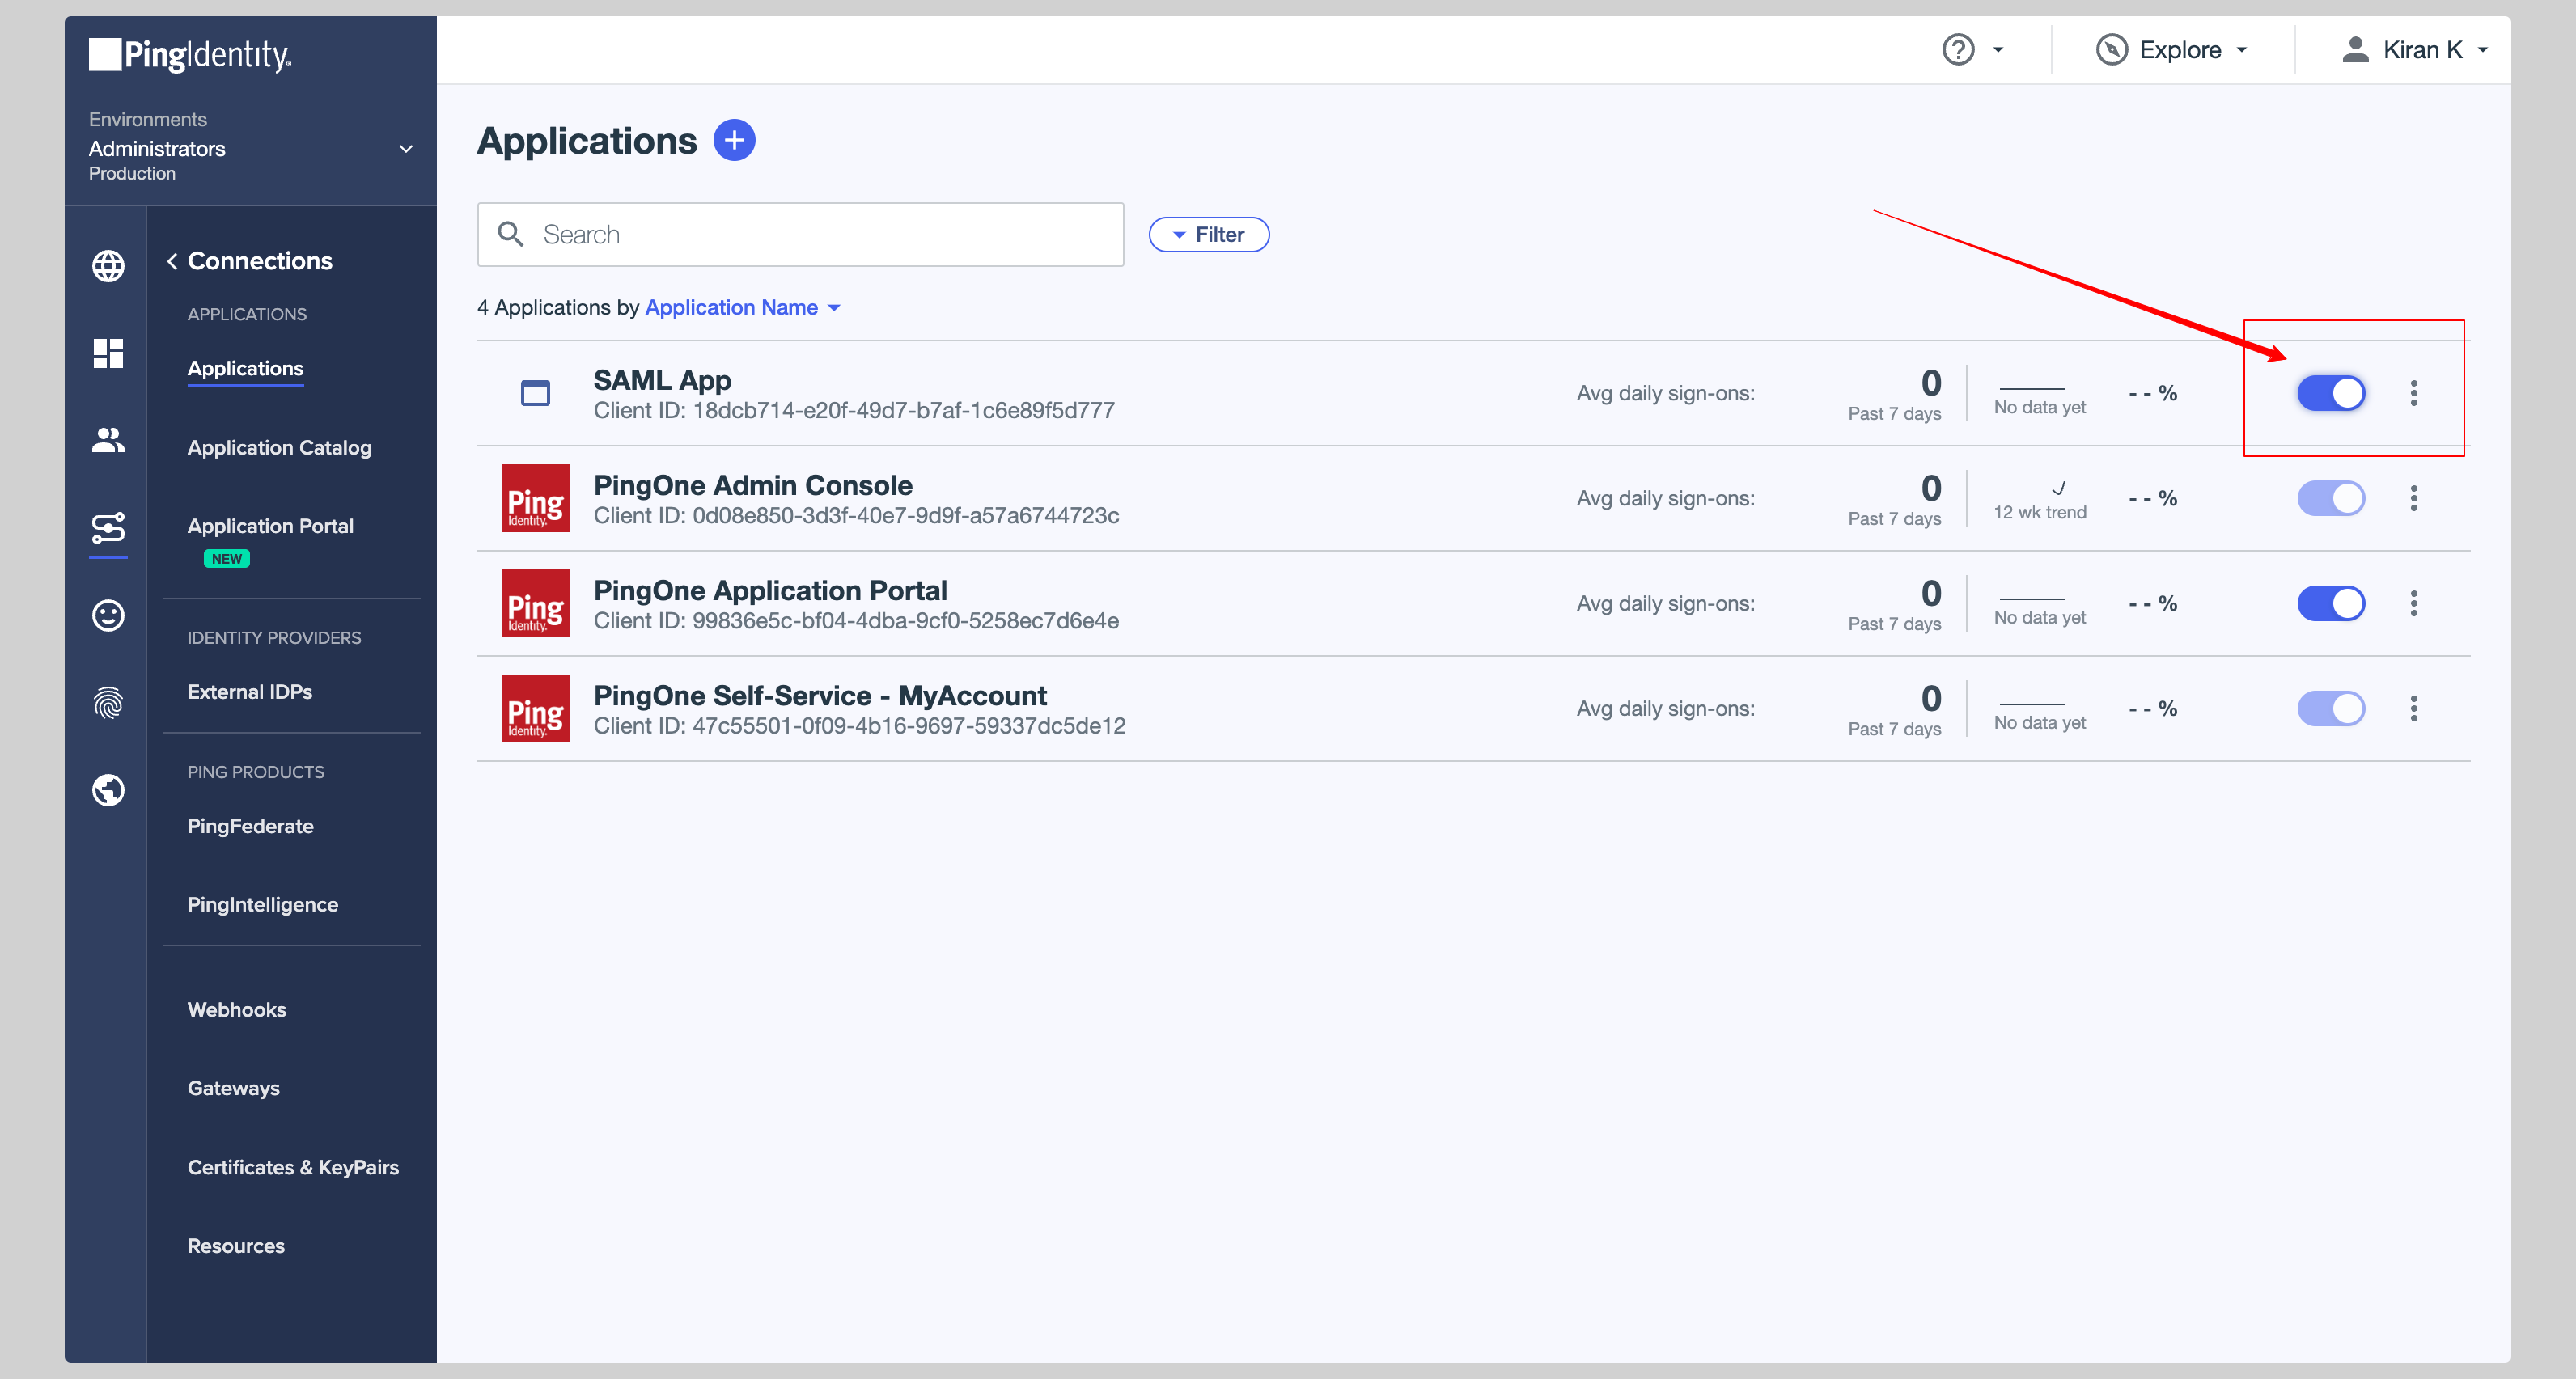
Make sure you have enabled your app so that it can be used by the users. You can do this by clicking the Toggle button next to your app.