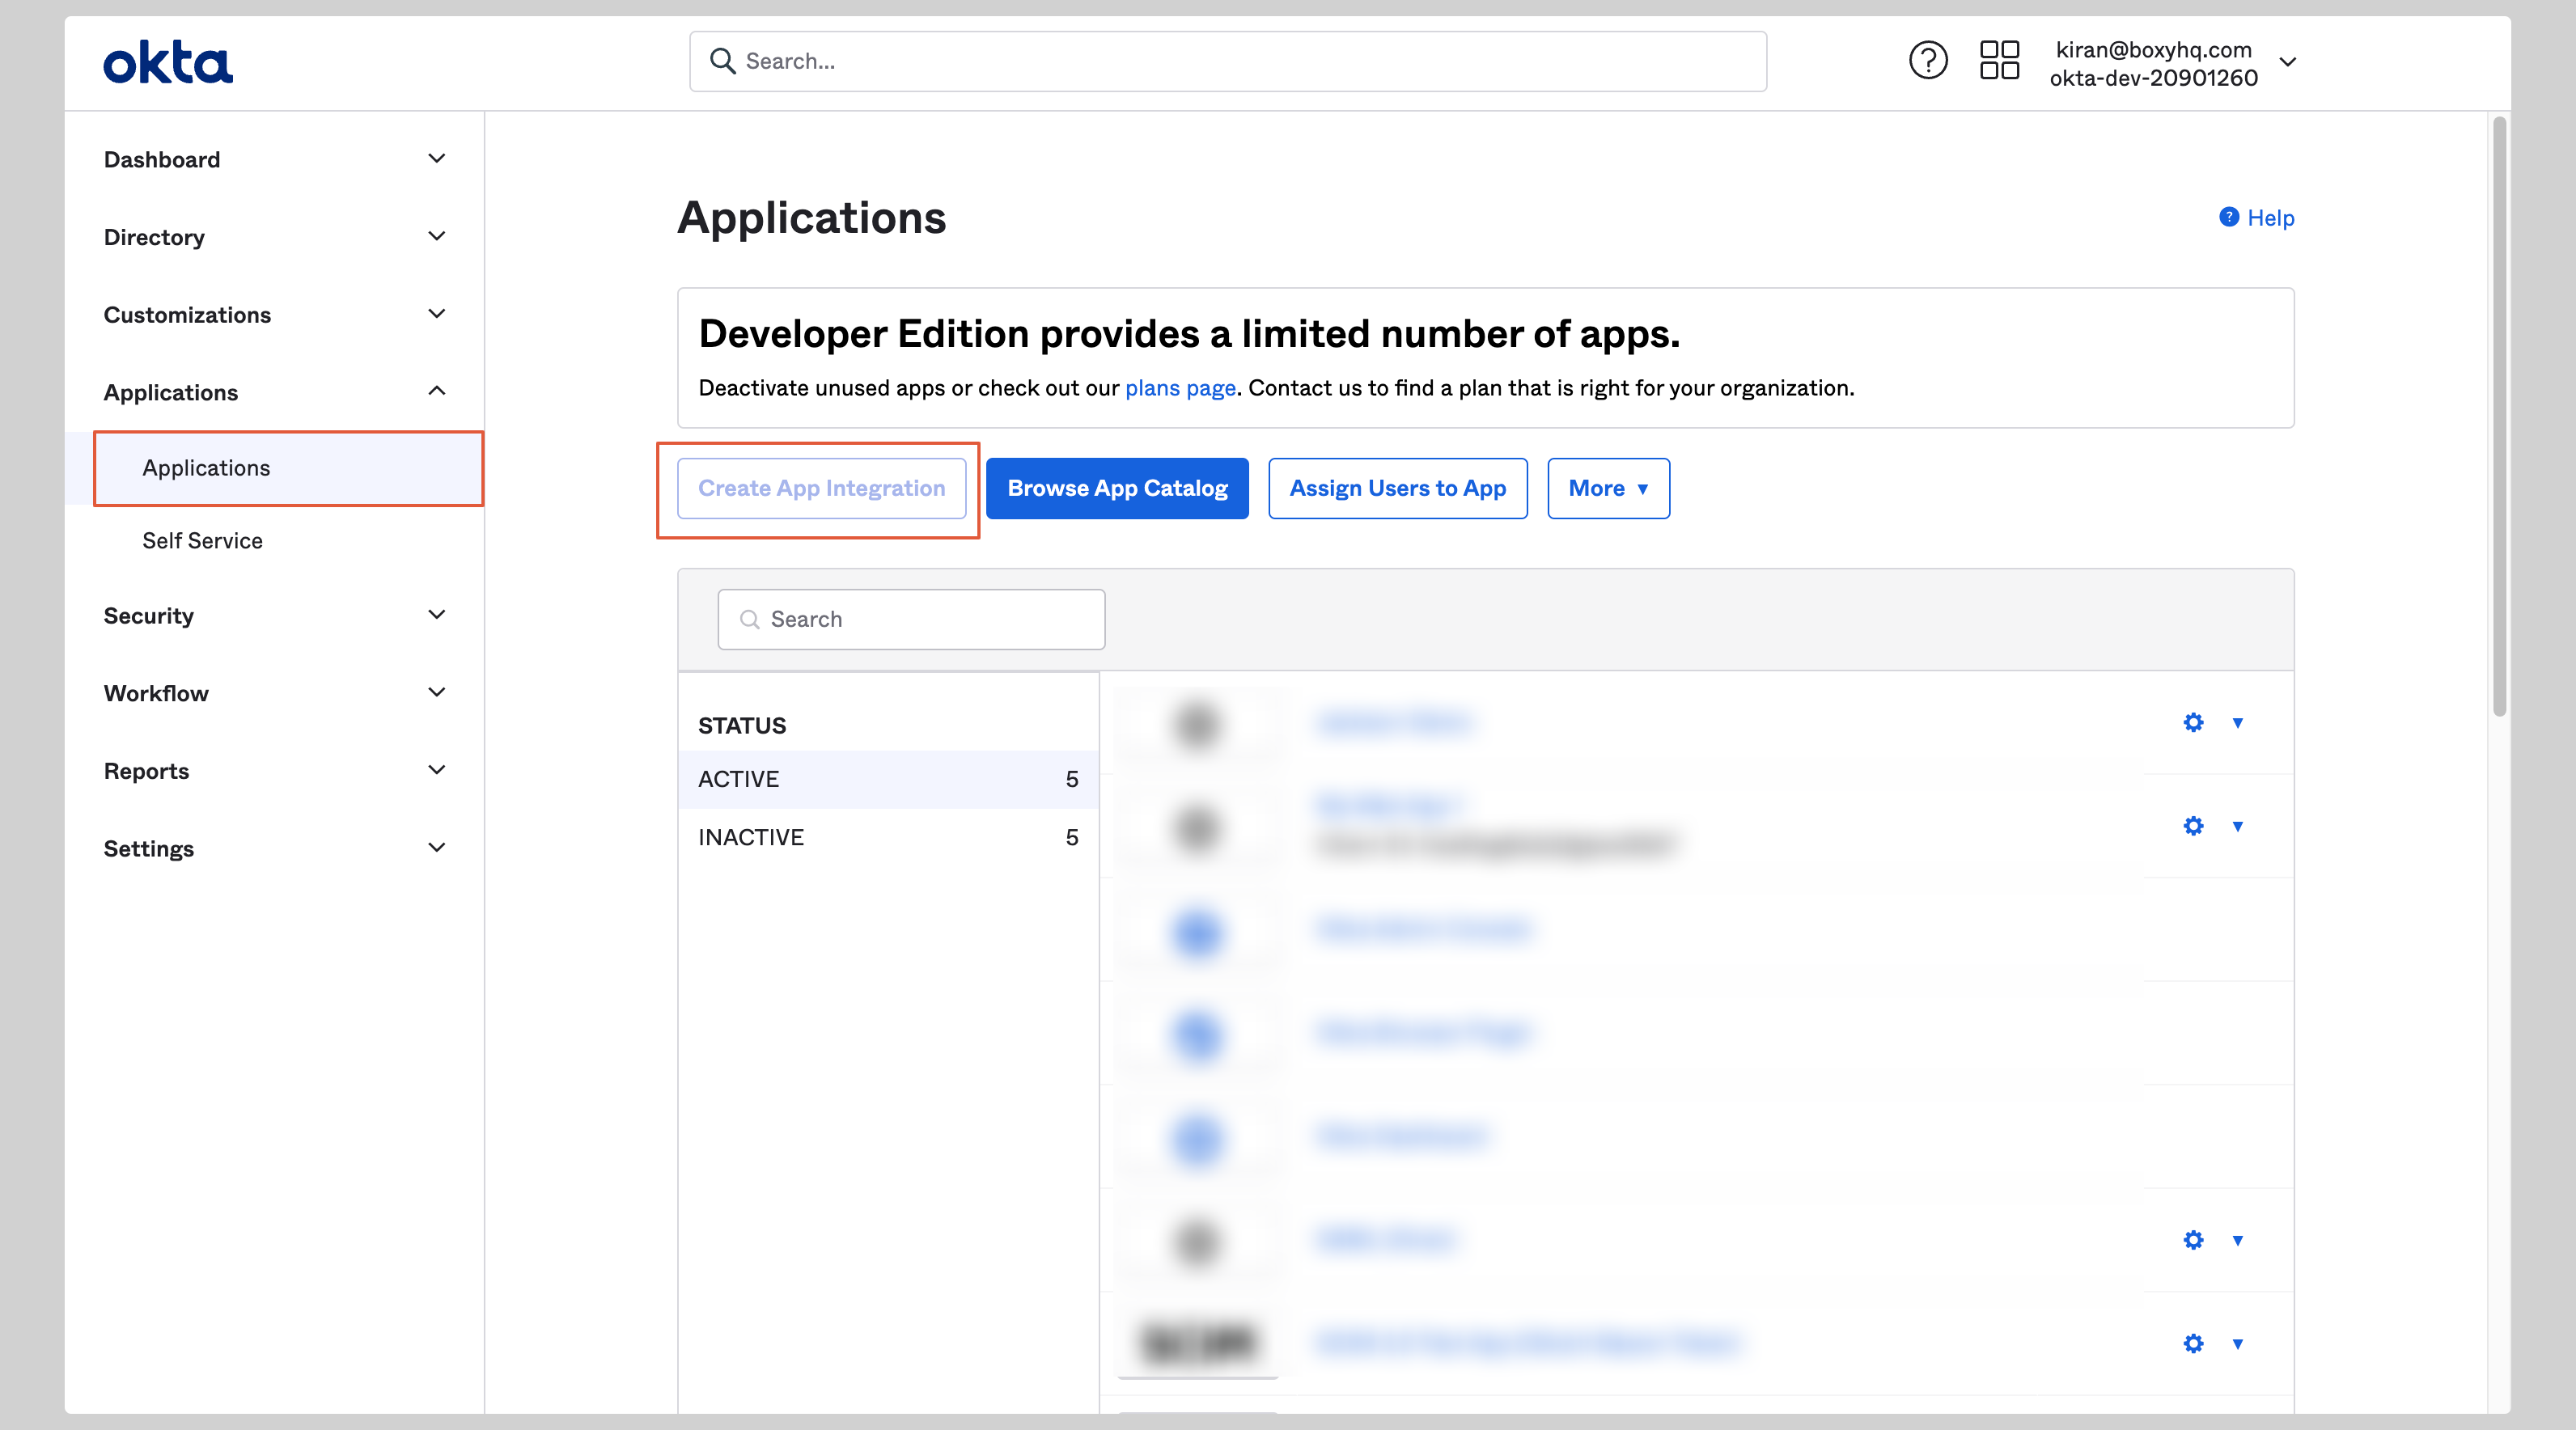
Create application
- From your Okta account, click Applications from the left navigation menu.
- If your application is already created, choose it from the list and move to the section Configure Application
-
If you haven’t created a SAML application, click the Create App Integration button to create a new application.
-
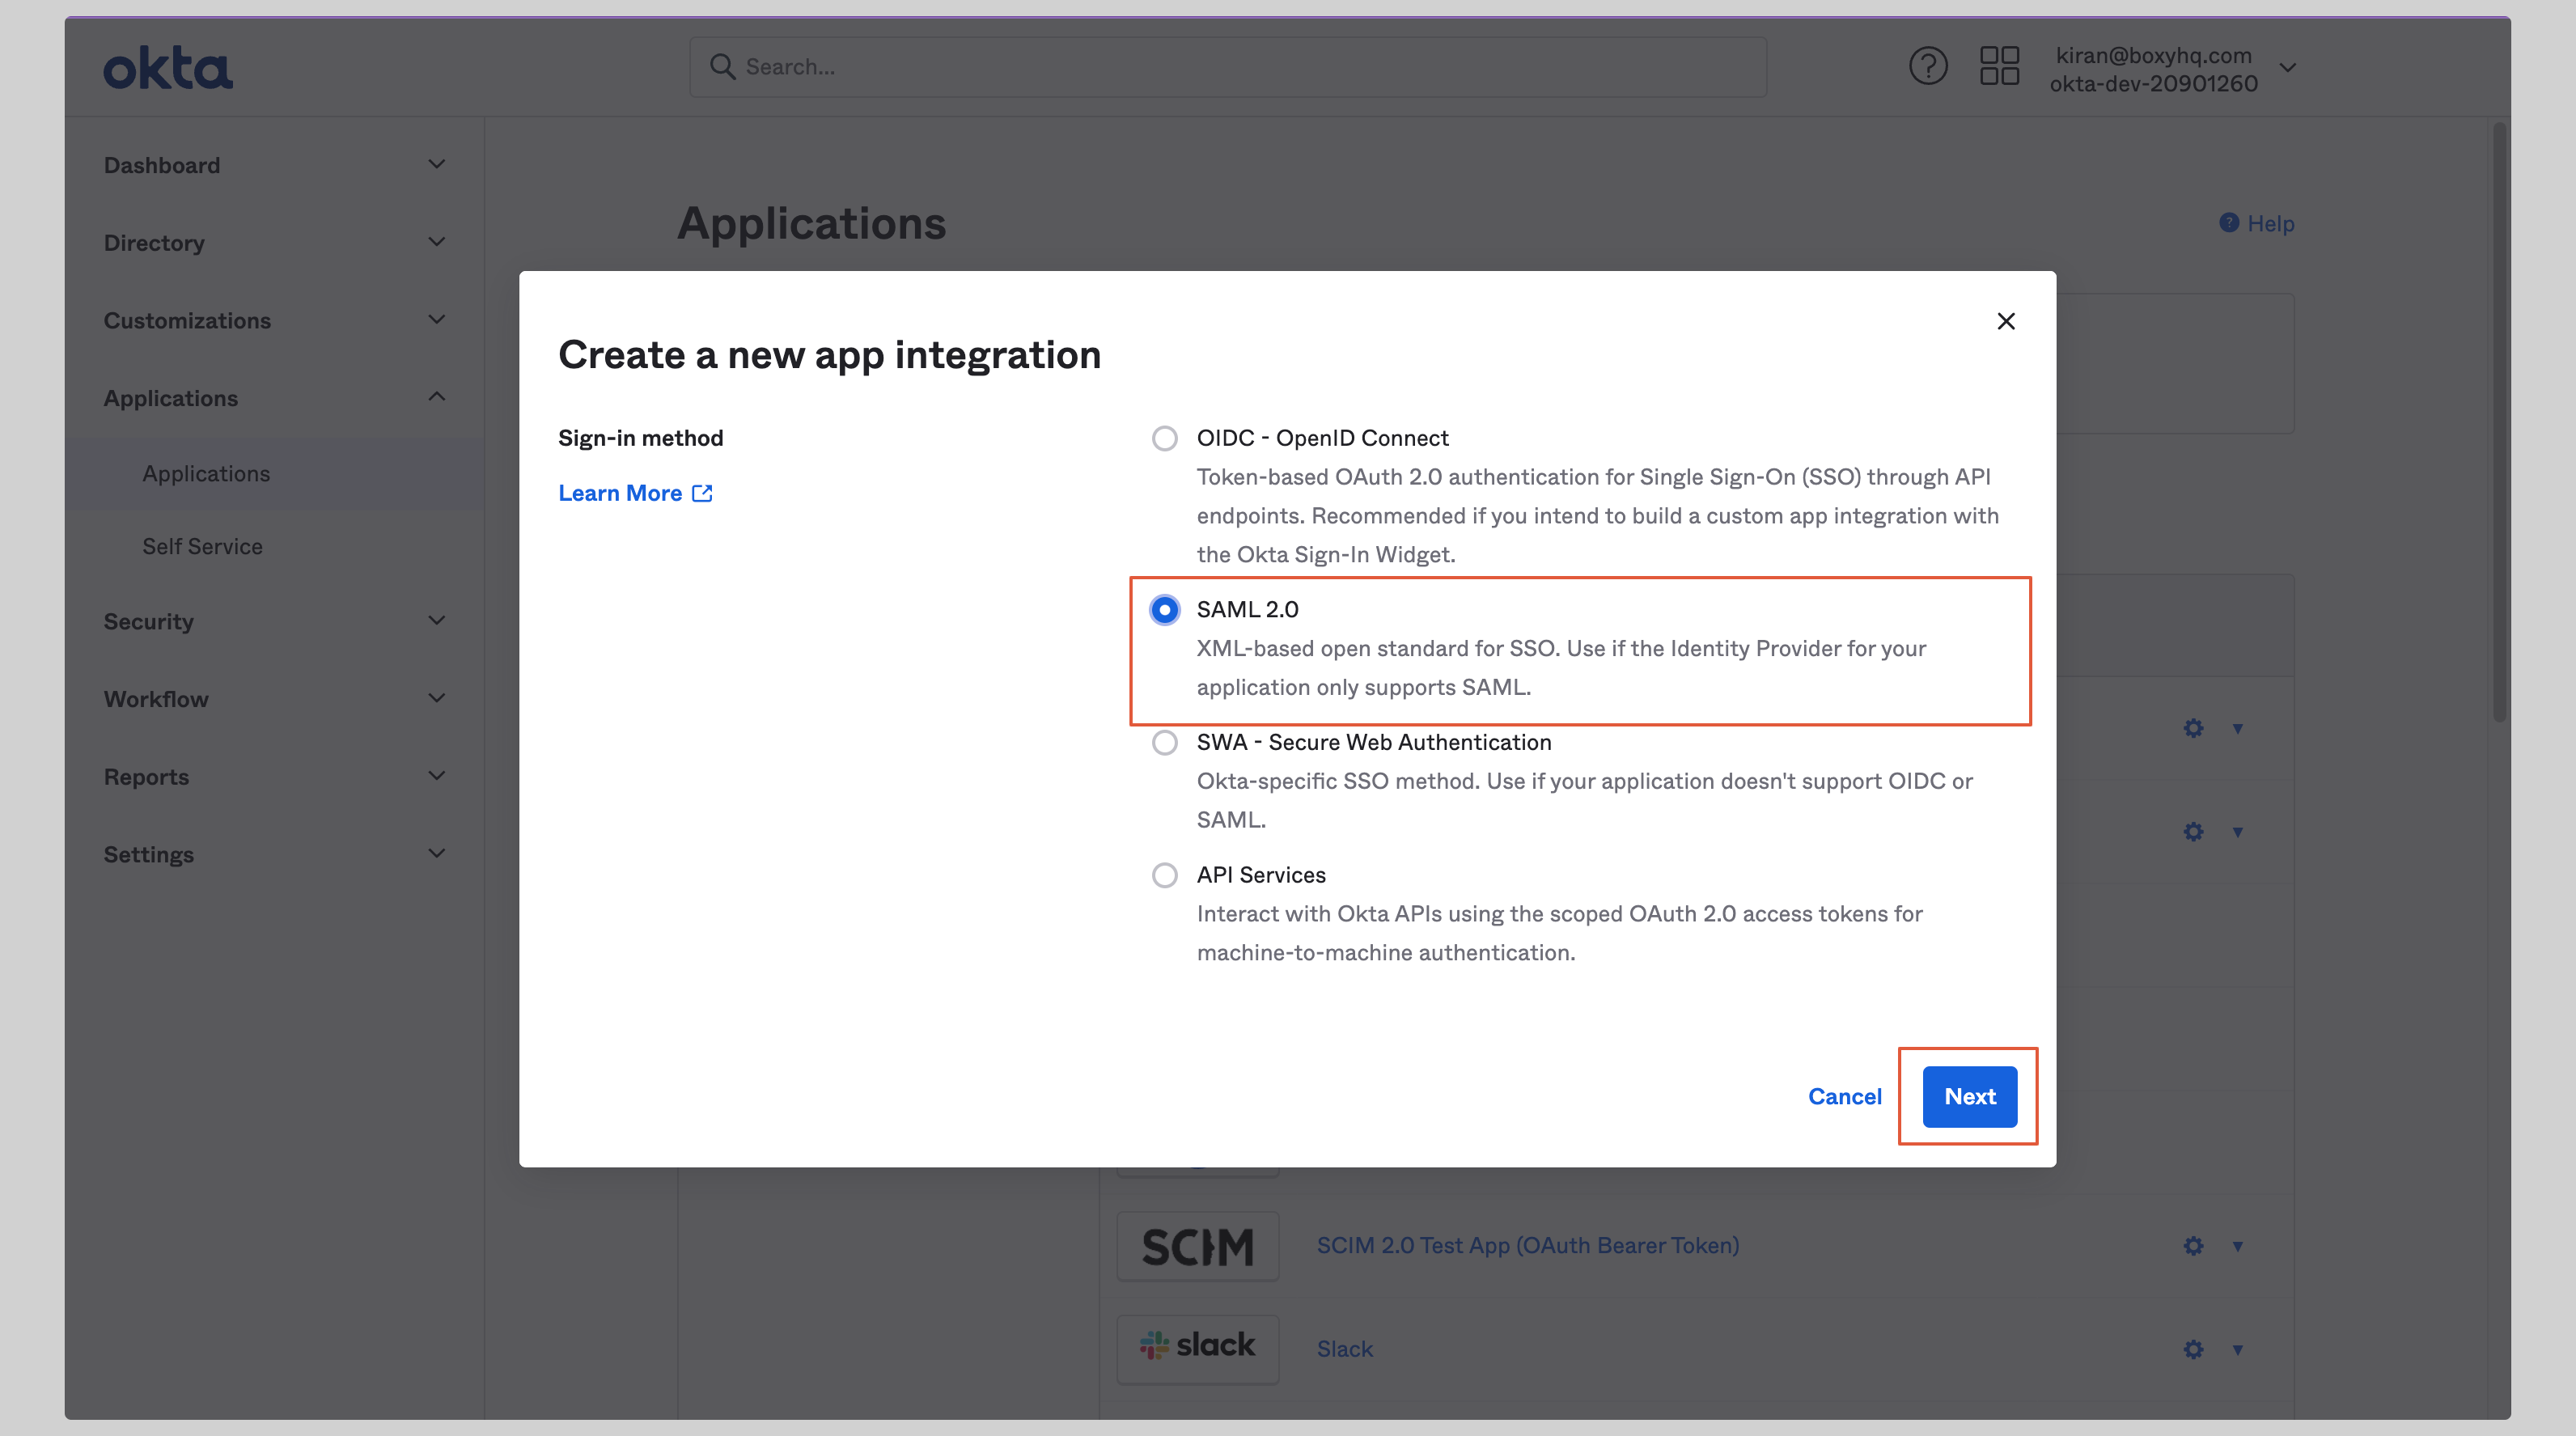
Choose SAML 2.0 from the next screen and click Next.
-
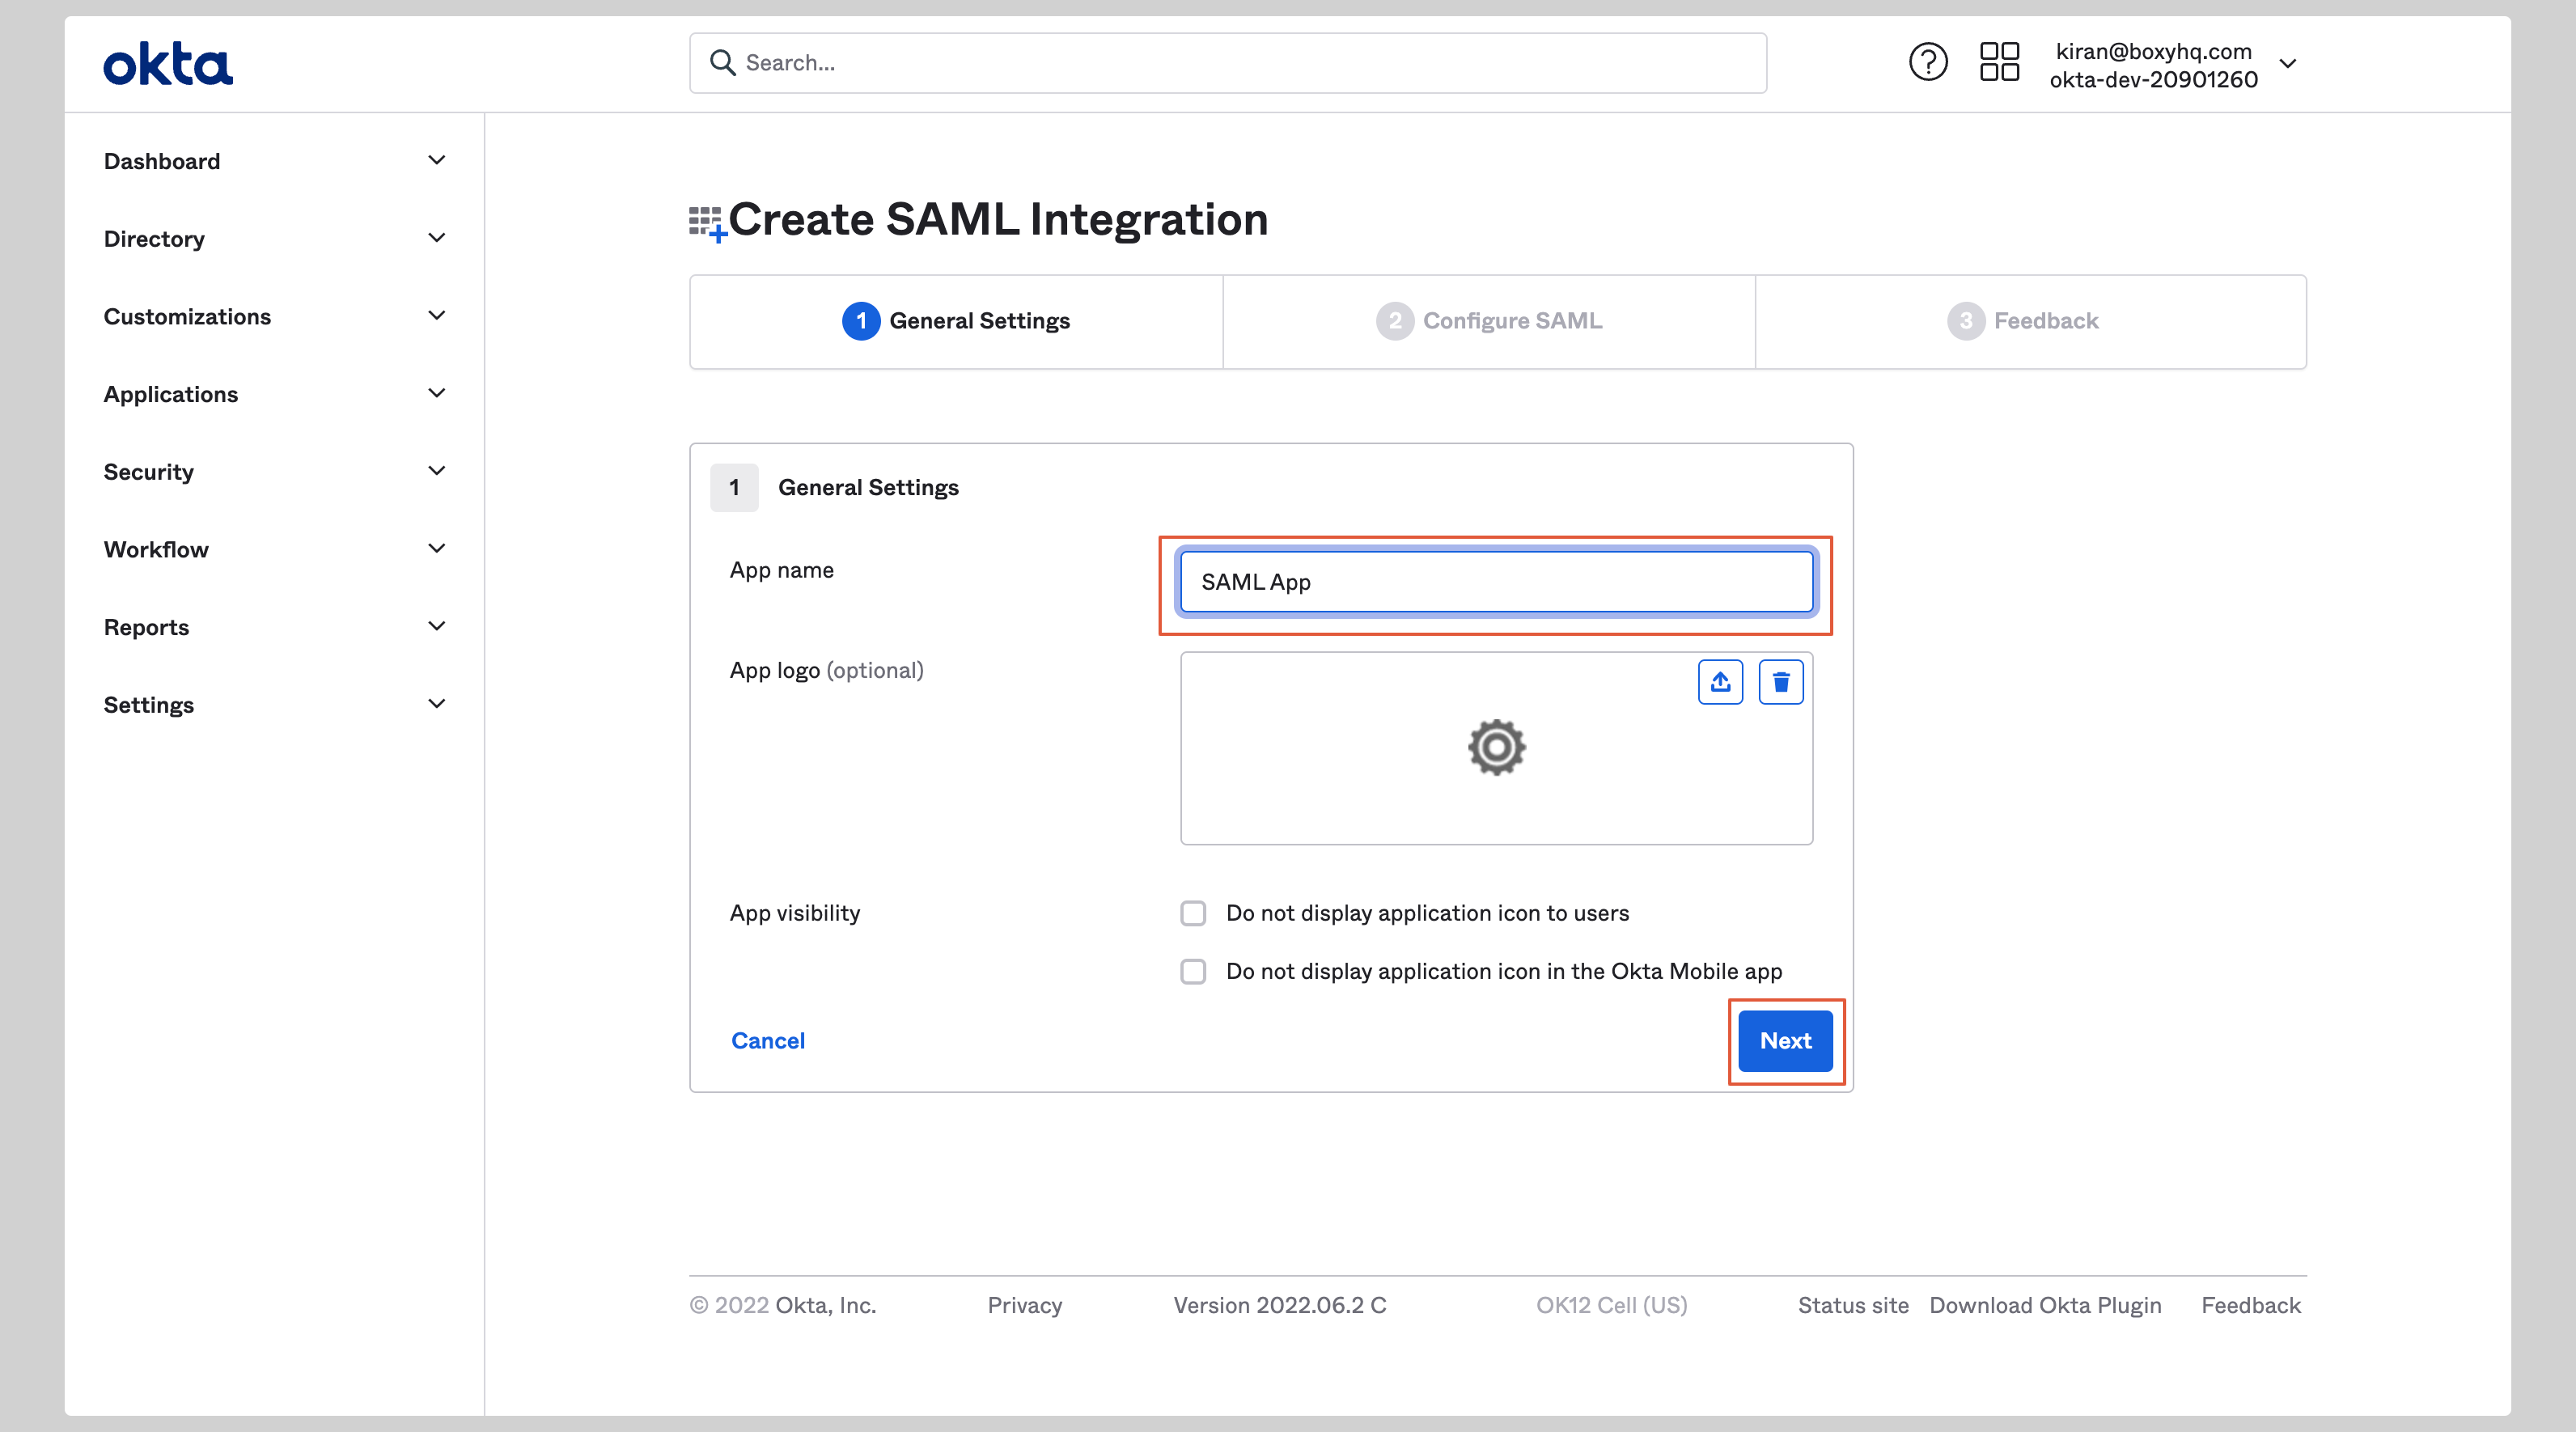
Give your application an App Name and click Next.
Configure application
-
Enter the following values in the SAML Settings section on the next screen:
- Single sign on URL
- Audience URI (SP Entity ID)
- Select EmailAddress from the Name ID format dropdown.

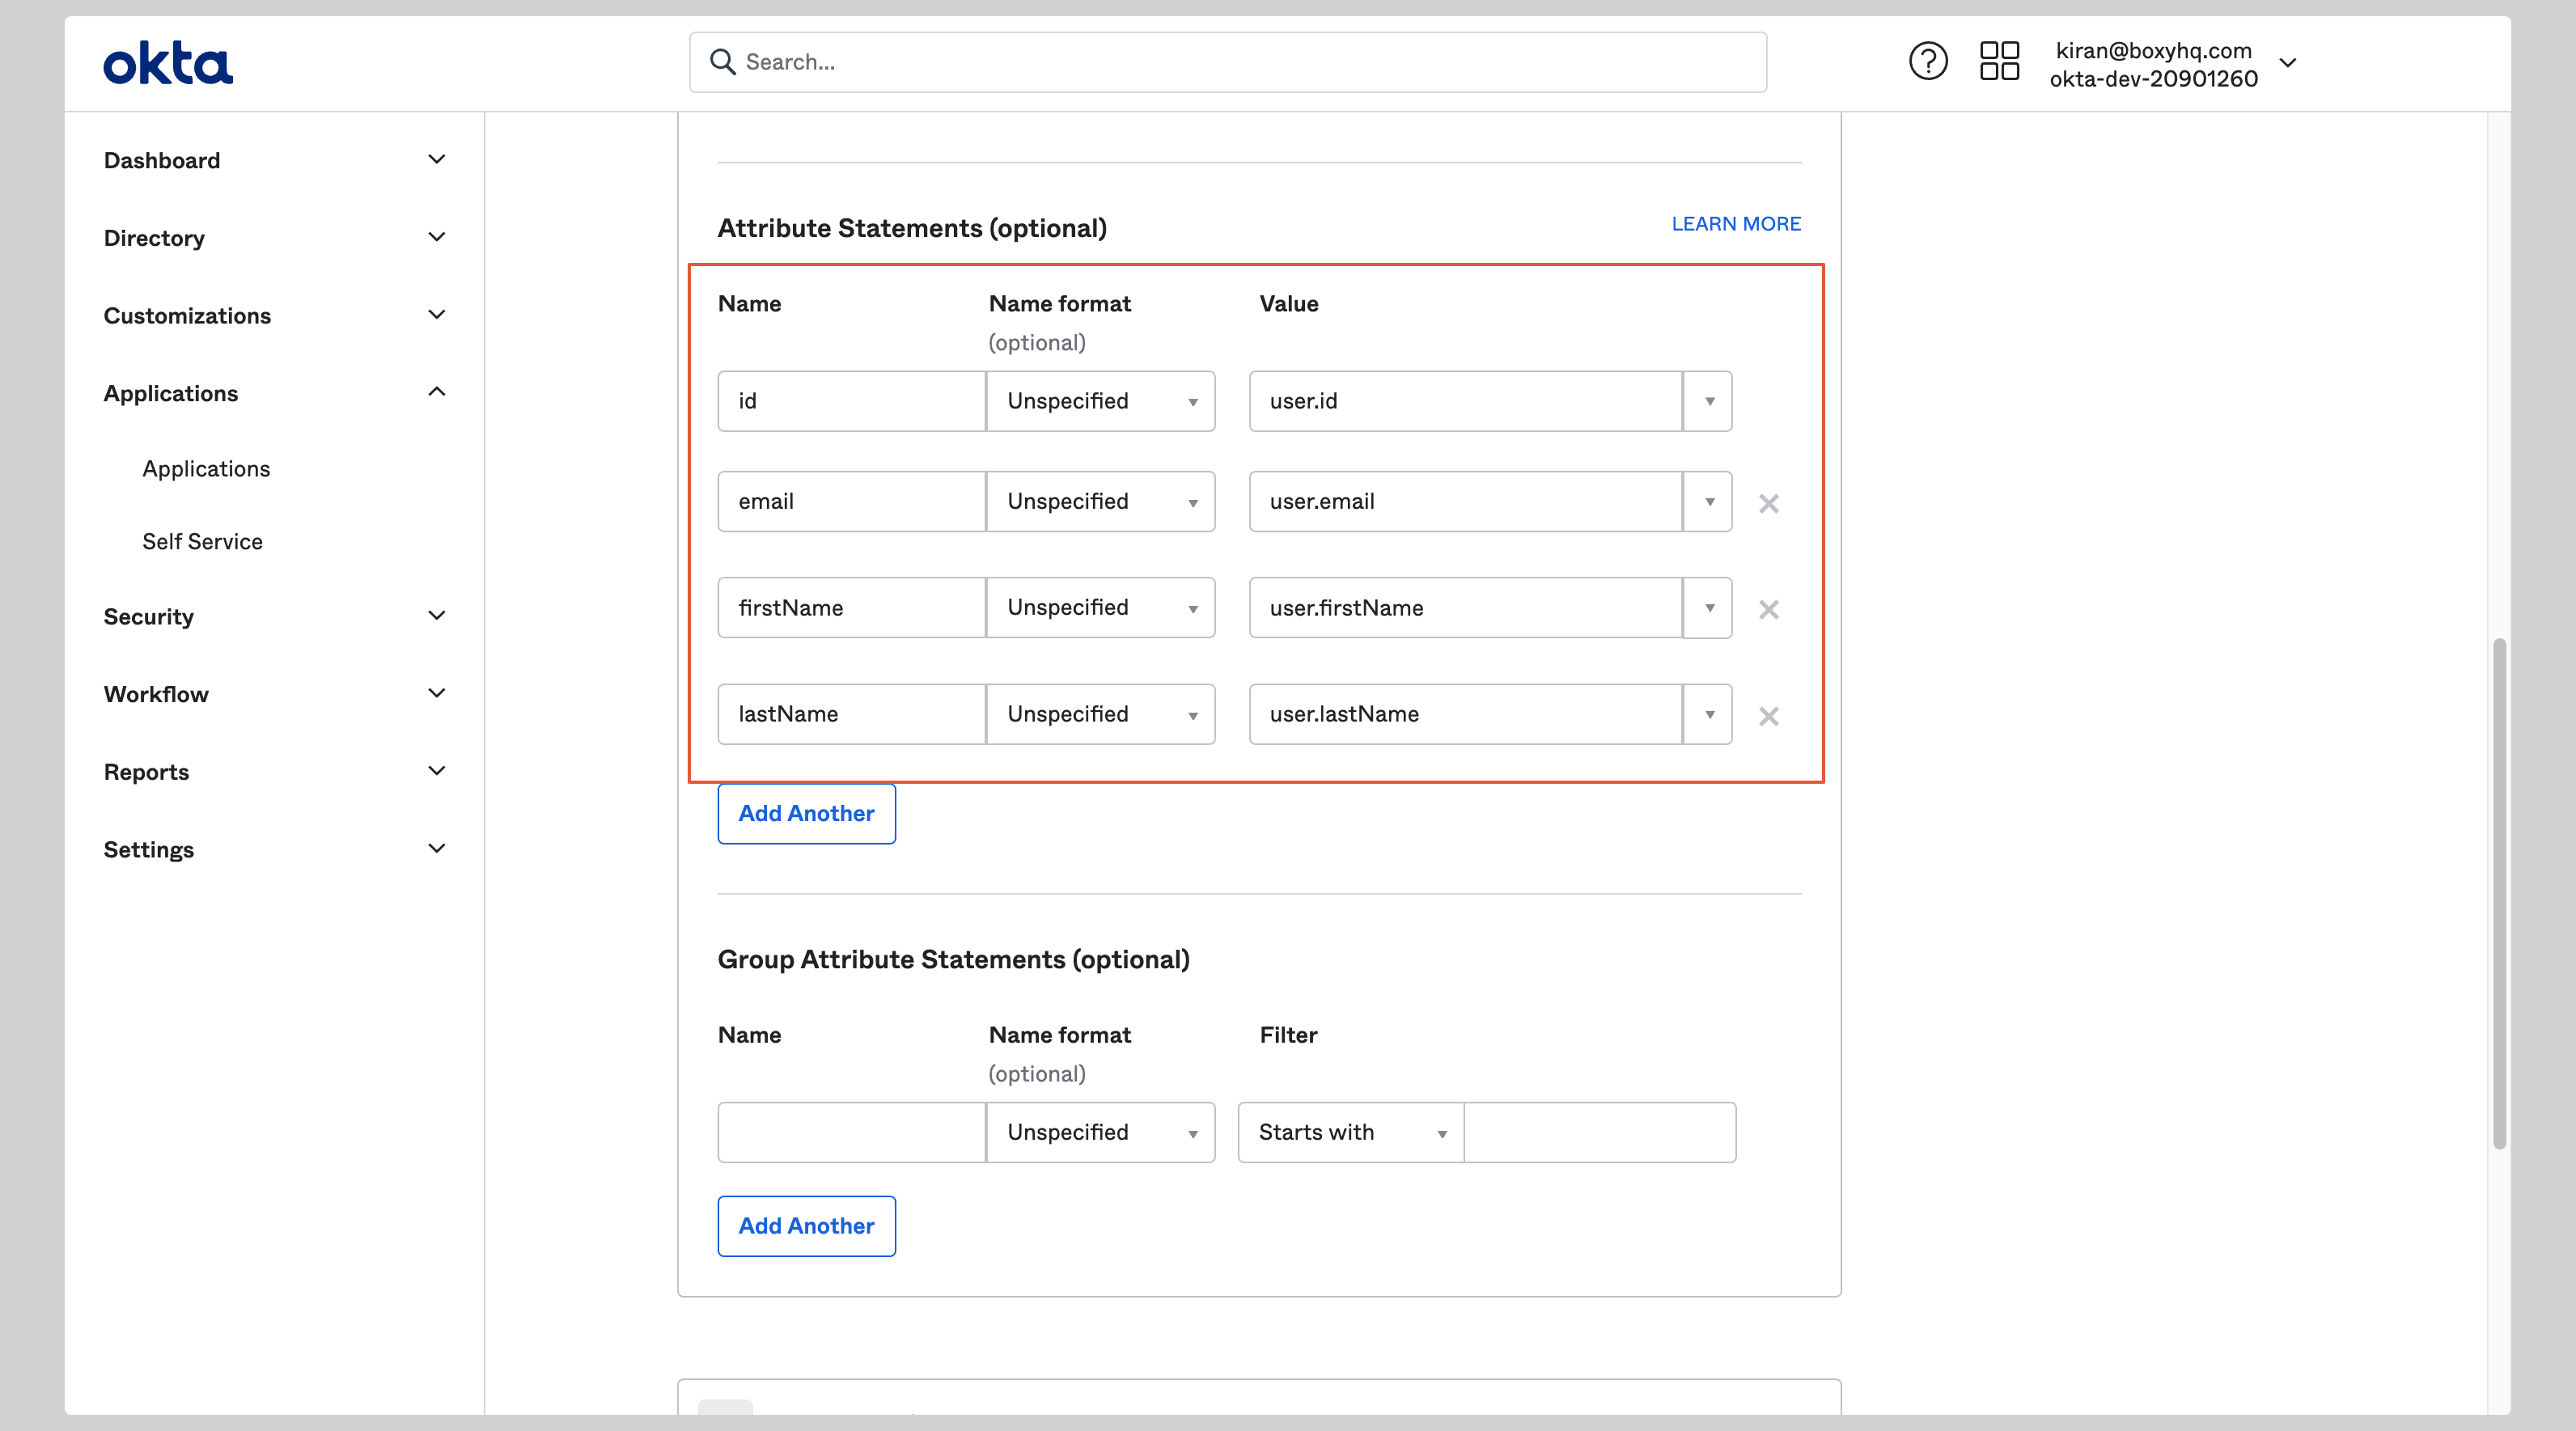
Attribute mapping
- Under the Attribute Statements section, you have to configure the following attributes:
| Name | Value |
|---|---|
id | user.id |
user.email | |
firstName | user.firstName |
lastName | user.lastName |
-
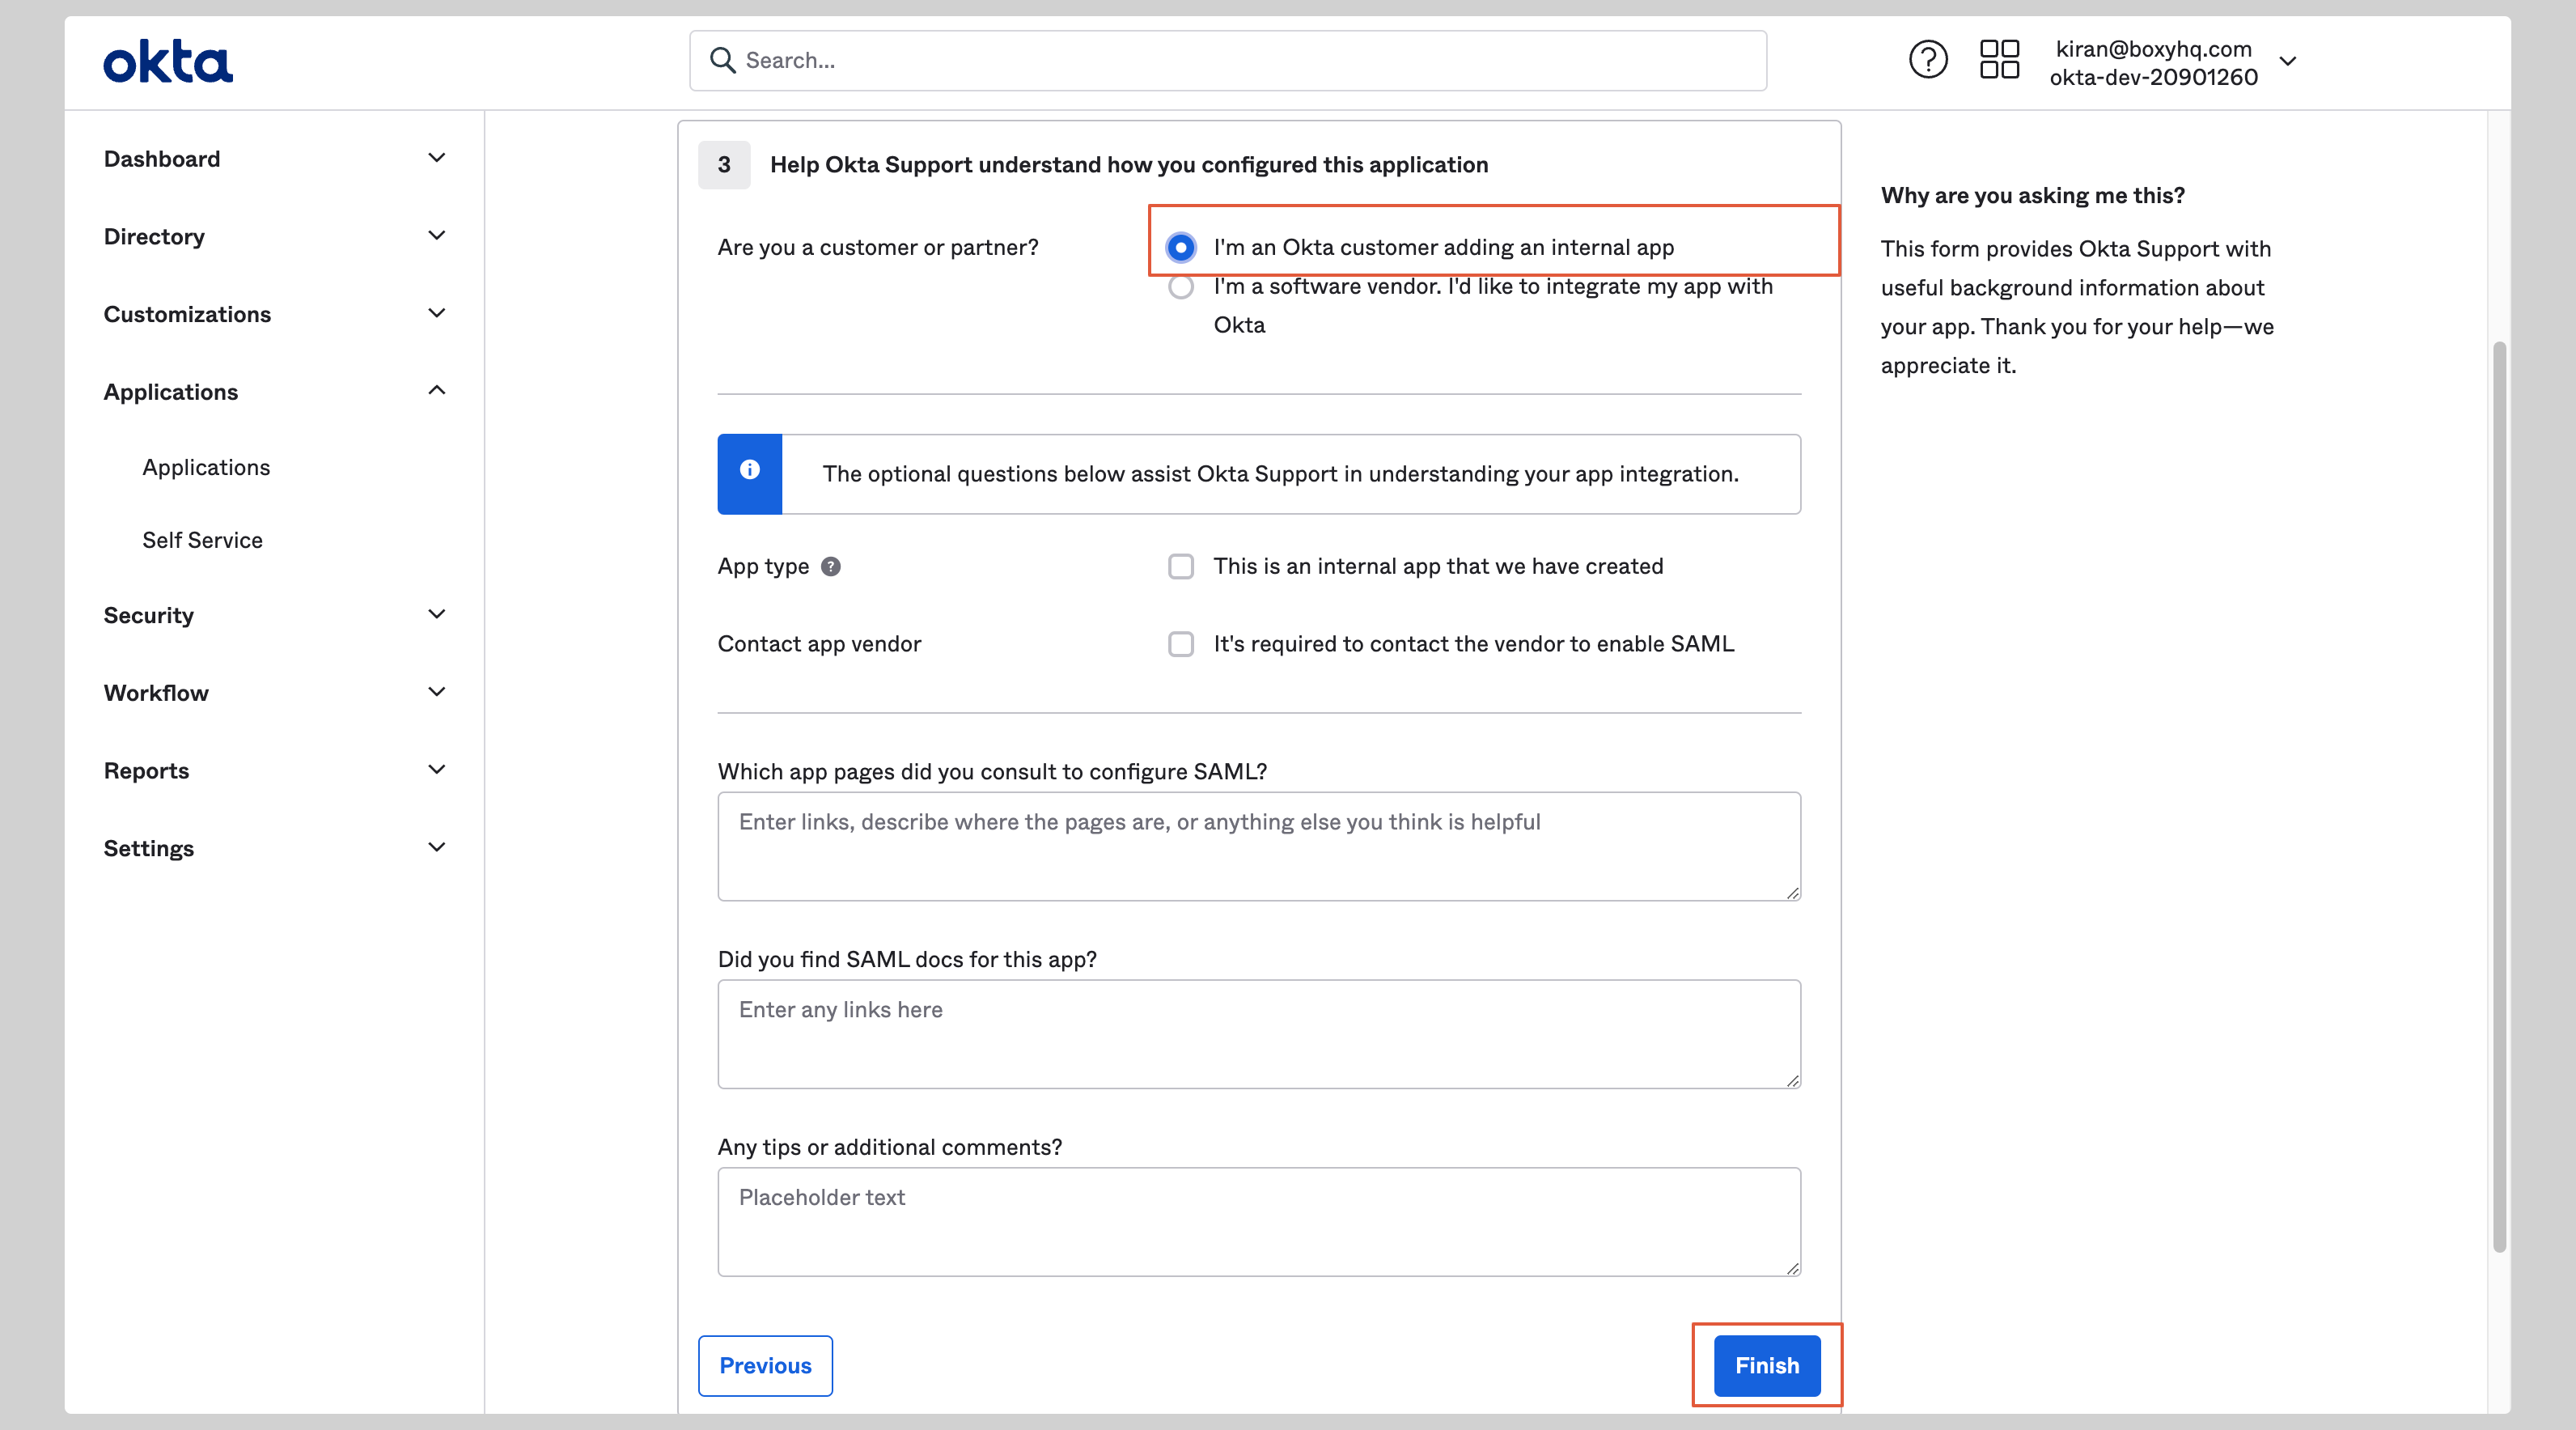
On the next screen select I’m an Okta customer adding an internal app and click Finish.
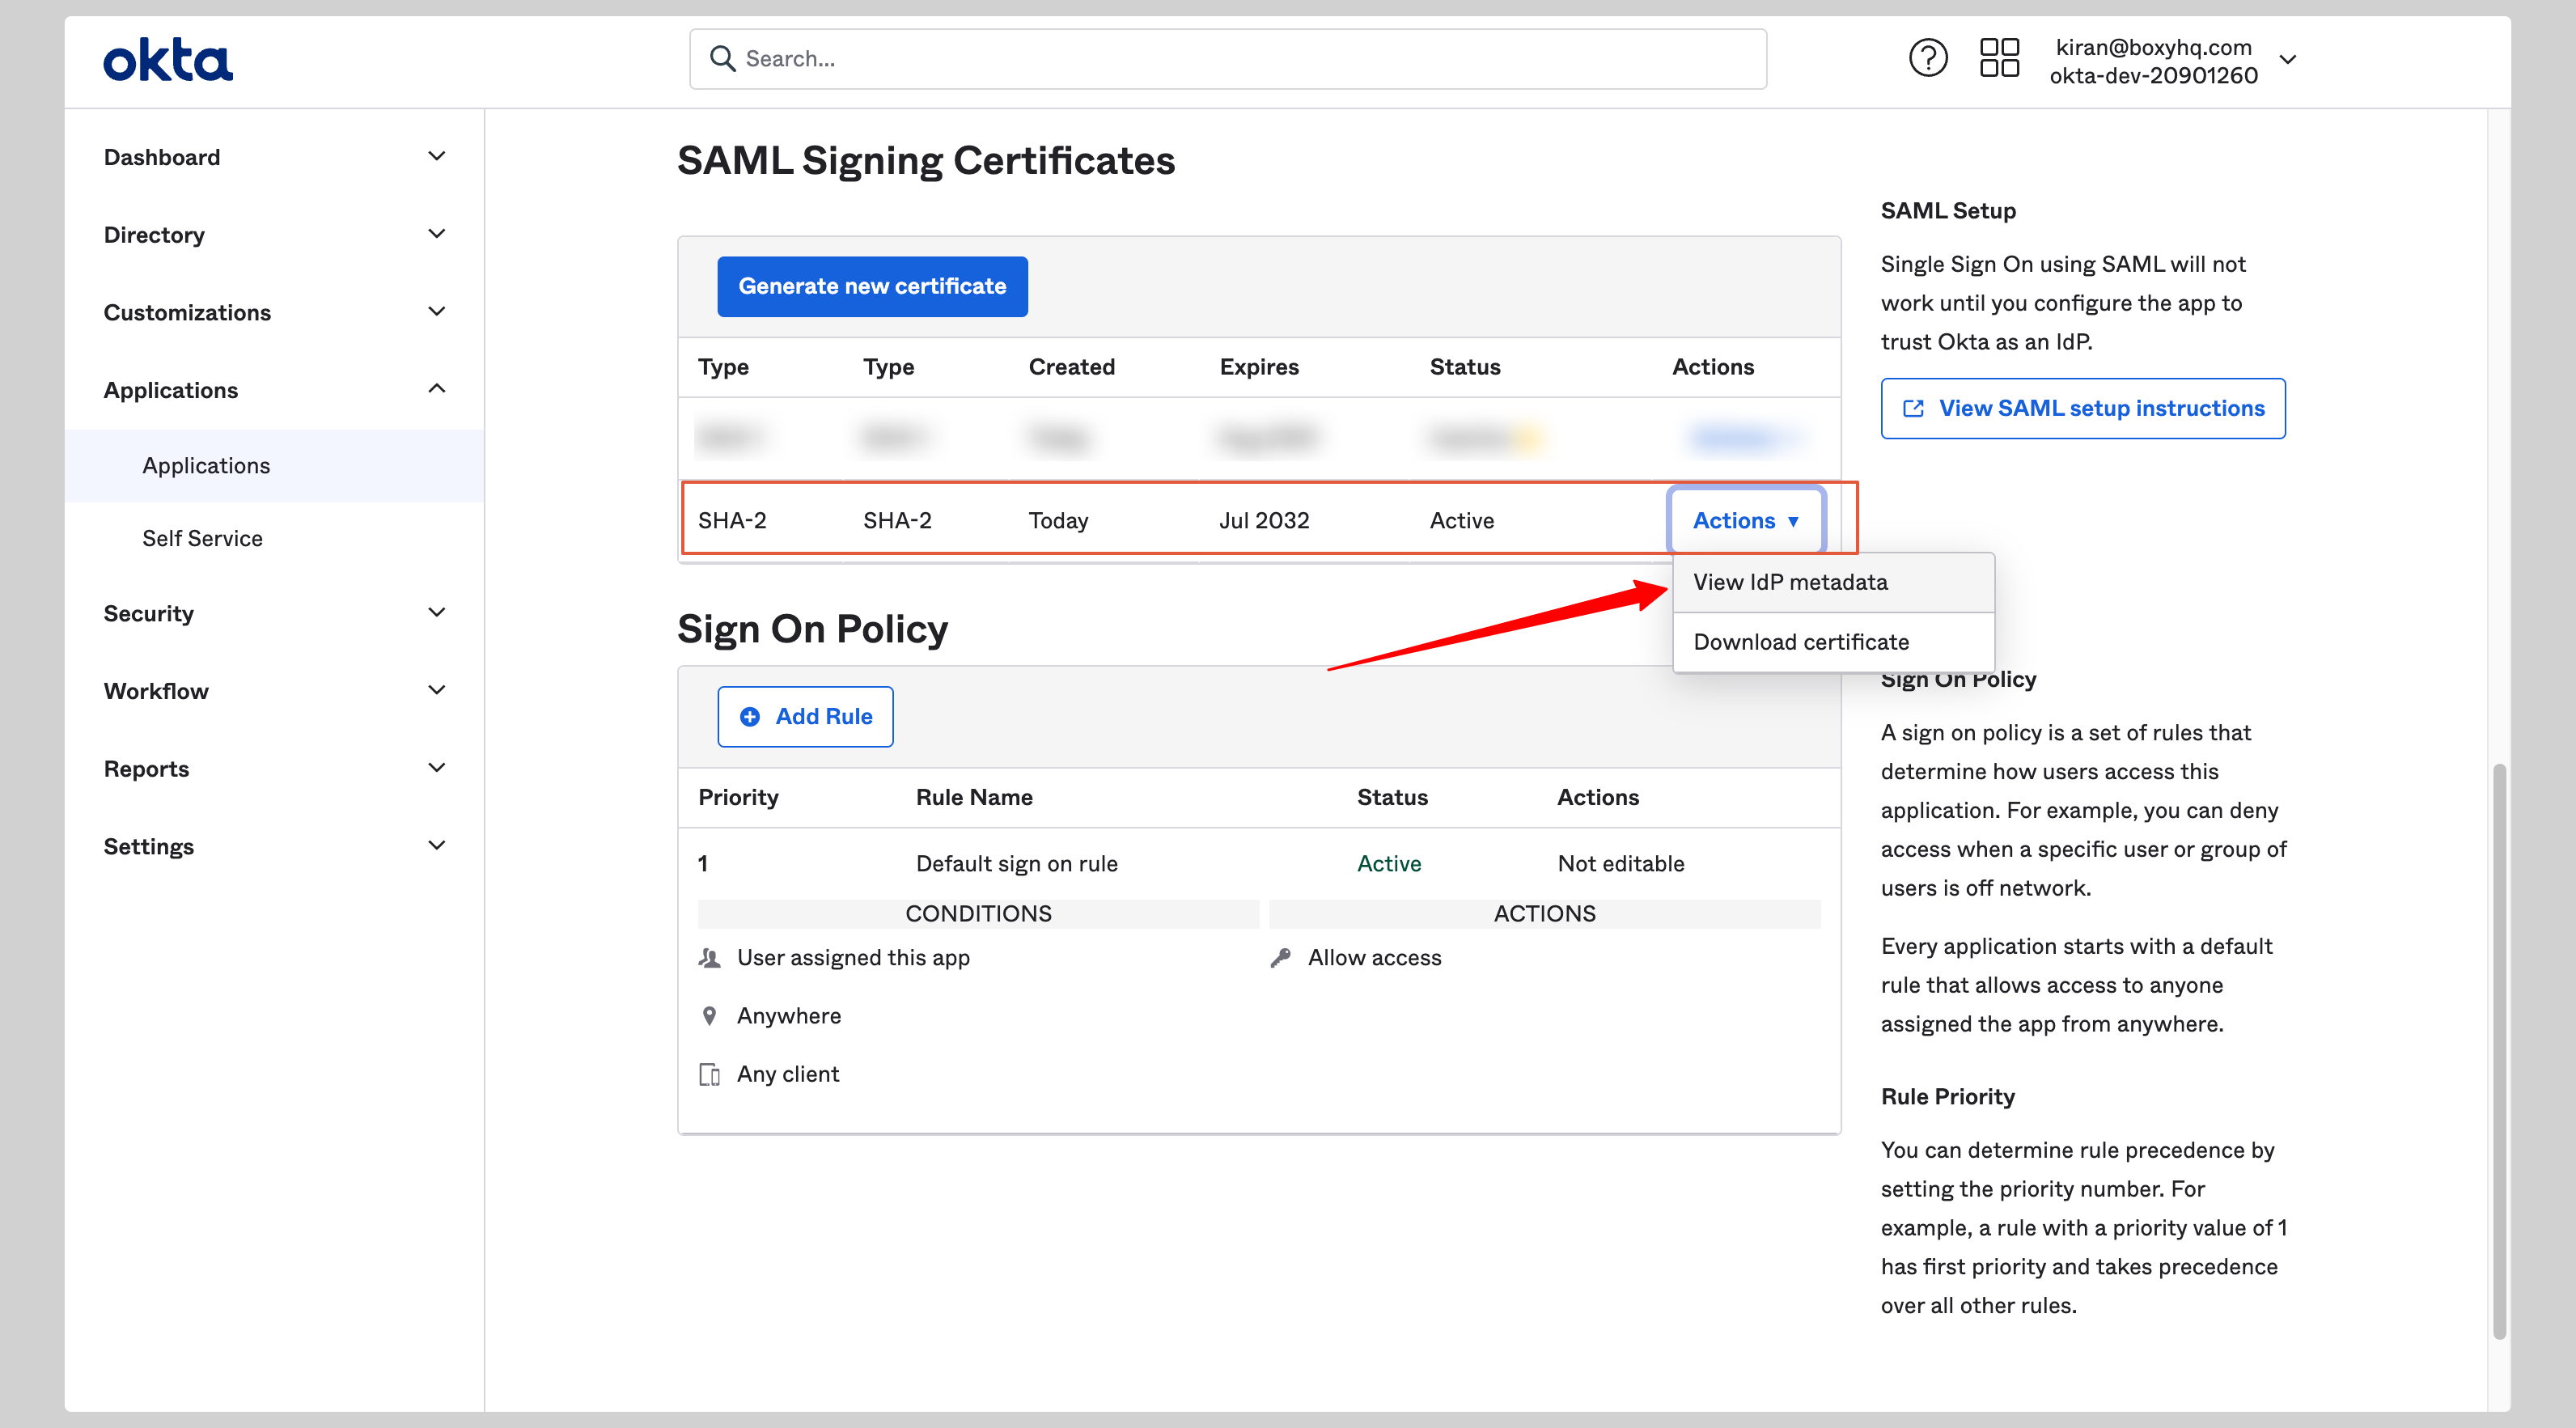
- From your application, click Sign On tab and go to the section SAML Signing Certificates
-
Click the Actions dropdown for the correct certificate and click View IdP metadata. A separate window will open with the metadata XML file, you can copy it to your clipboard.