Creating Surfaces
Once you know the Surface elements you would like to personalize and have any necessary creative assets prepared, you’re ready to create the Surface in Aampe.- Not sure if you’re ready to create a Surface? Read up on preparing your content for Surfaces.
- Creating and reviewing all the fields we’d like to include in the API payload
- Creating variants for all of those fields
- Assigning specific events to measure the impact of Surfaces (optional)
Creating and Reviewing Surface Fields
This step can also be completed via Figma’s Aampe Surface Creator. See here for instructions on using the Aampe Surface Creator in Figma.
- Click “Create Surface” to bring up the following form
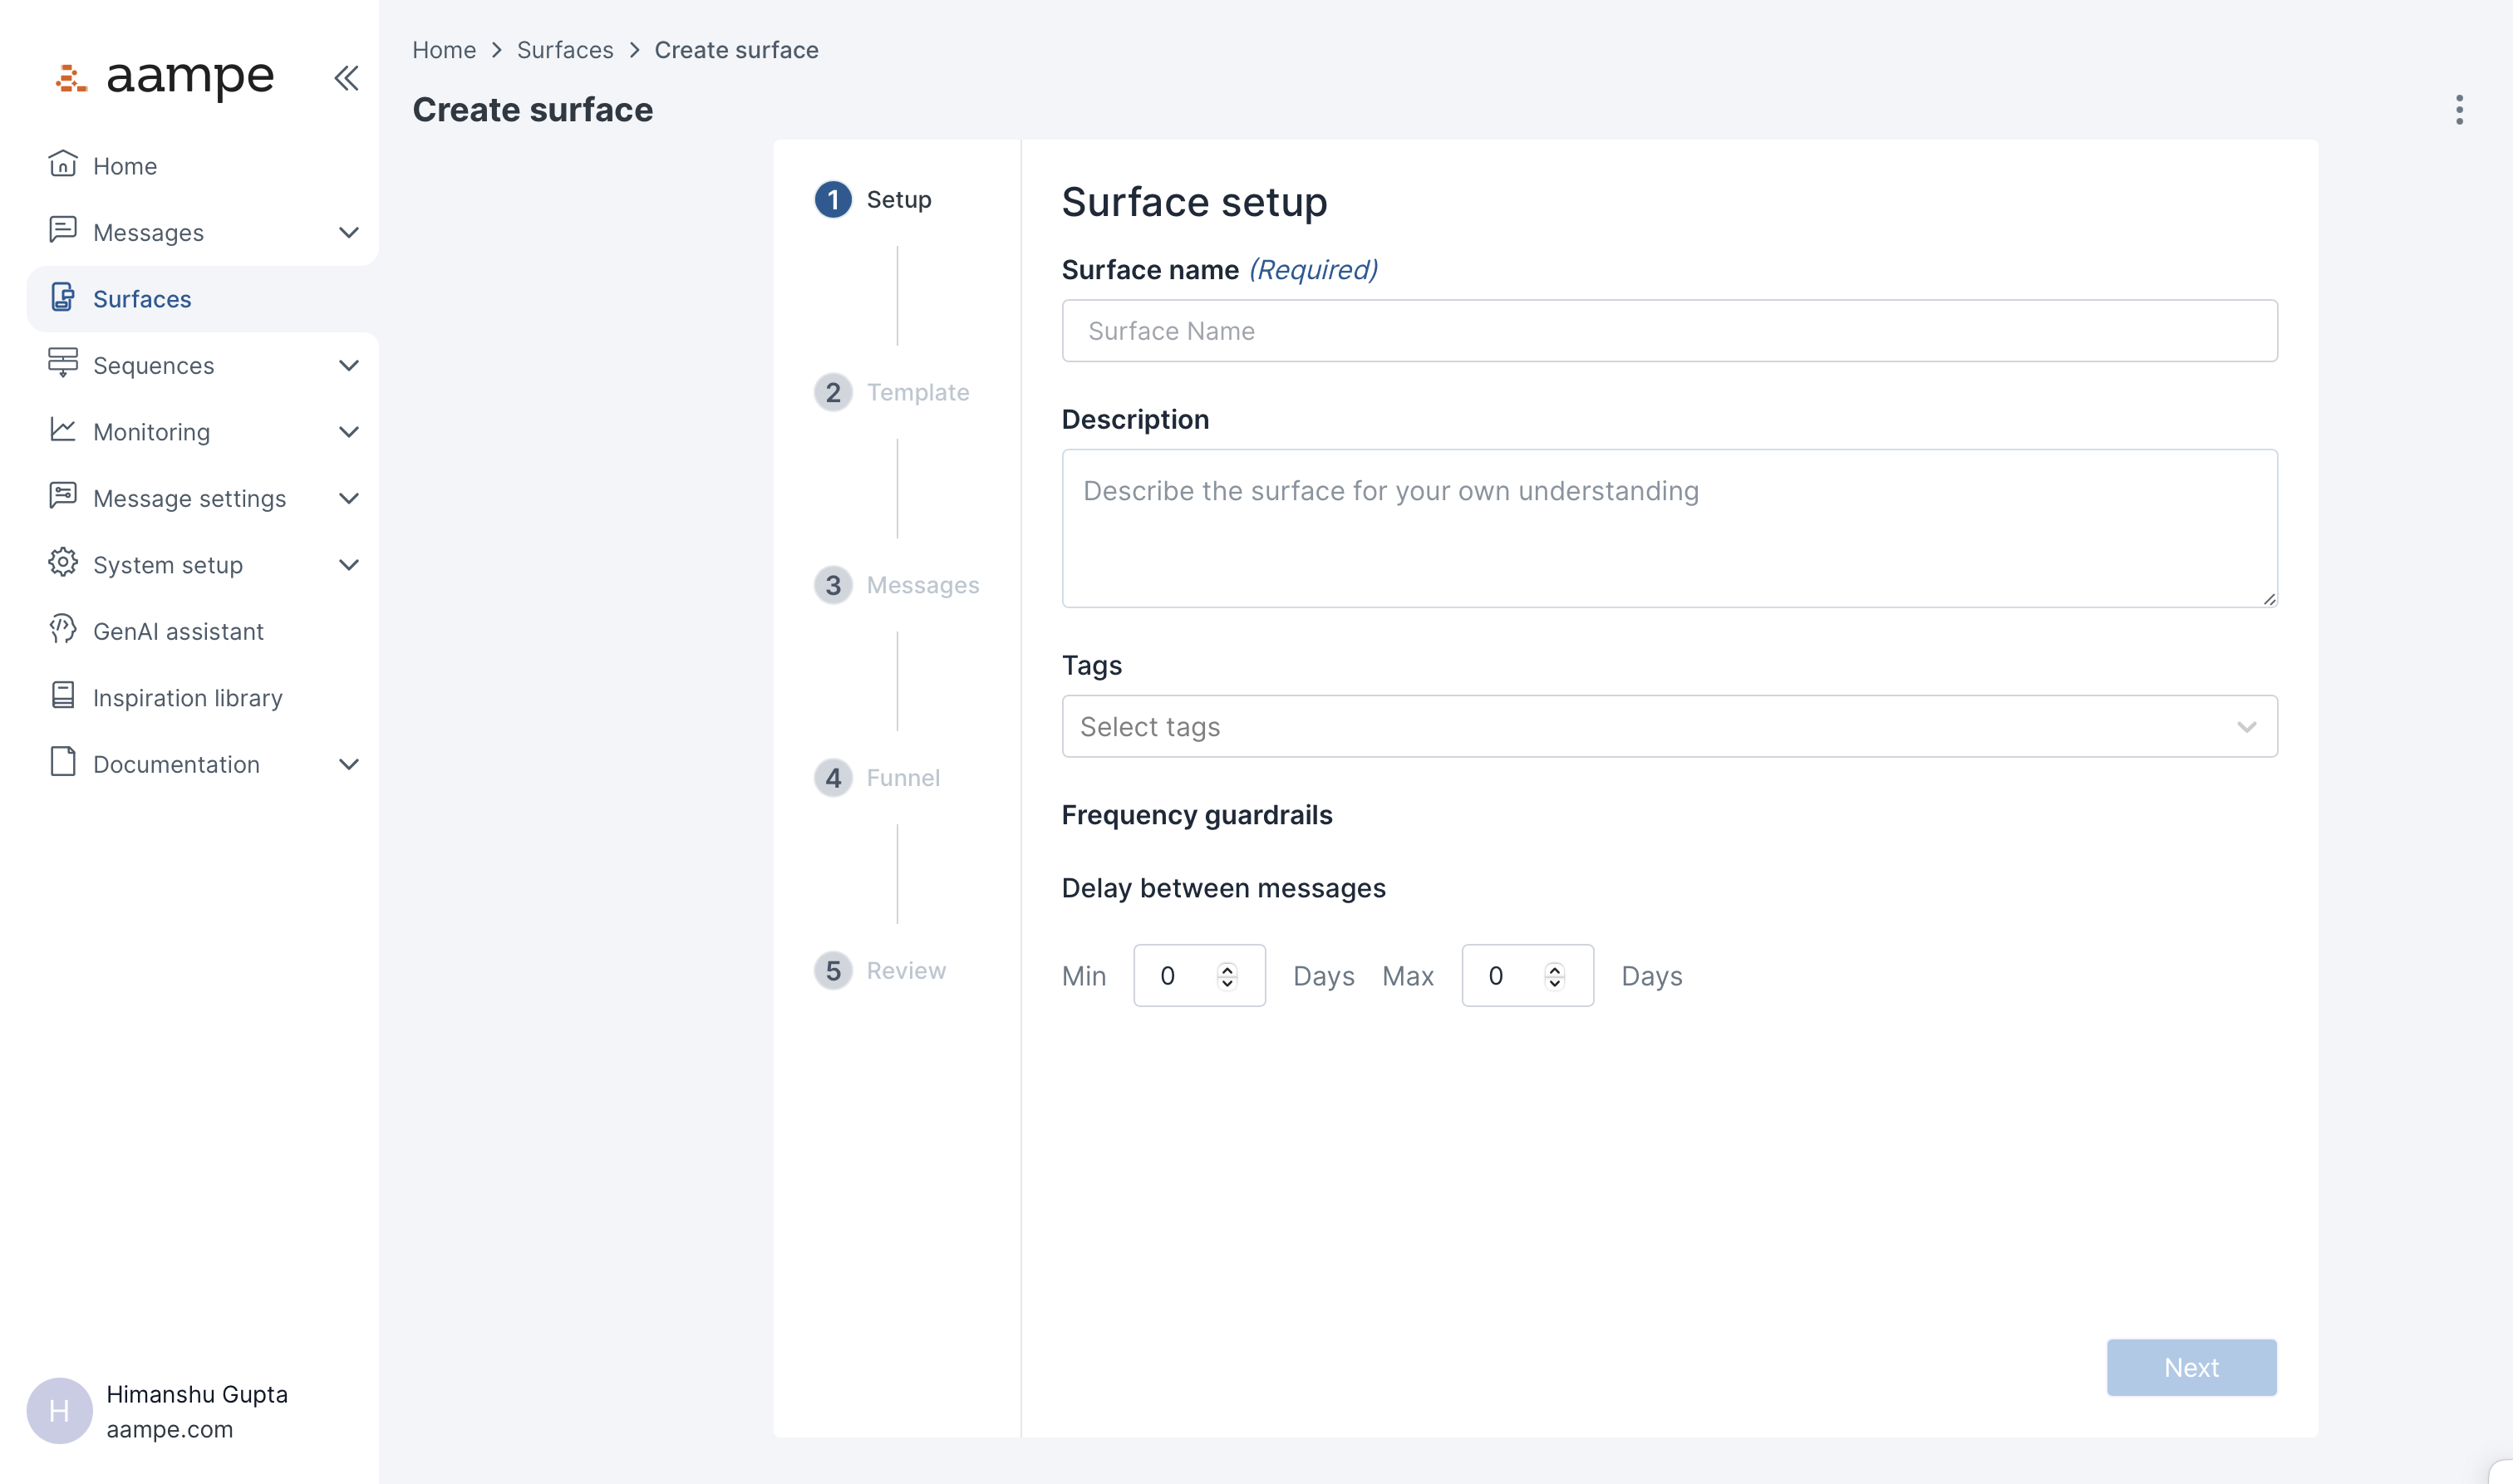
- When naming the Surface, keep in mind that the Surface may include content for multiple page components
- Frequency Guardrails allow you to require a minimum amount of time to elapse before showing Surface content again. (e.g. You want to show the personalized message no more than once a week, even if the user opens the screen many times a day).
Creating Fields via Surface Templates
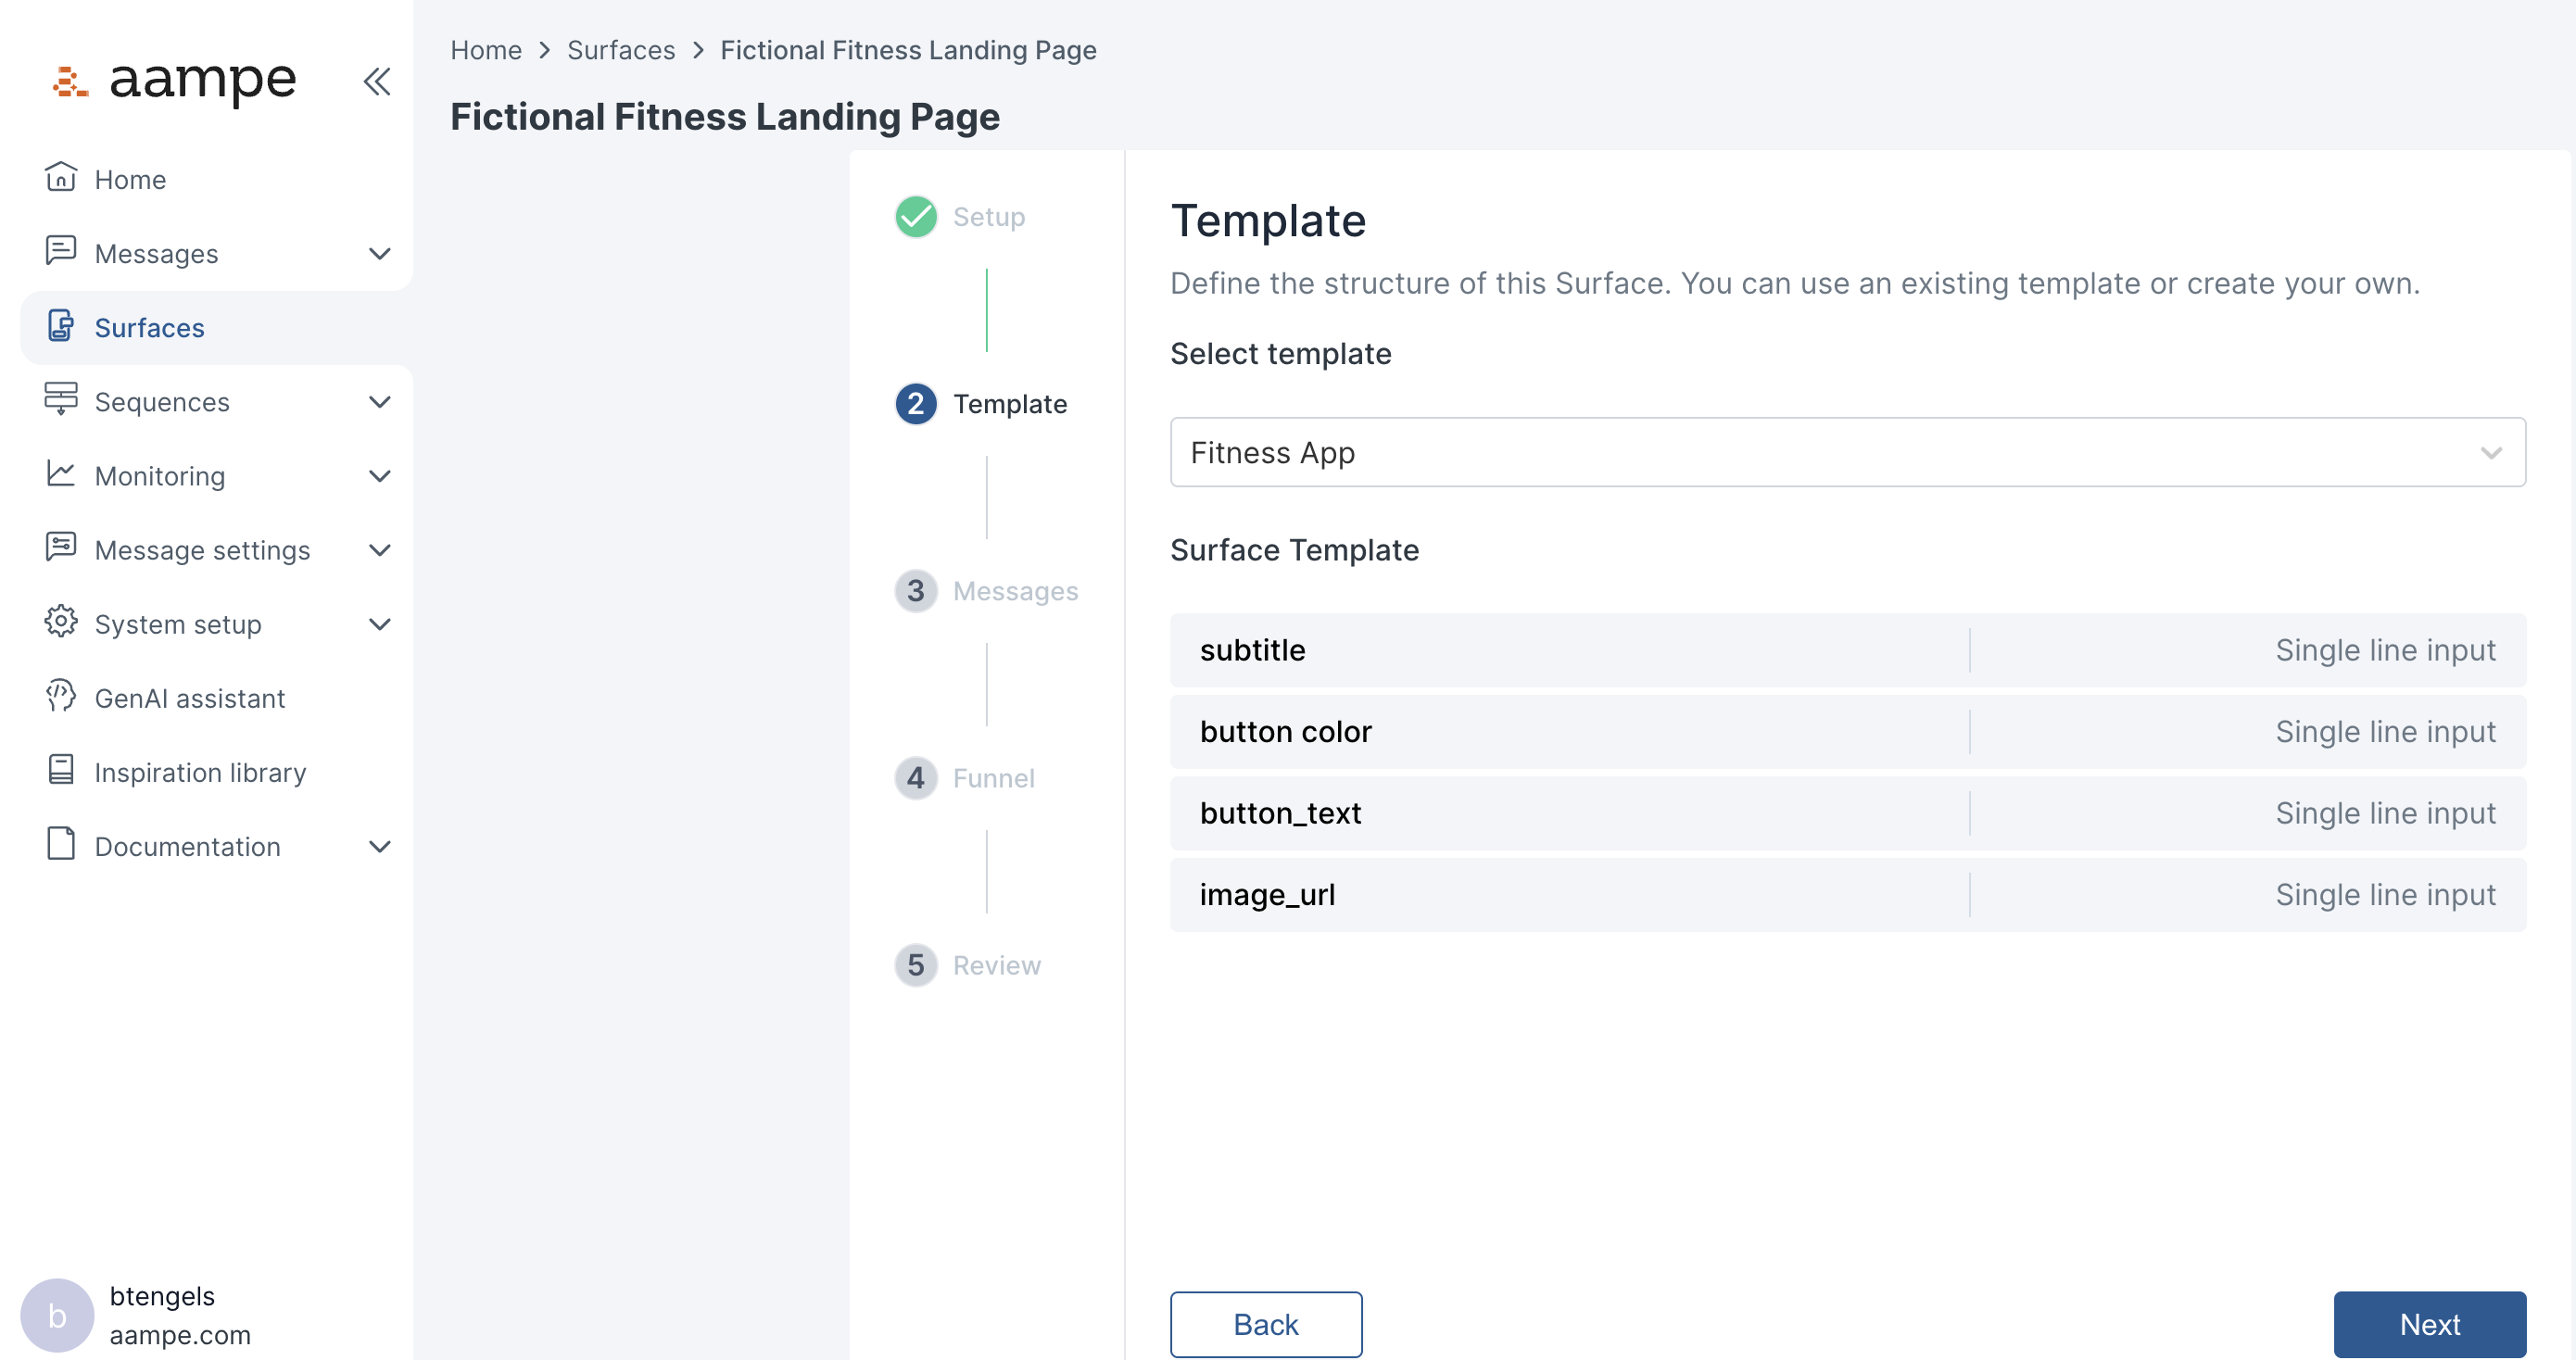
If you have a ready-made template, feel free to select it. A template is simply a list of fields and is unrelated to the message variants that will eventually populate those fields. You can also create the list of fields directly by selecting+ Create Custom from the Surface Template menu.
In this example, we have a template called ‘Fitness App’ that we made previously.
Creating Surface Templates
If you do not have a template to use and would like to create one, navigate to the Surfaces > Templates page in the Aampe Composer-
Click
Create Templateto bring up the following screen
- Add each field you want returned when calling the Surfaces API
- Save the template
Attaching Content to Surface Fields
A Surface needs at least 1 message, and that single message can have many variants.Adding a Message
- After saving your template, click
+ Messageto bring up the Create message form - Choose an appropriate name, audience, and labels (optional)
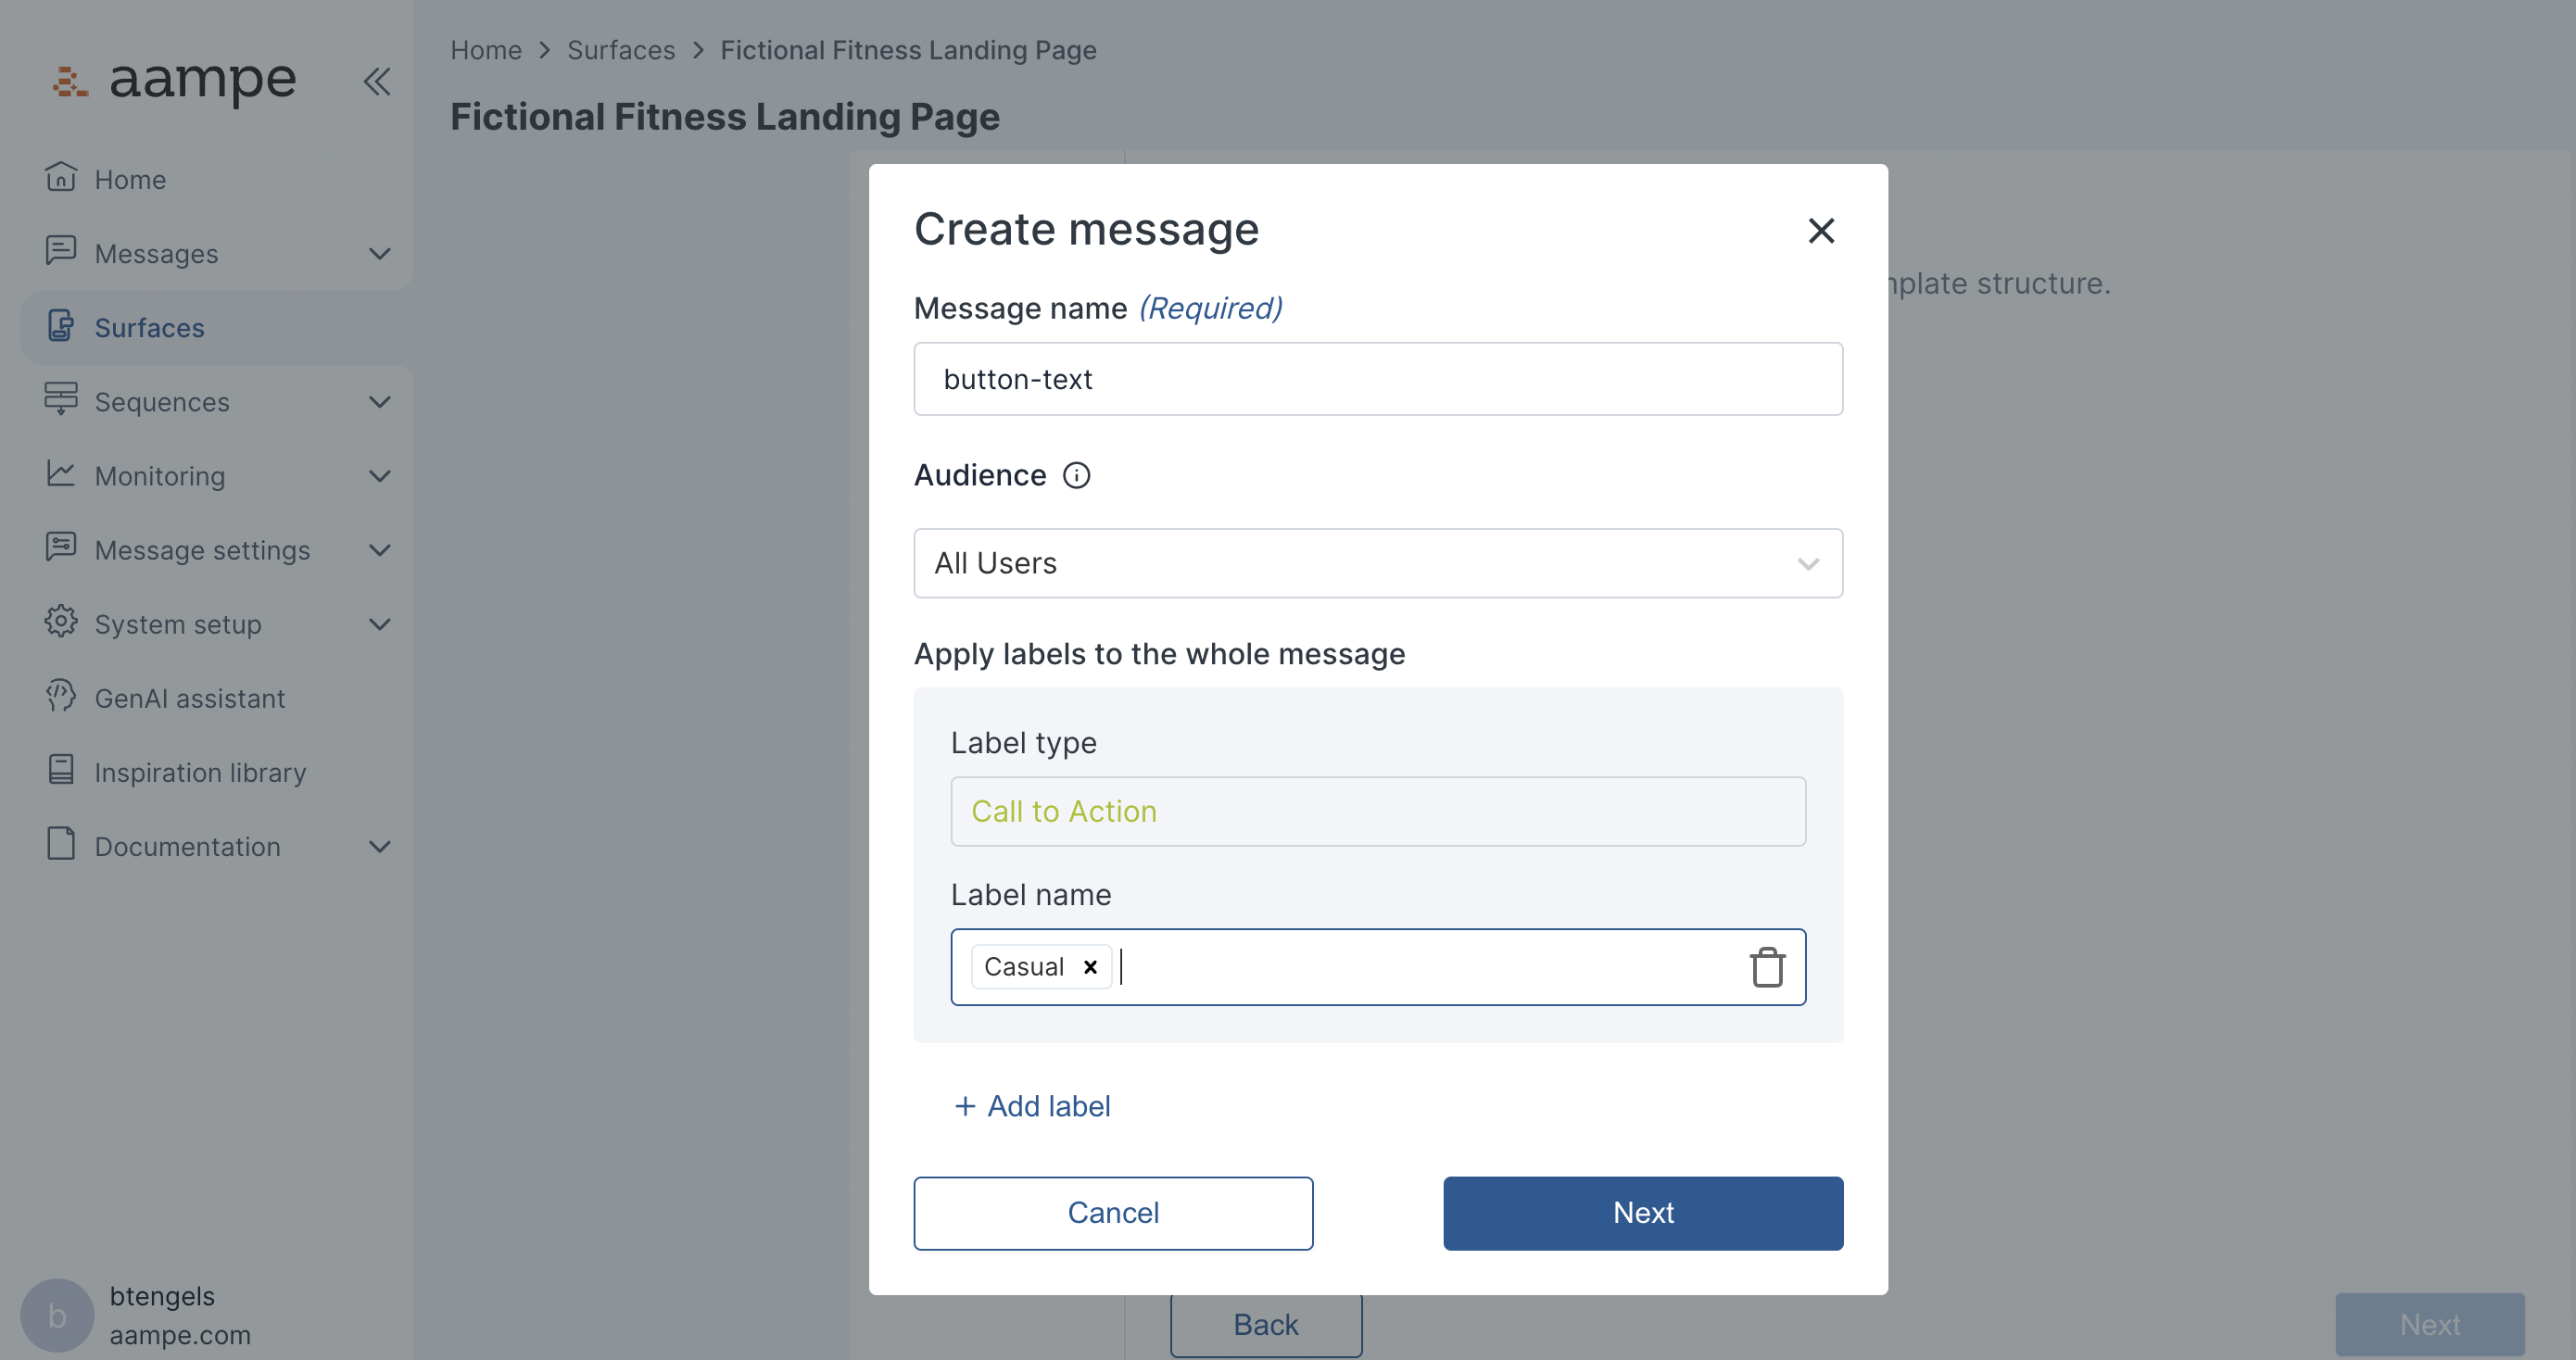
- Add additional content without manipulating existing messages and variants
- Create content for specific audiences
- Ensure elements of the page are thematically consistent (e.g. if you want a picture of a dog to appear with subtitles that mention dogs)
Adding Message Variants
Creating message variants within Surfaces is generally the same as creating message variants for Push, Email, or SMS (see here to review how to create messages and variants for outbound messages).- Write your first text in each field
- Highlight components in each field to add variants and apply labels (this enables experimentation and learning)
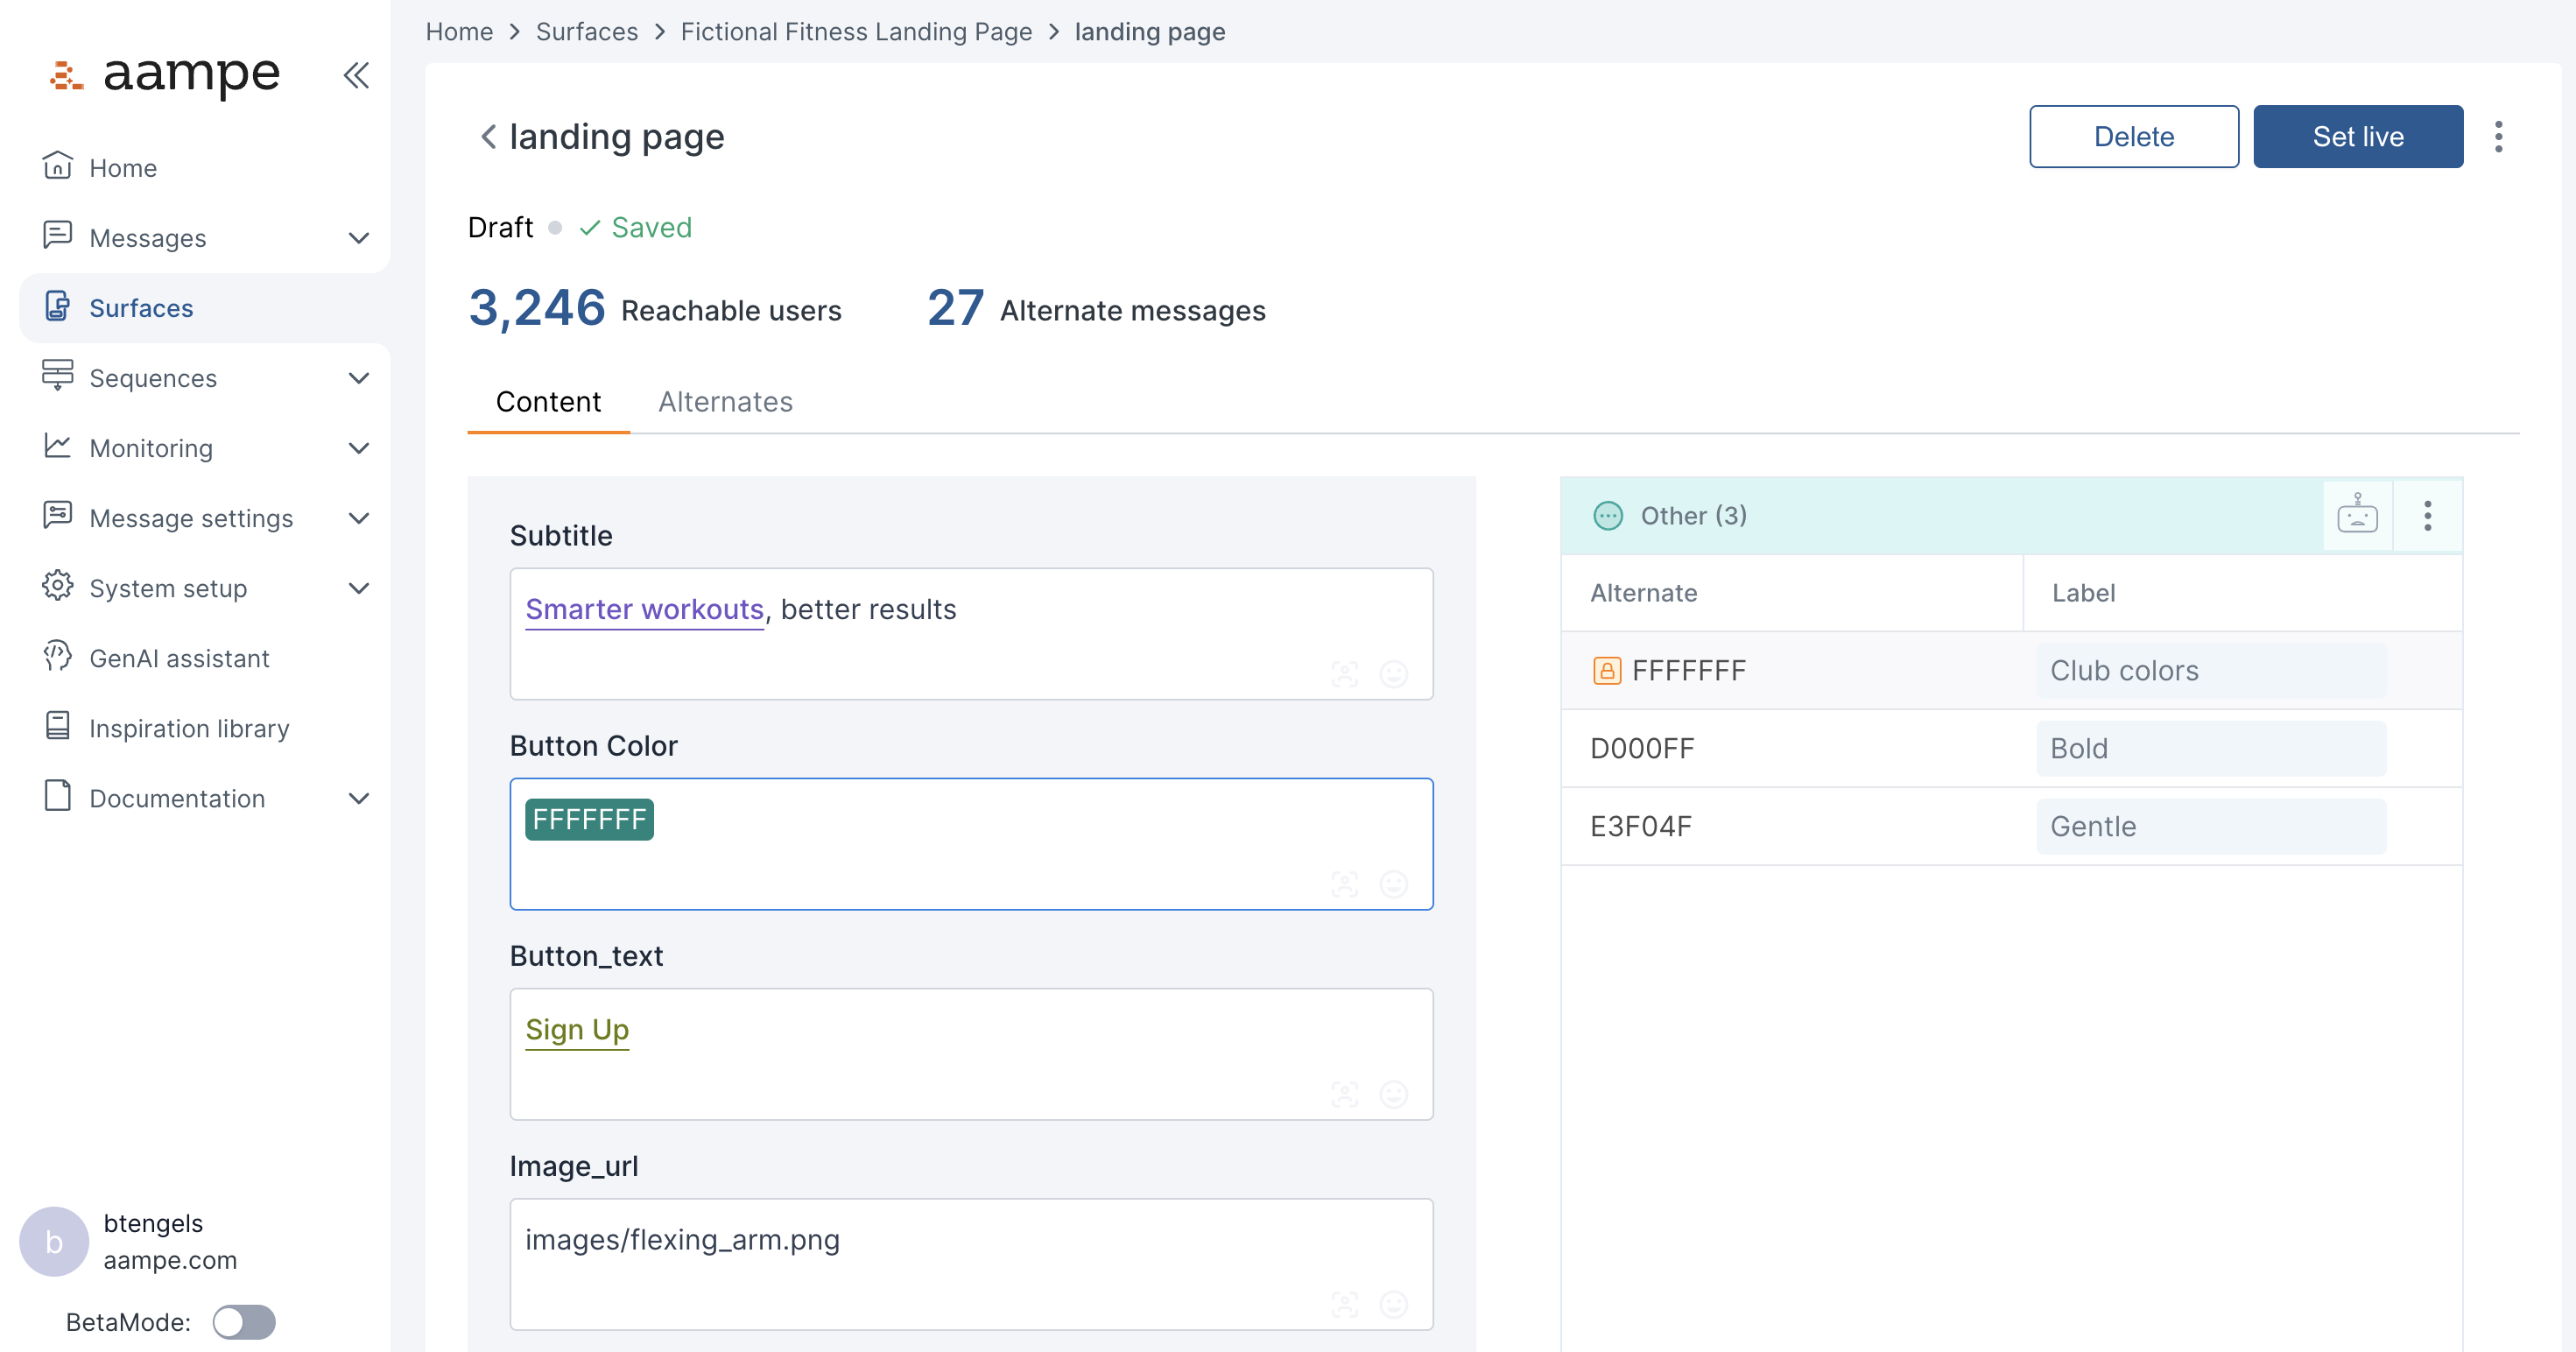
Image field types are currently unable to create variants. If you want to create variants of image urls, simply use a generic single-line text field.
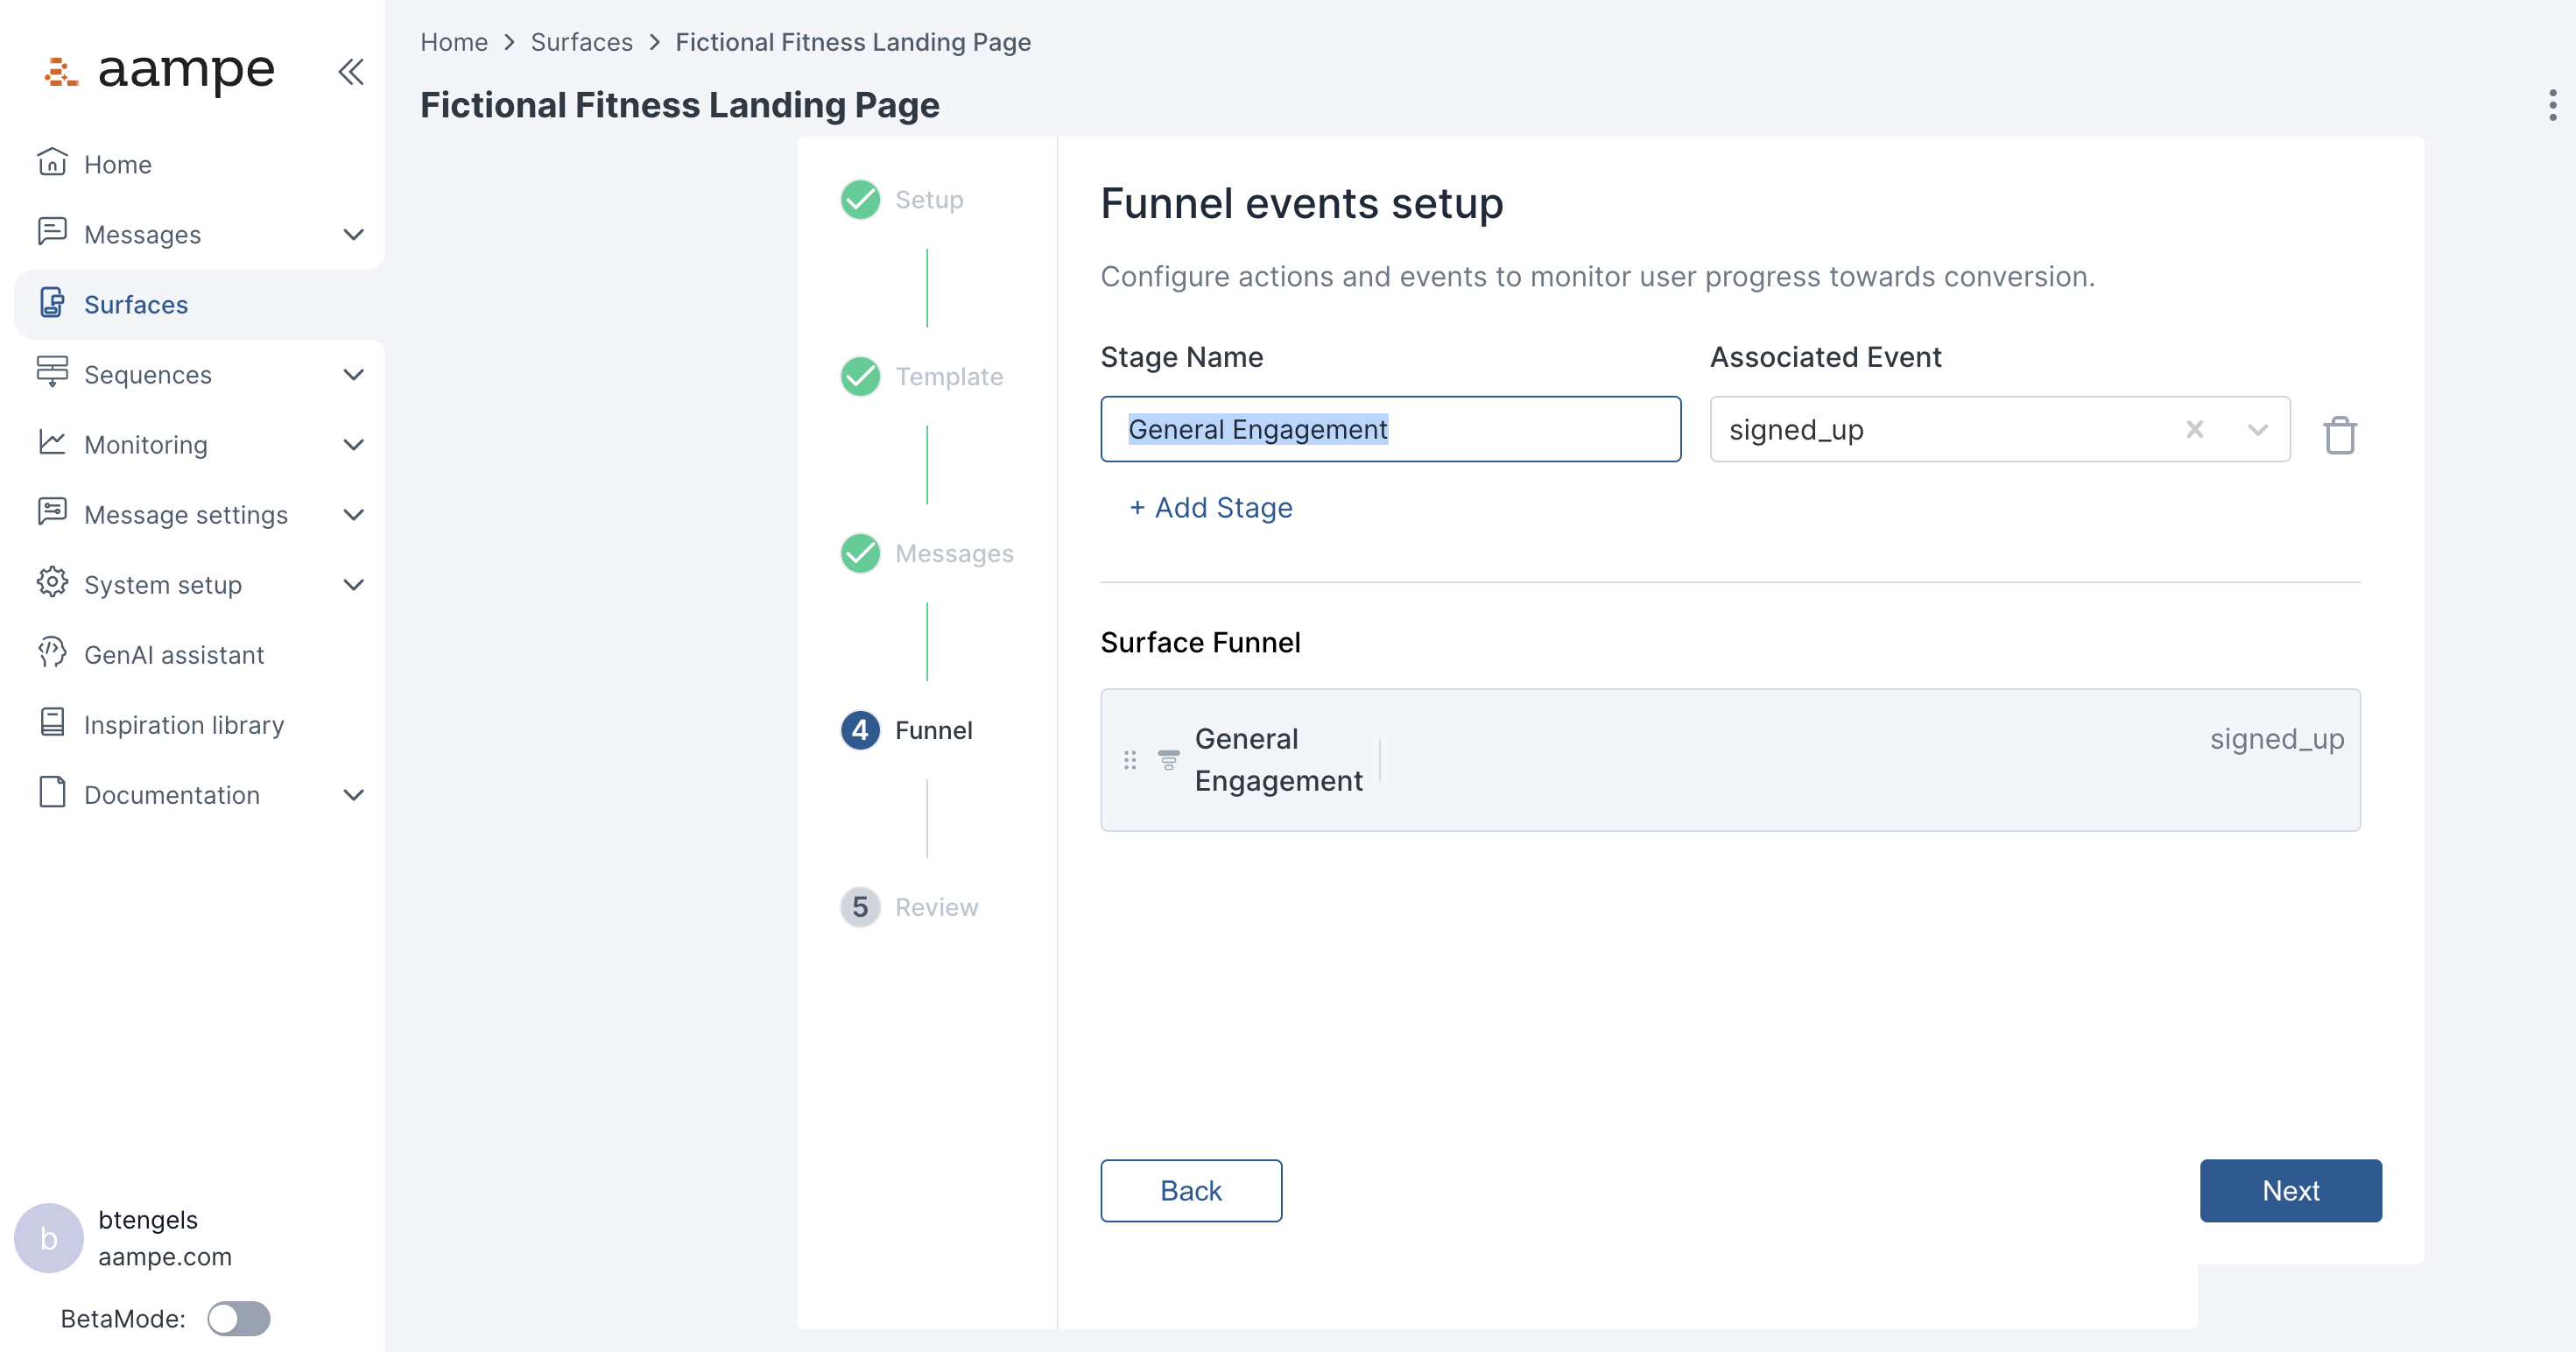
Select Funnel Events
Saving your messages brings you an optional step of selecting specific events to associate with this funnel.If your Surface is inviting users to complete a daily lesson, make a purchase, or refer a friend, you can choose the event that aligns with that specific goal.
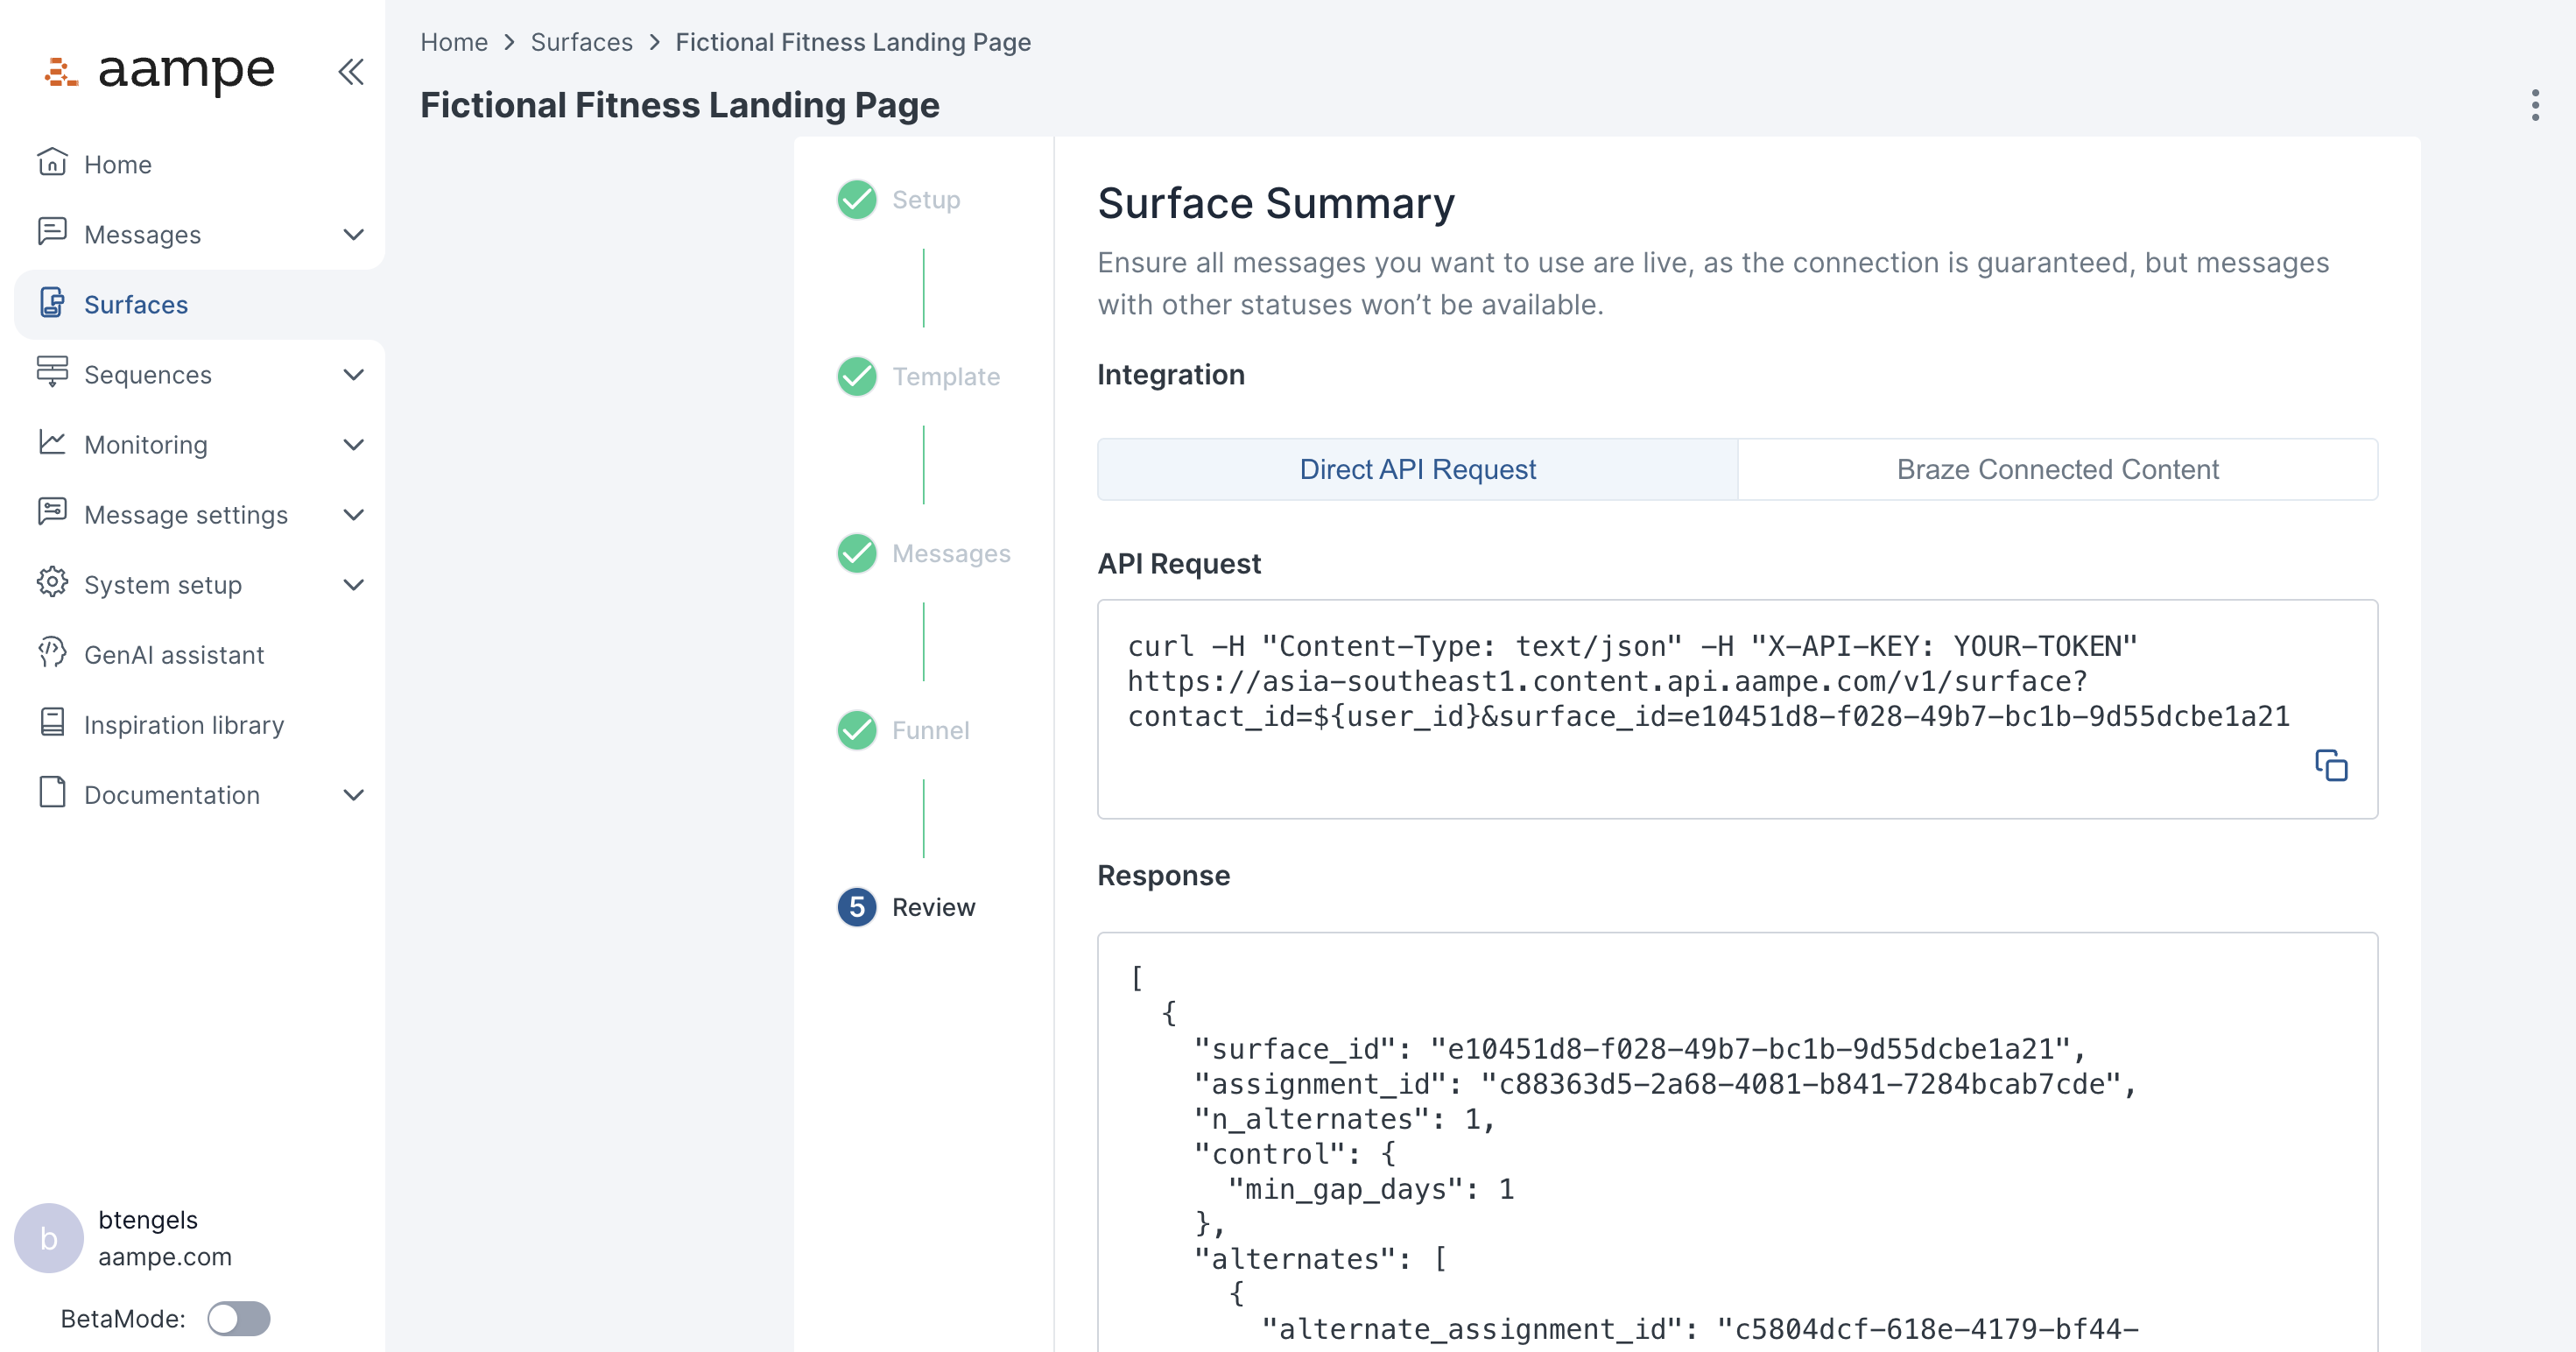
Review API Results
Saving the Funnel Events brings you to the finalReview screen which demonstrates how you would call the Surfaces API to retrieve intelligent content combinations for a specific user.
On this page, you’ll find details for calling the API directly, as well as for connecting the API to assets managed by Braze.