The End Goal
To implement Surfaces, your goal as an Aampe user is to- create a list of all the surface elements that will personalize when a page loads
- prepare any images or other creative assets, if needed
Step 1: Examine Your Current Screens
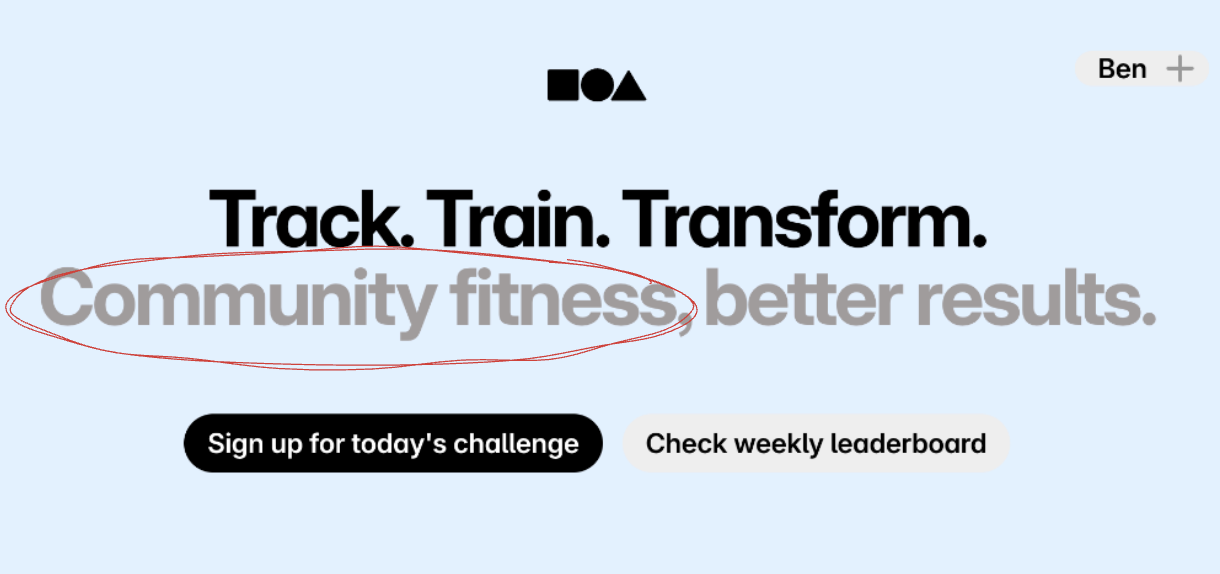
Consider any screen in your app or website. What elements could be personalized?Let’s examine this fictional landing page.

Let’s start with the gray subtitle. Instead of smarter workouts, some users may respond more to community and connection.

Step 2: Prepare Visual Assets
Once you’ve decided what elements are worth personalizing…- Prepare any images and other pre-made visual assets you’d potentially use. If you’re personalizing which of 10 cat pictures will show up for each user, you’ll need all of those images ready.
- List the text fields, colors, button sizes, or other UI elements you want to personalize
- Make sure these fields can be programmatically defined at runtime—Aampe will overwrite them with values from the Surfaces API when the page loads. For images, this usually means having an image url assigned.