Setting Messaging Frequency
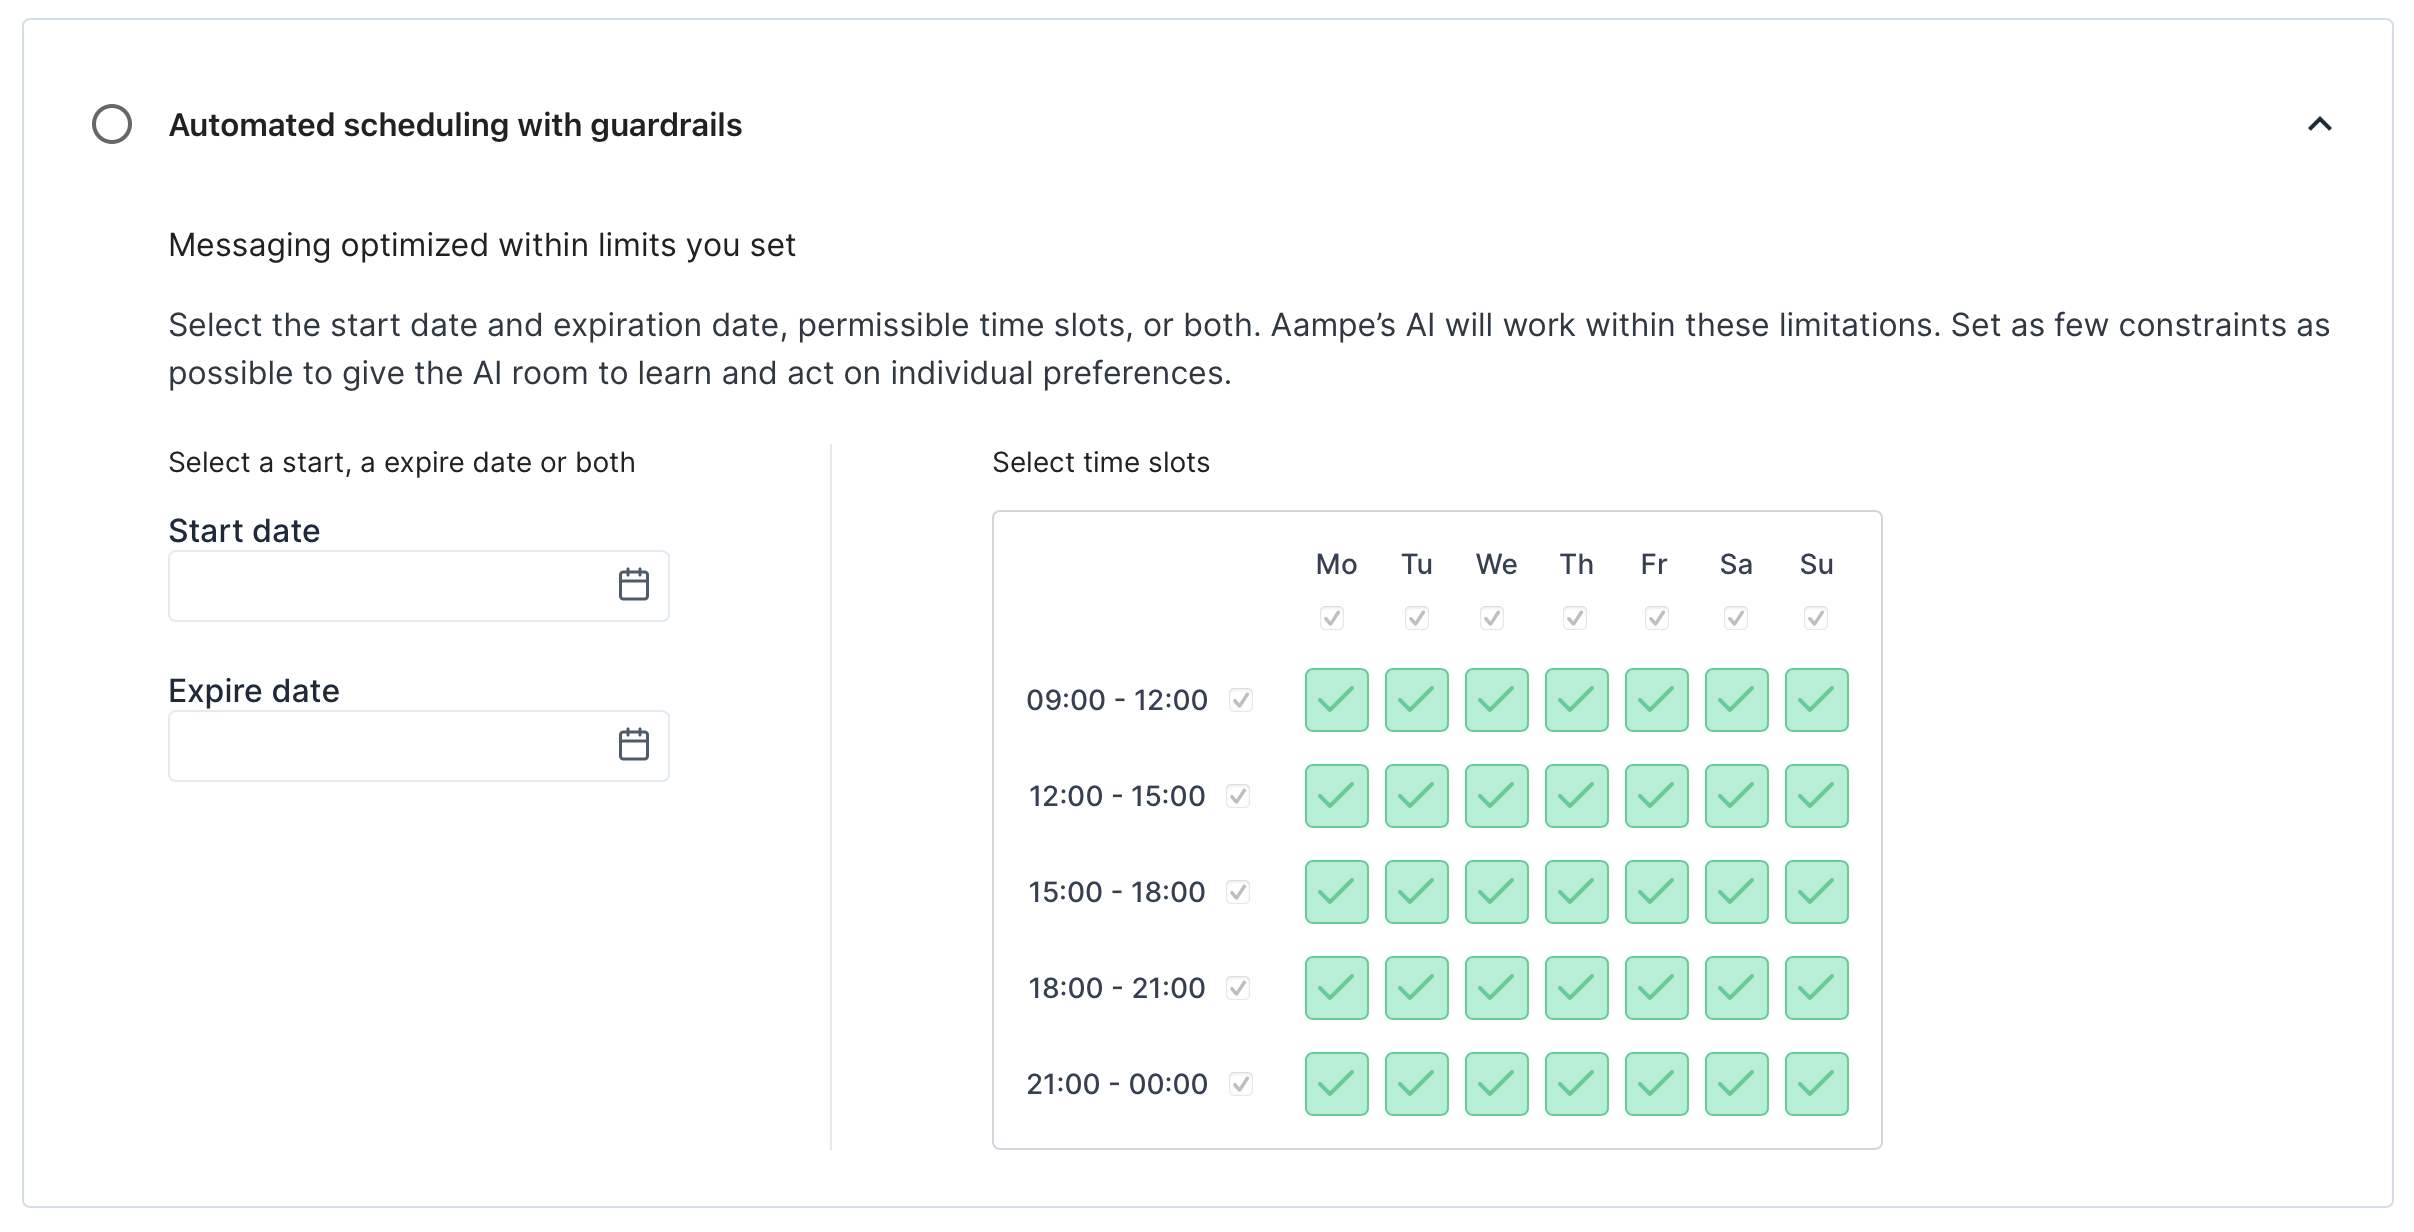
Aampe is designed to avoid spamming your users. Your agents are trained to send fewer, smarter messages that actually drive results. Many Aampe customers find their agents deliver better performance than traditional tools while sending significantly fewer messages overall. Before any message is sent, your agents assess whether it will meaningfully increase the probability of a user taking the desired action. If the answer is no, the message is not sent. That said, we know that some teams need to enforce additional guardrails. To support that, Aampe allows you to define frequency limits for how many messages users can receive in a given week.How to Set Messaging Frequency
- Go to Configure > Frequency Limits in the left-side navigation
- Click Edit next to any trigger
- Set the maximum number of messages per week for that trigger
- Click Save
Your changes will take effect the following day.
How Frequency Limits Work
Frequency limits are defined per trigger. This gives you granular control over messaging volume based on user behavior.- If a user has not qualified for any trigger, only the **“No Trigger”** frequency limit applies.
- If a user has qualified for one or more triggers, they may receive:
- Up to the max number of messages set under “No Trigger”
- Plus, the max number of messages for each trigger they qualify for
Example: If you set a “No Trigger” limit of 5 messages per week, and a “Cart Abandonment” trigger limit of 4 messages per week, a user who qualifies for the Cart Abandonment trigger could receive up to 9 messages in total that week.
Keep in Mind
These are upper bounds, not quotas. Just because a user could receive that many messages doesn’t mean they will. Your agents still determine the optimal messaging frequency for each user, which is often well below the defined maximums—especially if higher volumes would not increase the likelihood of conversion.FAQ - Message Frequency Settings
Will Aampe override the frequency caps set in my message delivery tool?
Will Aampe override the frequency caps set in my message delivery tool?
Only if you want it to. For select message providers, we have an option to override the delivery-layer settings. The option is unselected by default. 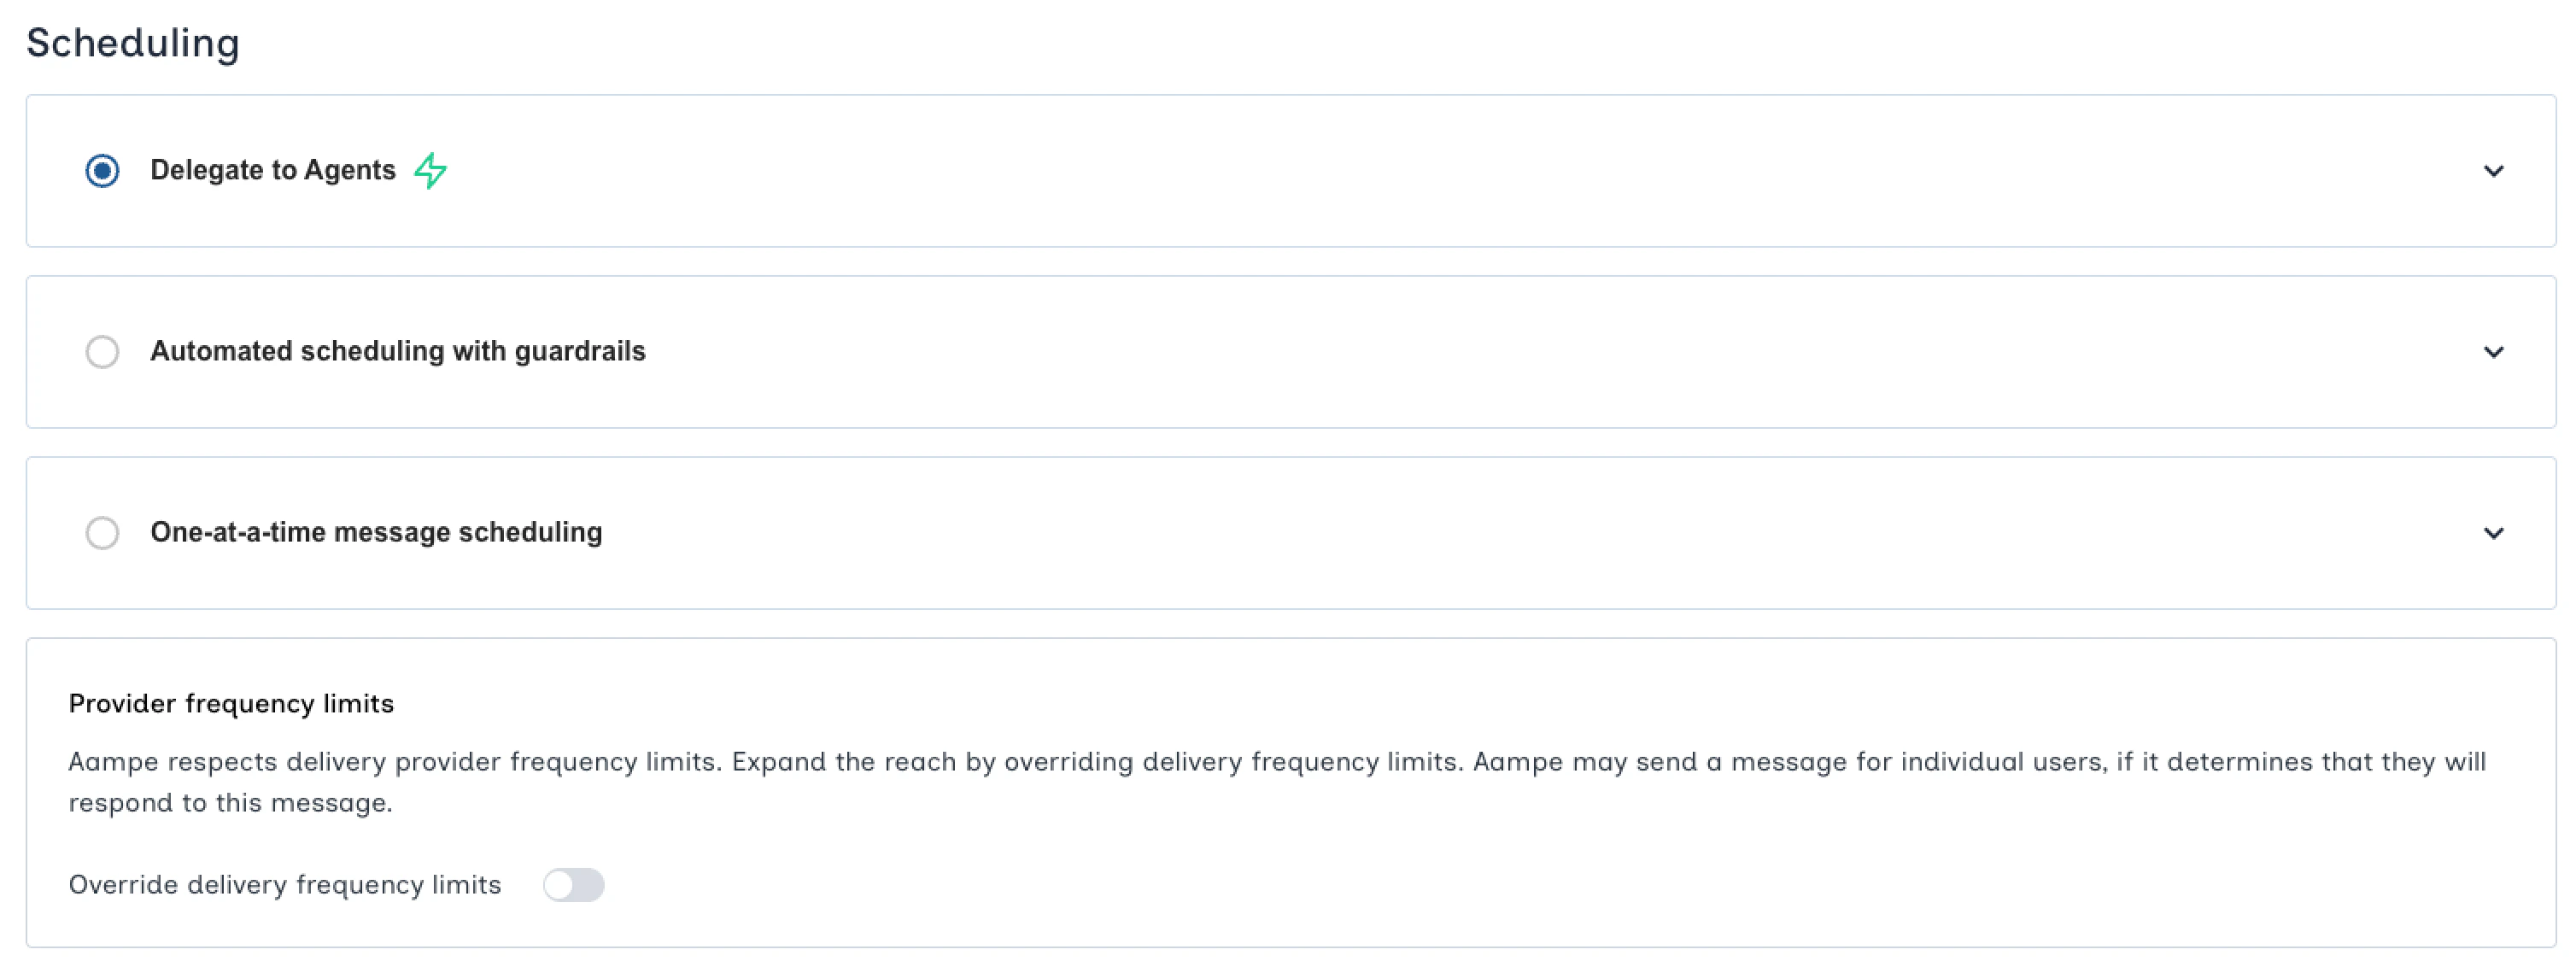
Where can I monitor message frequency?
Where can I monitor message frequency?
You can track detailed trends of messages-per-user each week in the Frequency Tracker.