How To Create Push Notifications in Aampe
Step 1: Create a Message
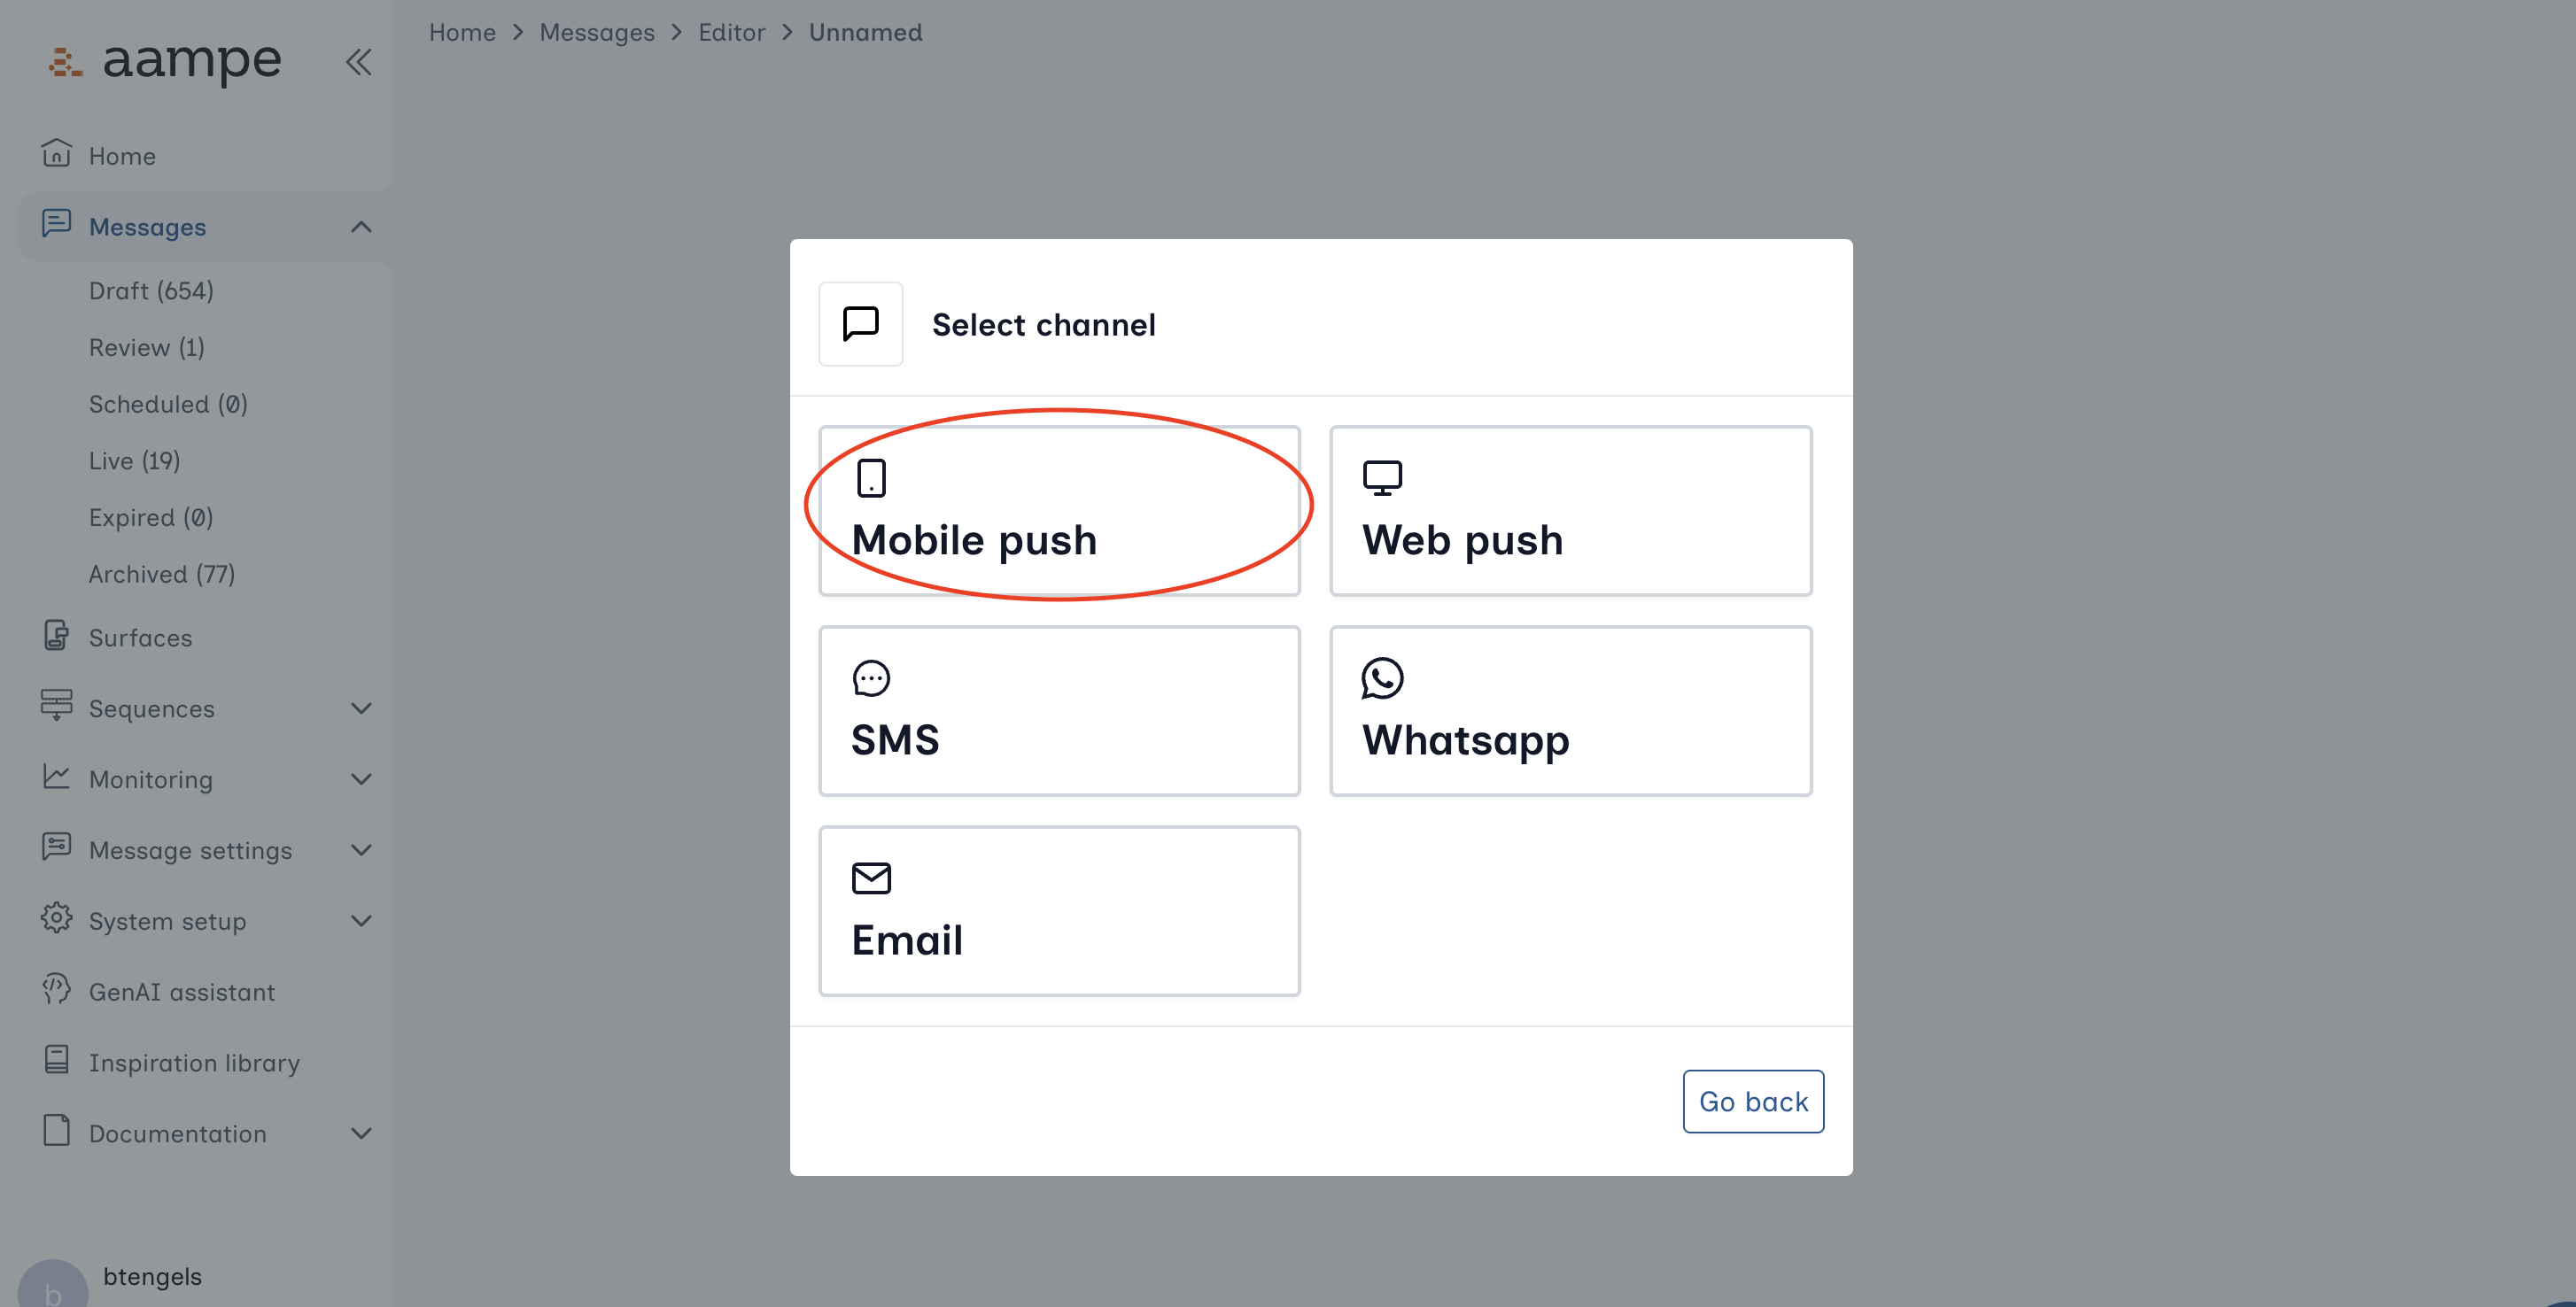
Navigate to the Messages tab. Click Create new message.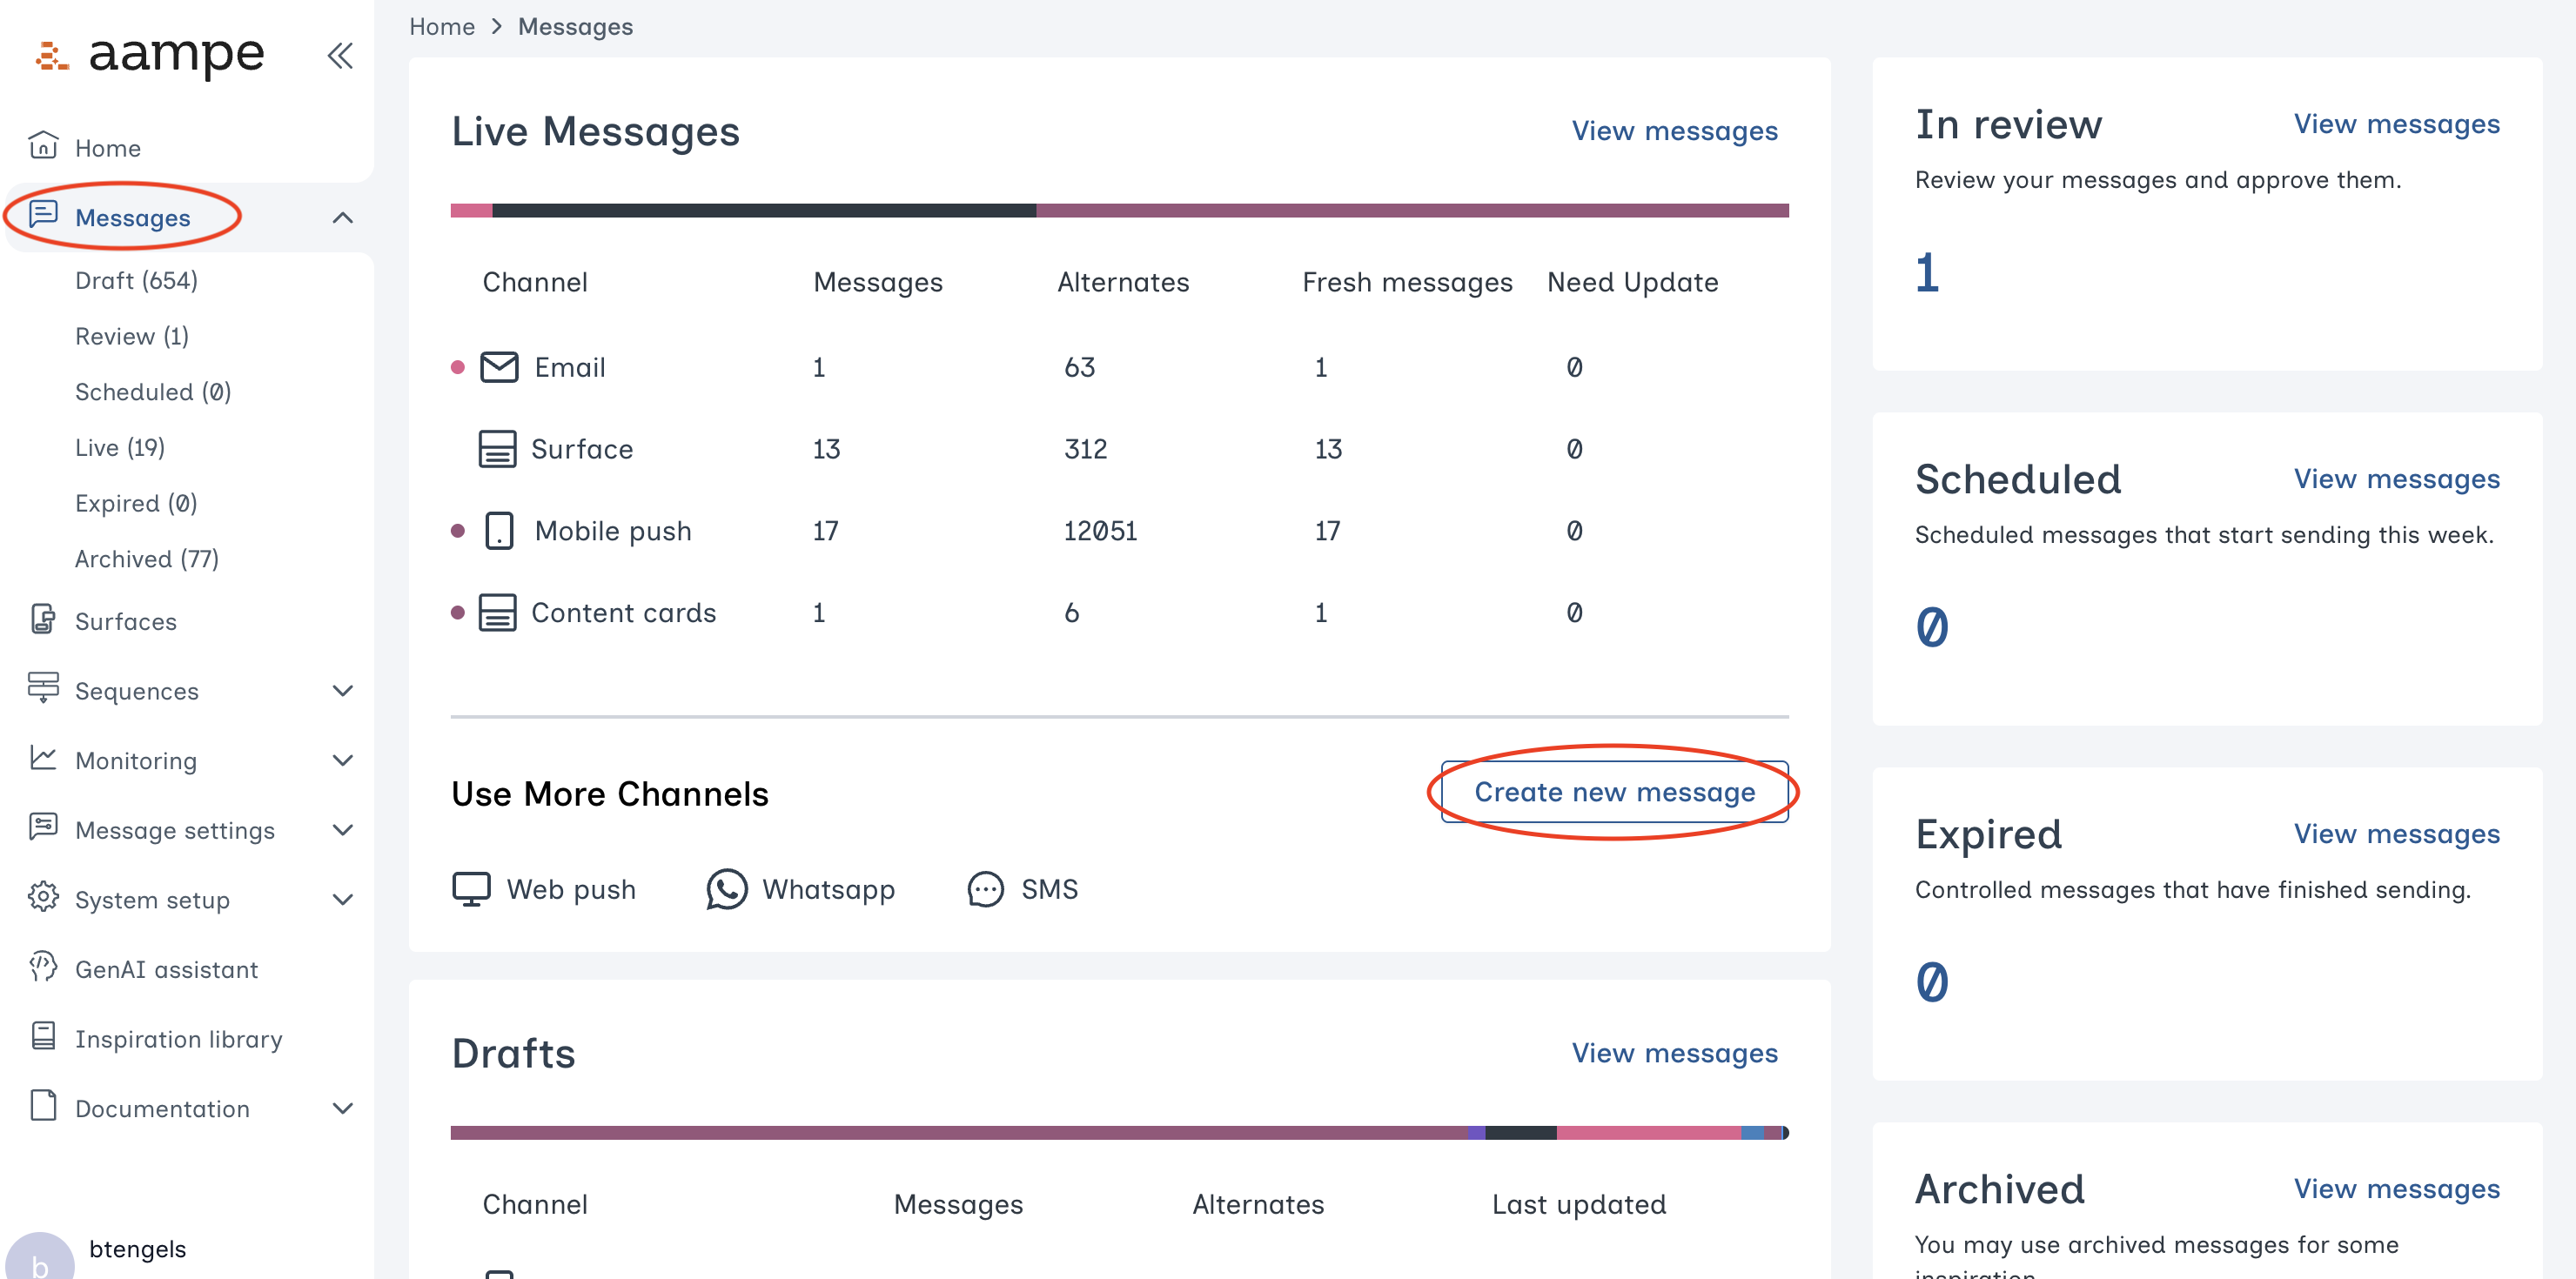
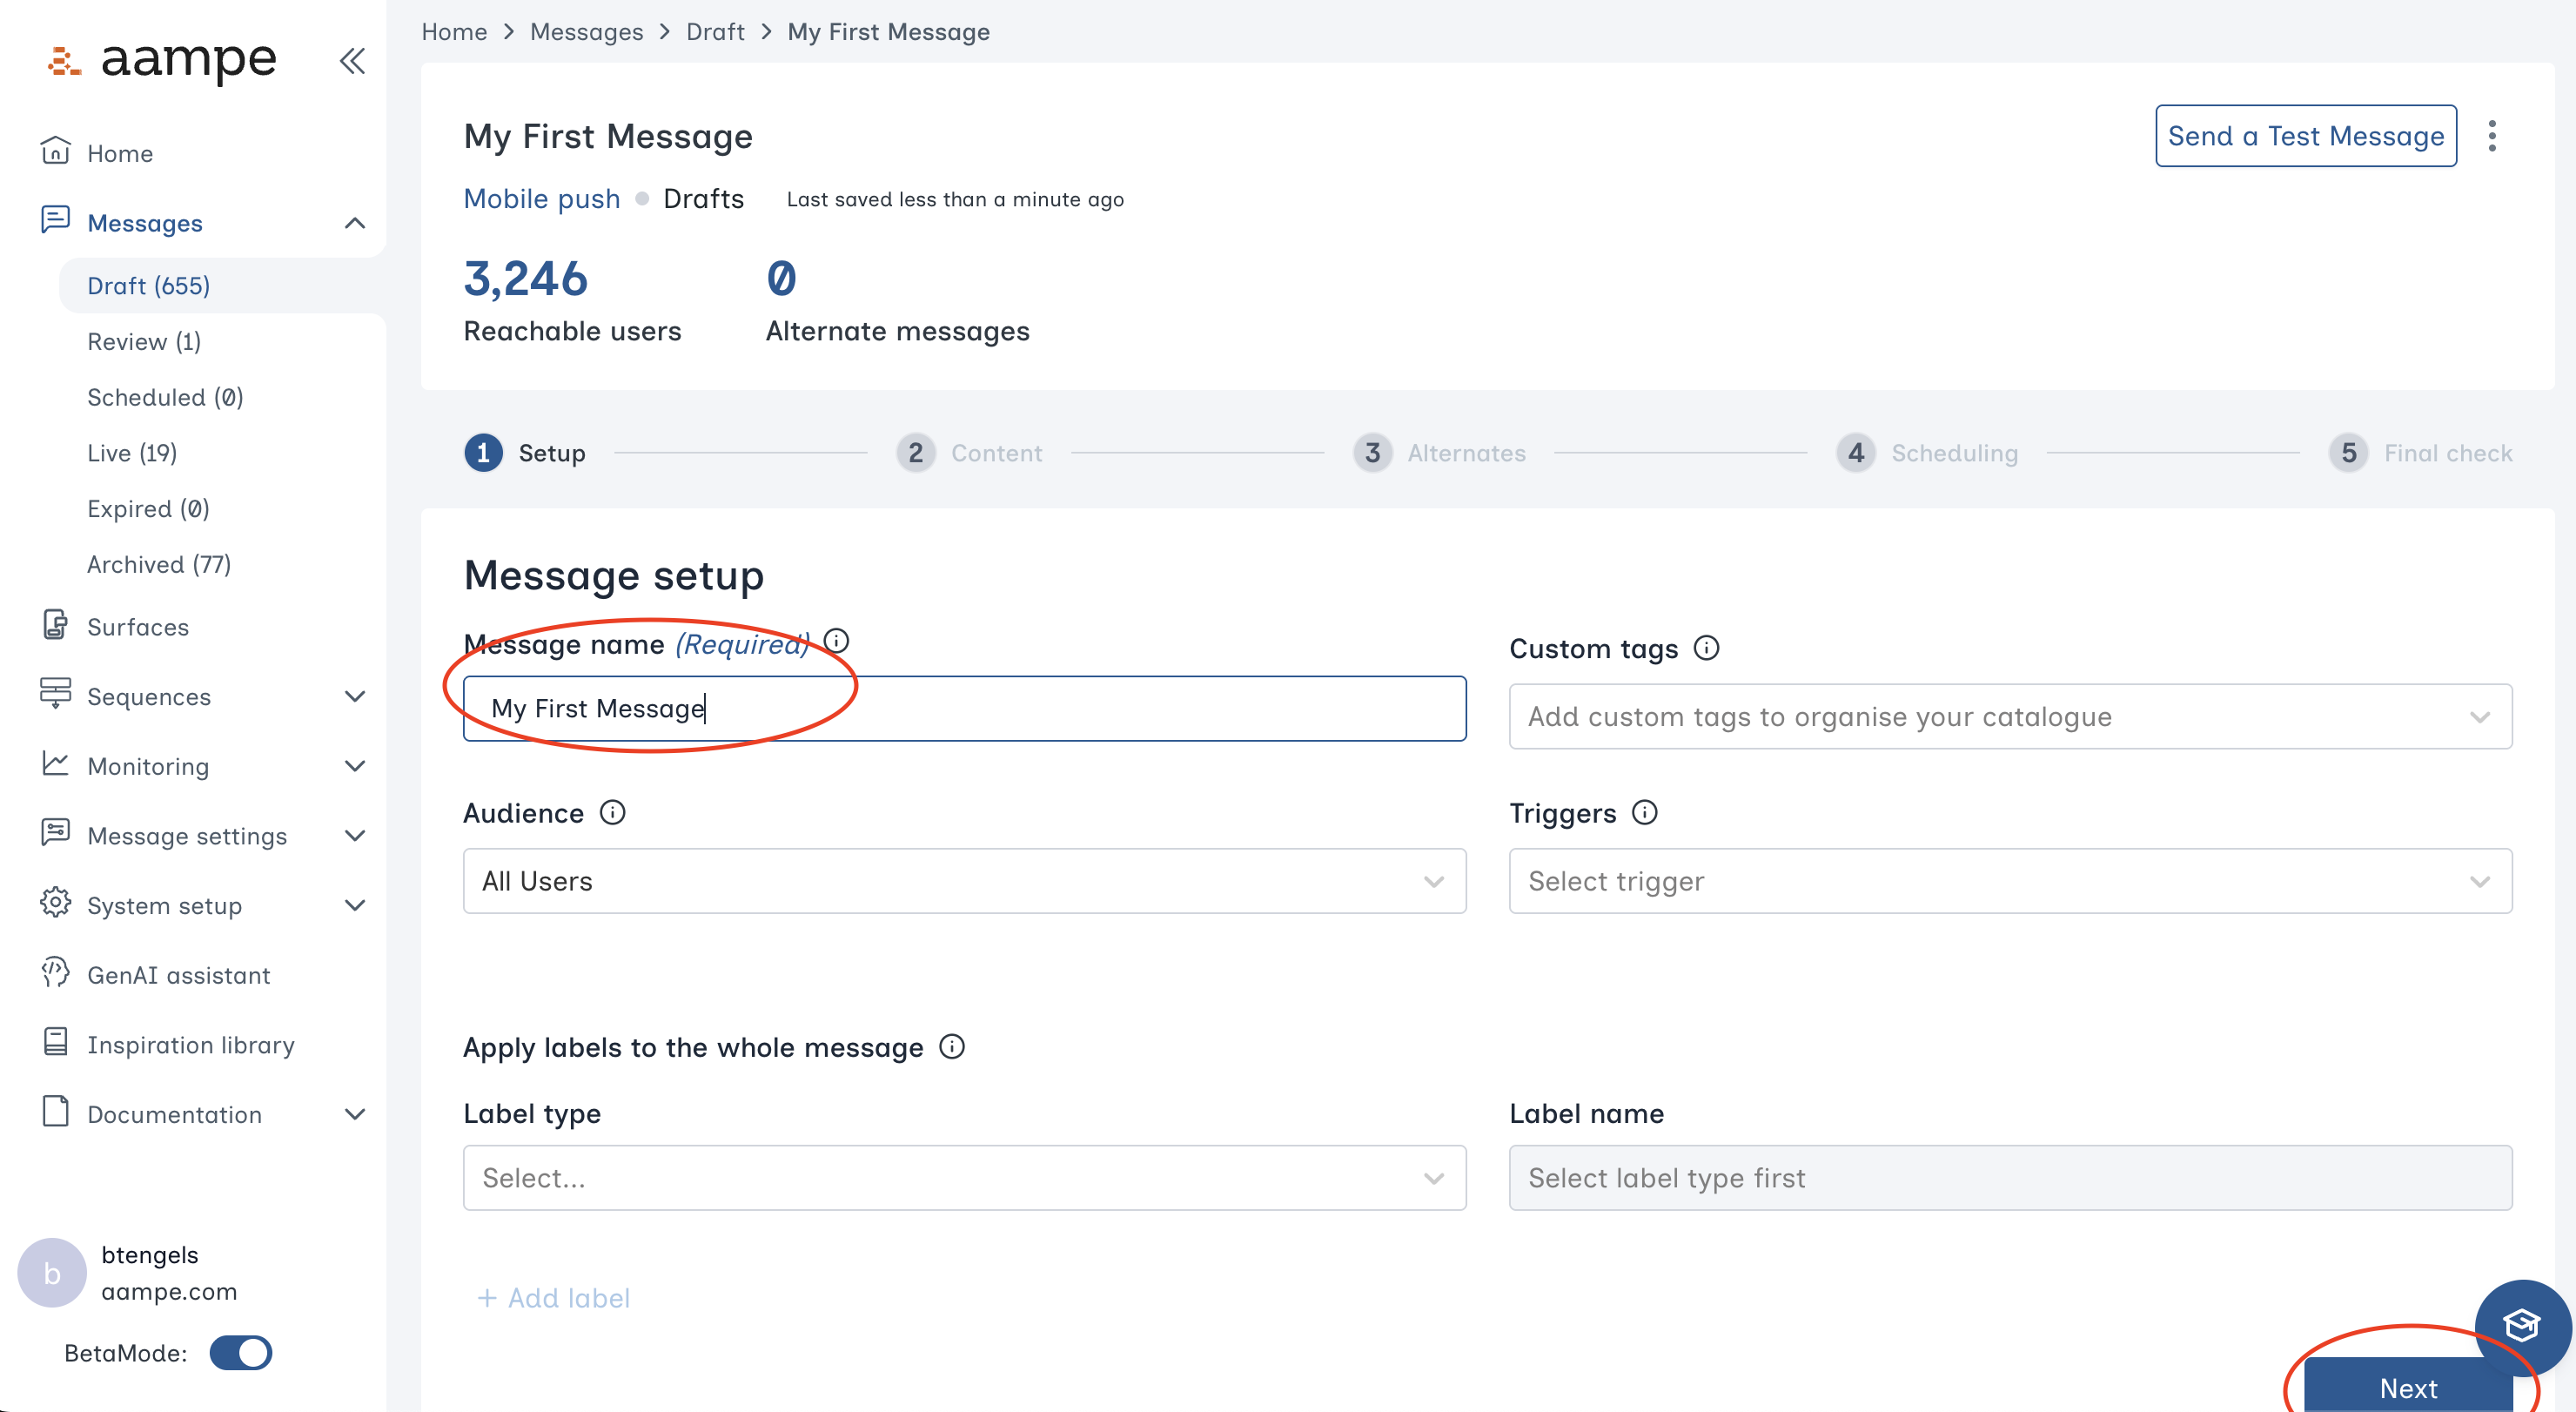
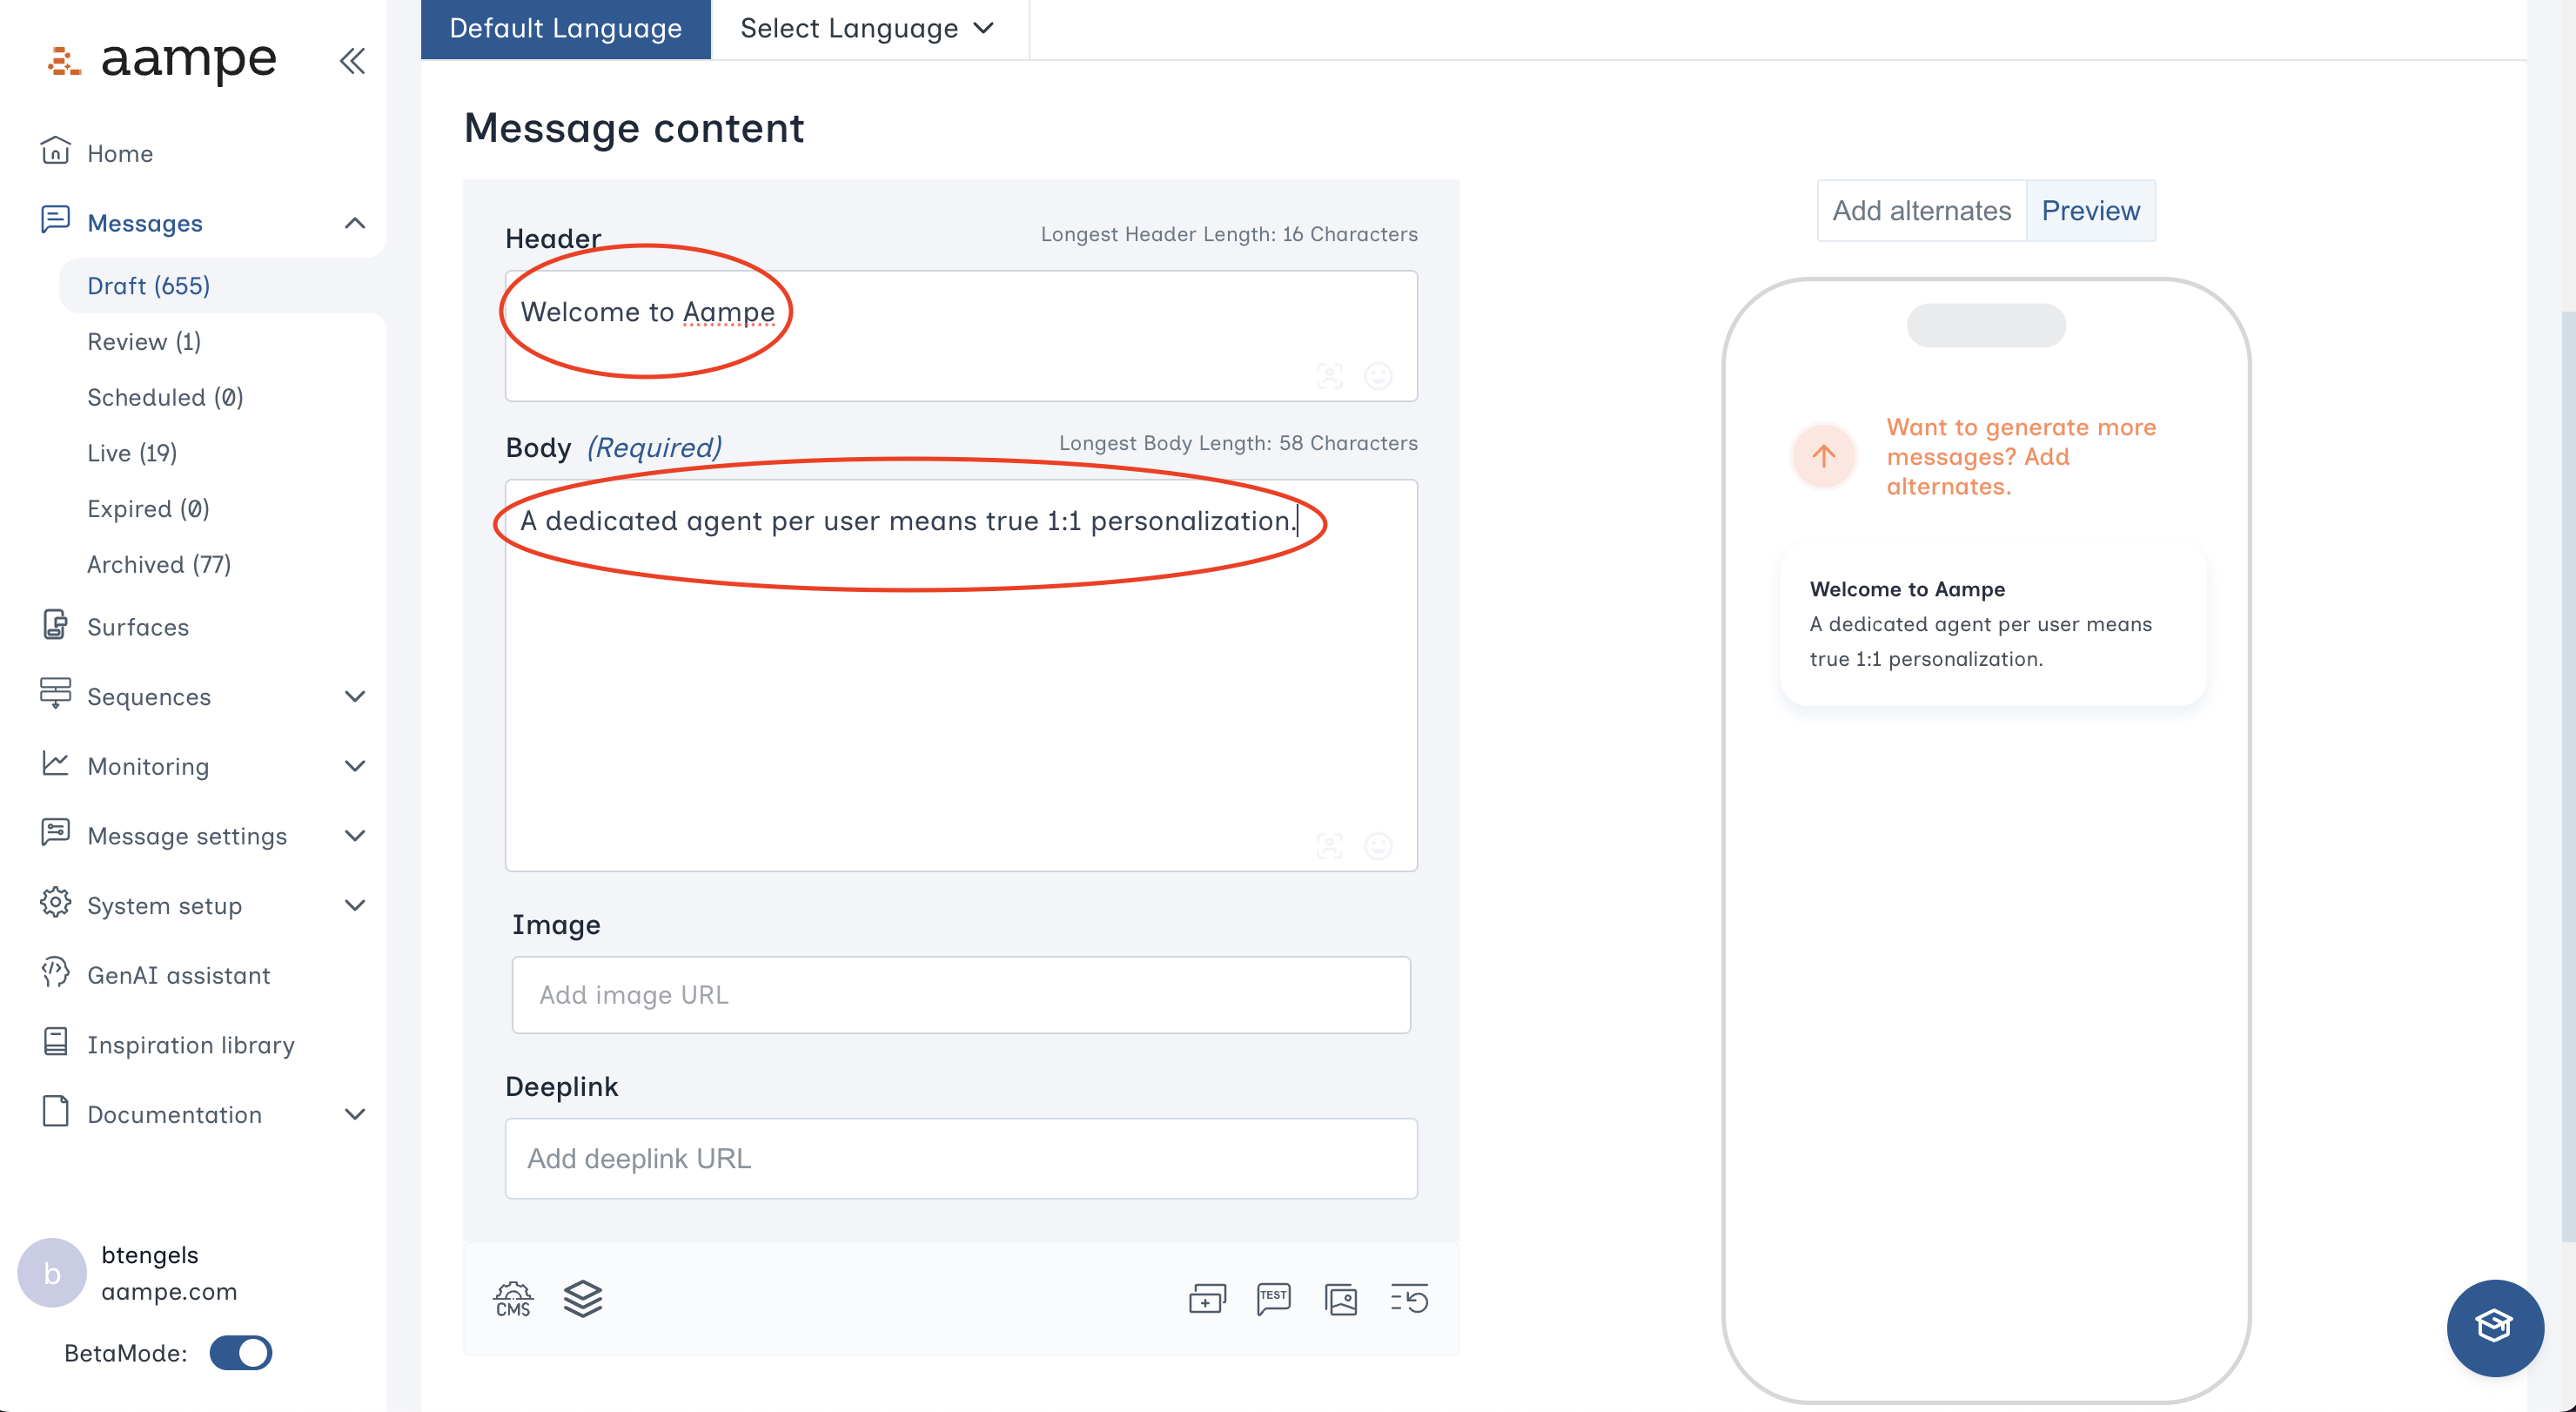
Step 2: Create the Message Content
You have fields for the message header, message body, an image, and a deeplink URL. The icons beneath the Deeplink field allow you to- connect a CMS feed
- connect a dataset
- add a button
- send a test message
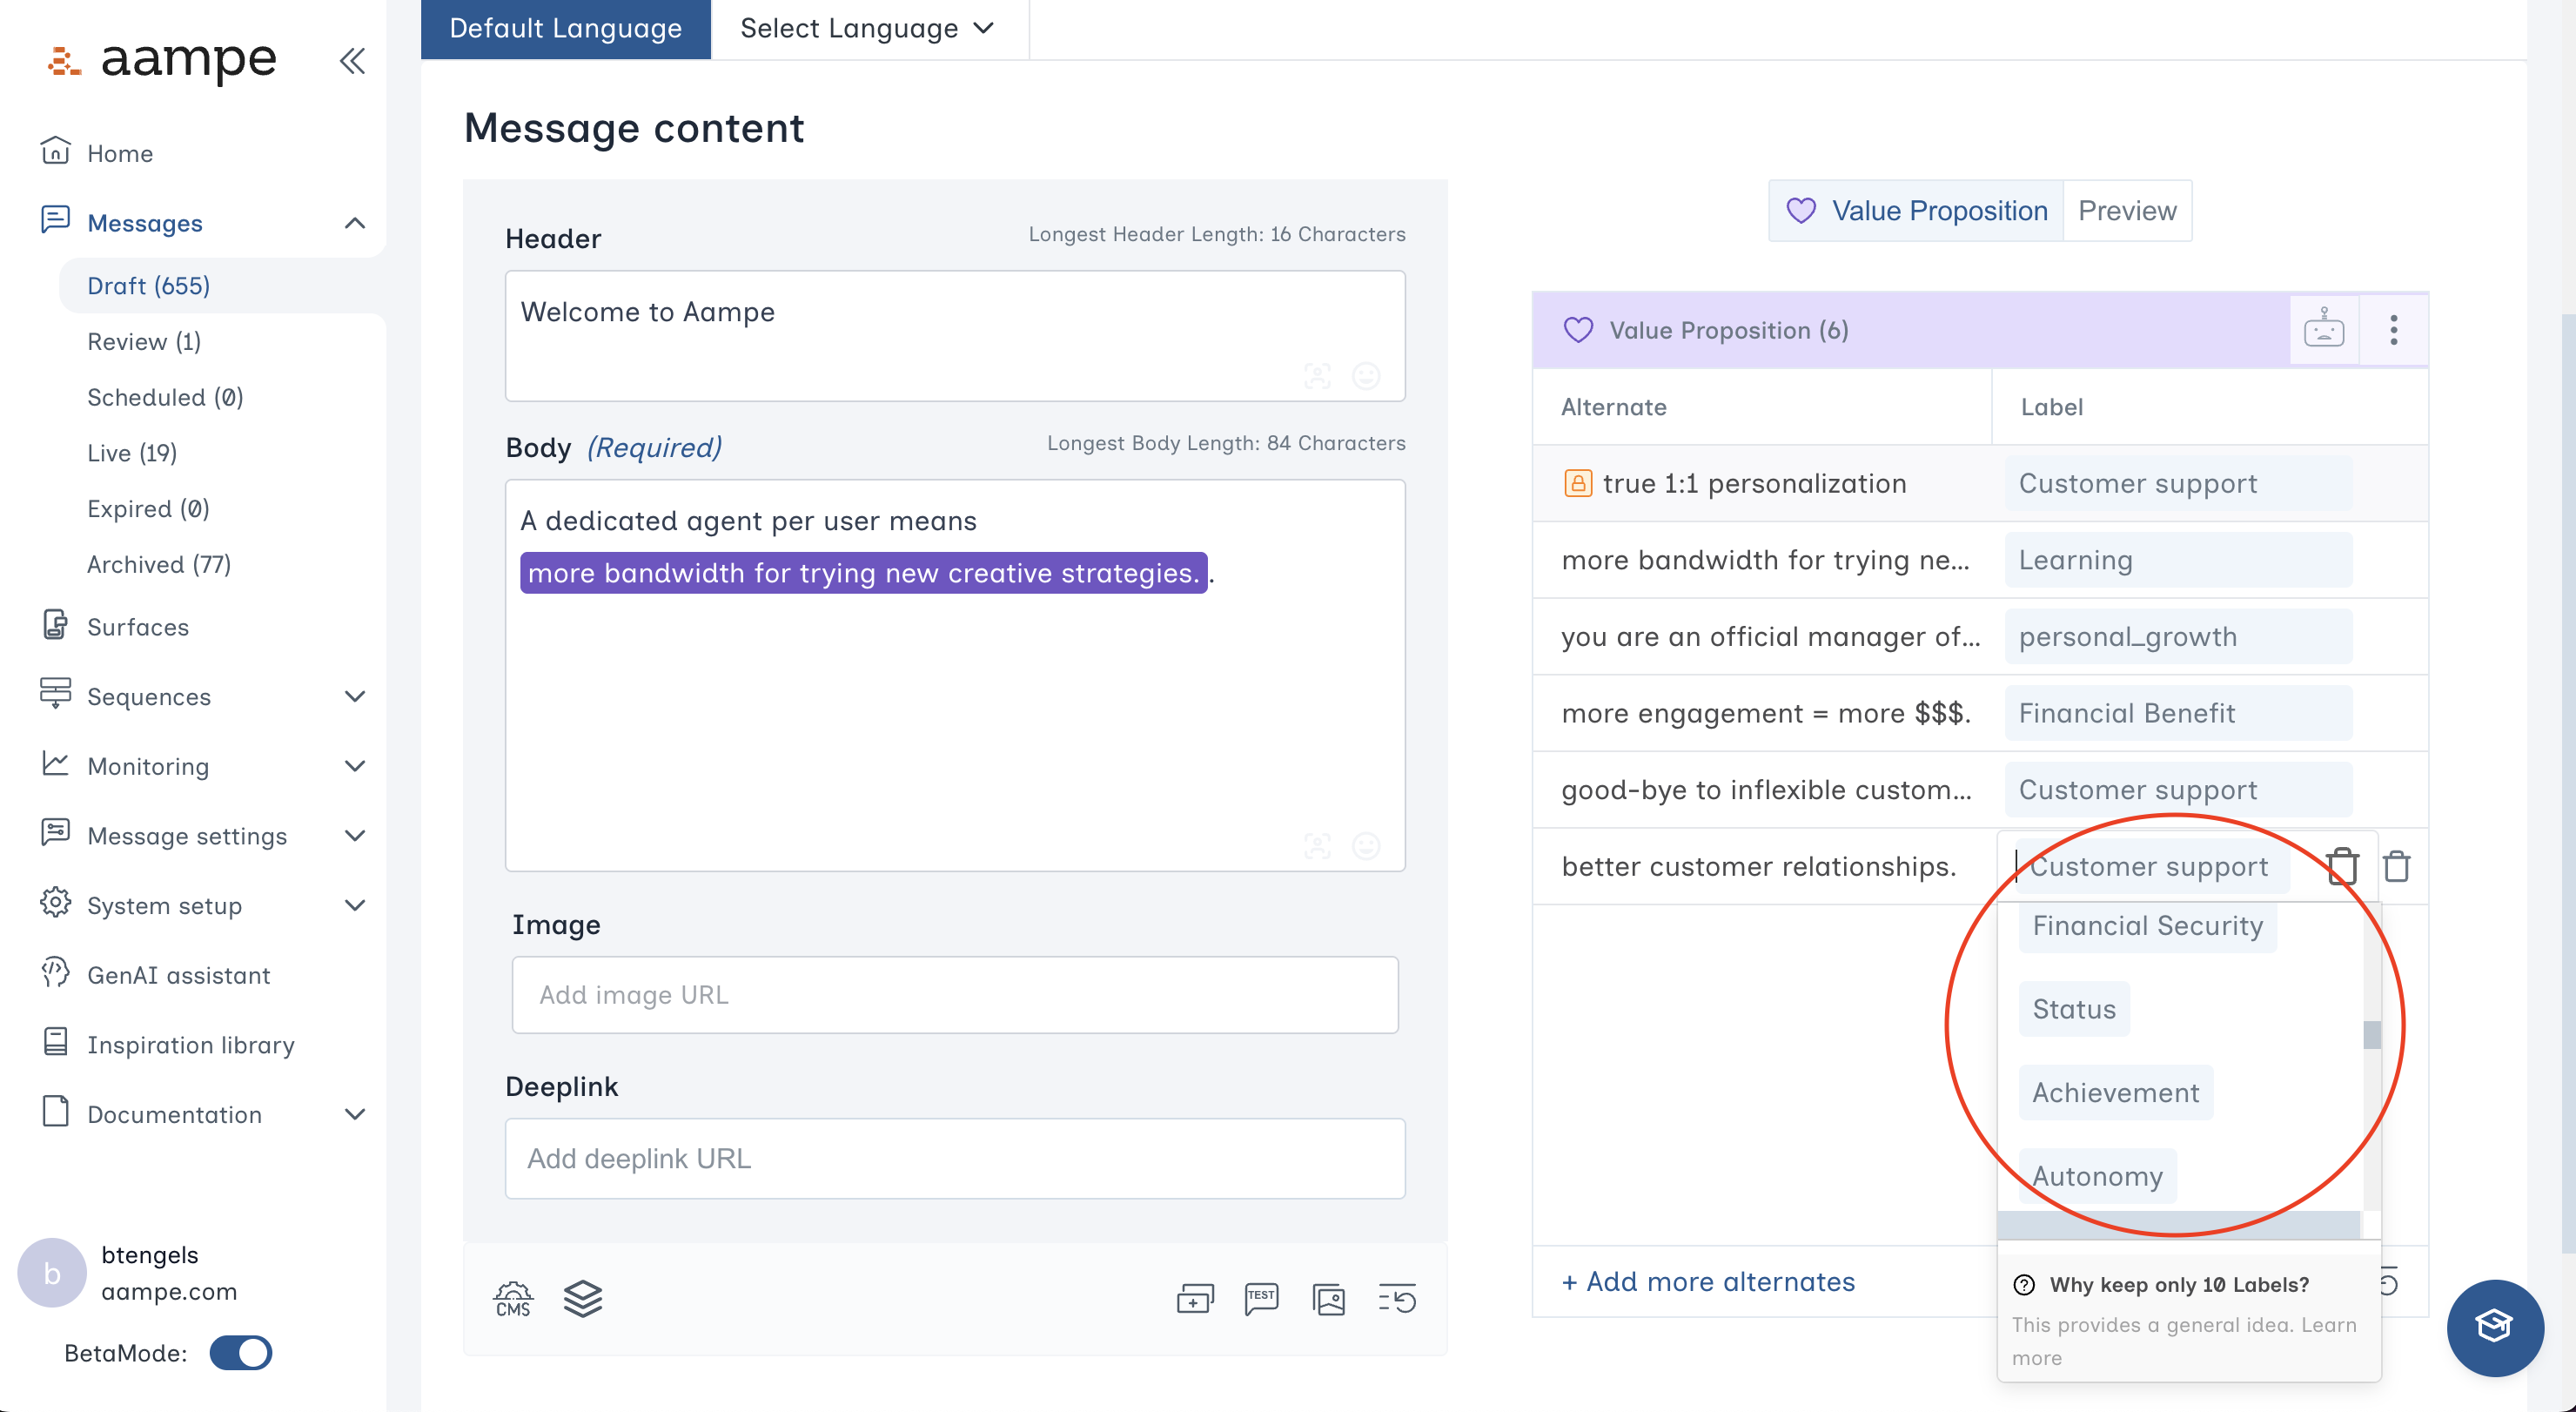
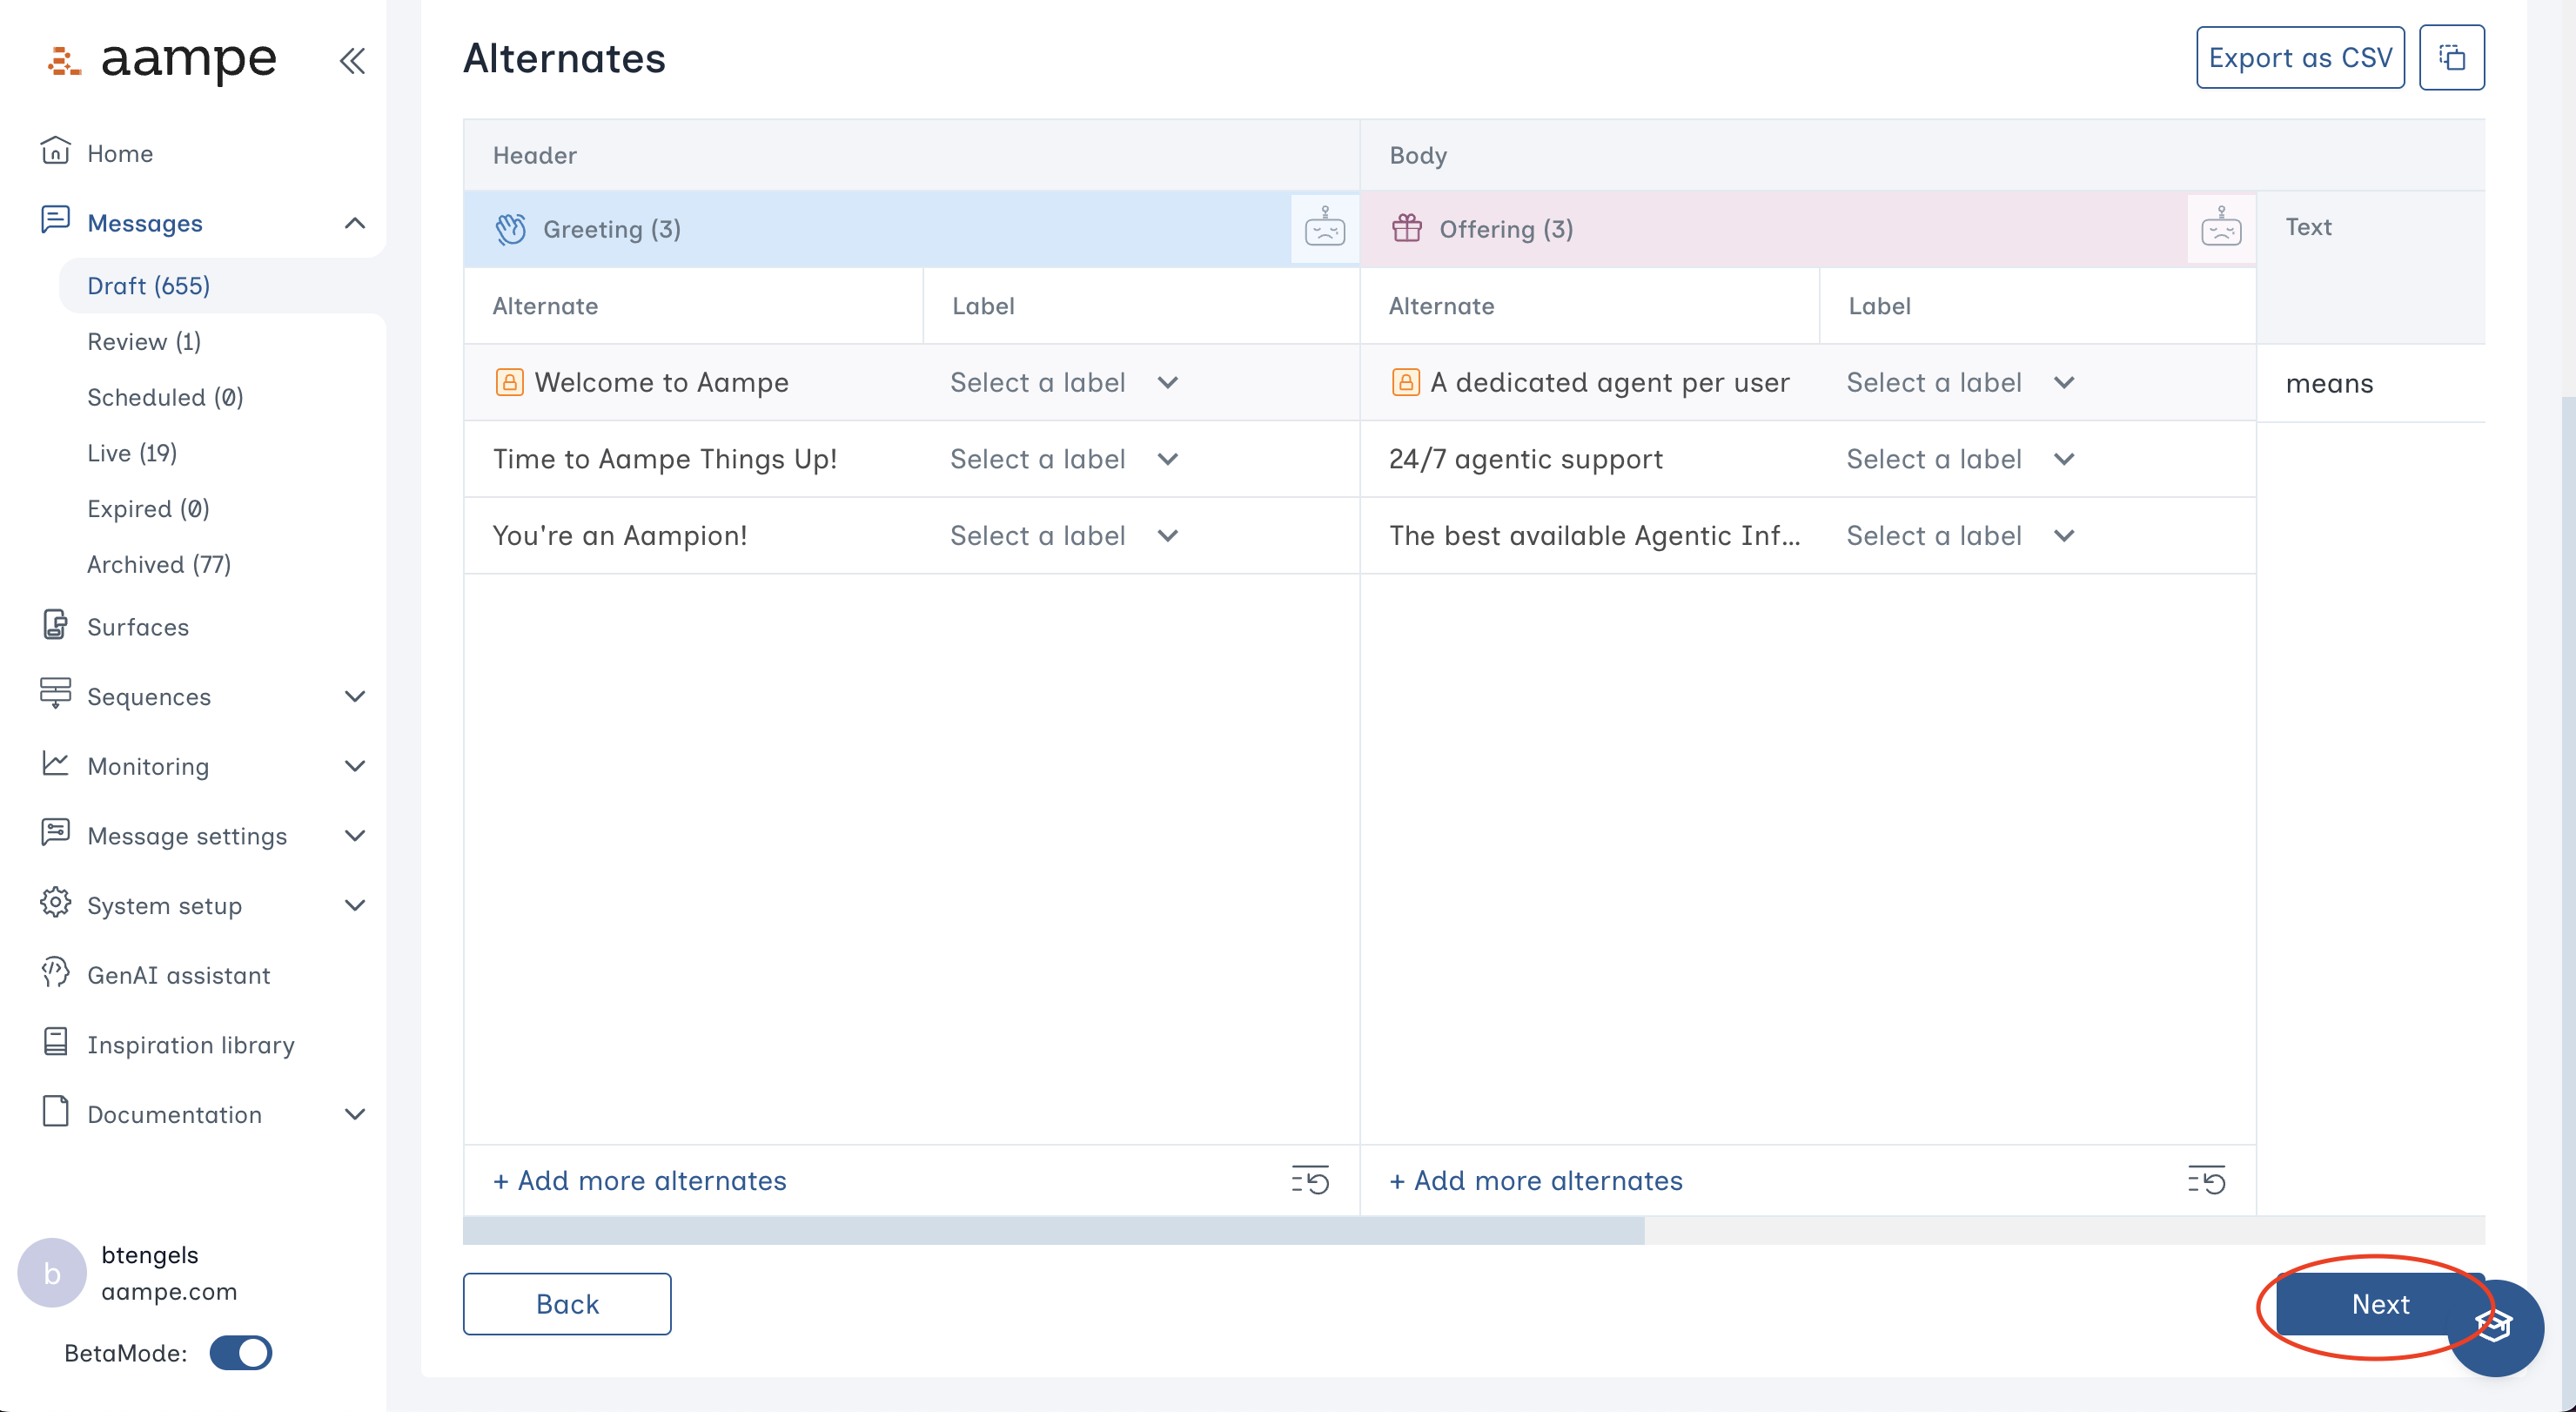
- add image alternates
- See here for a deep dive on message components
- See here for a guide on creating custom message components

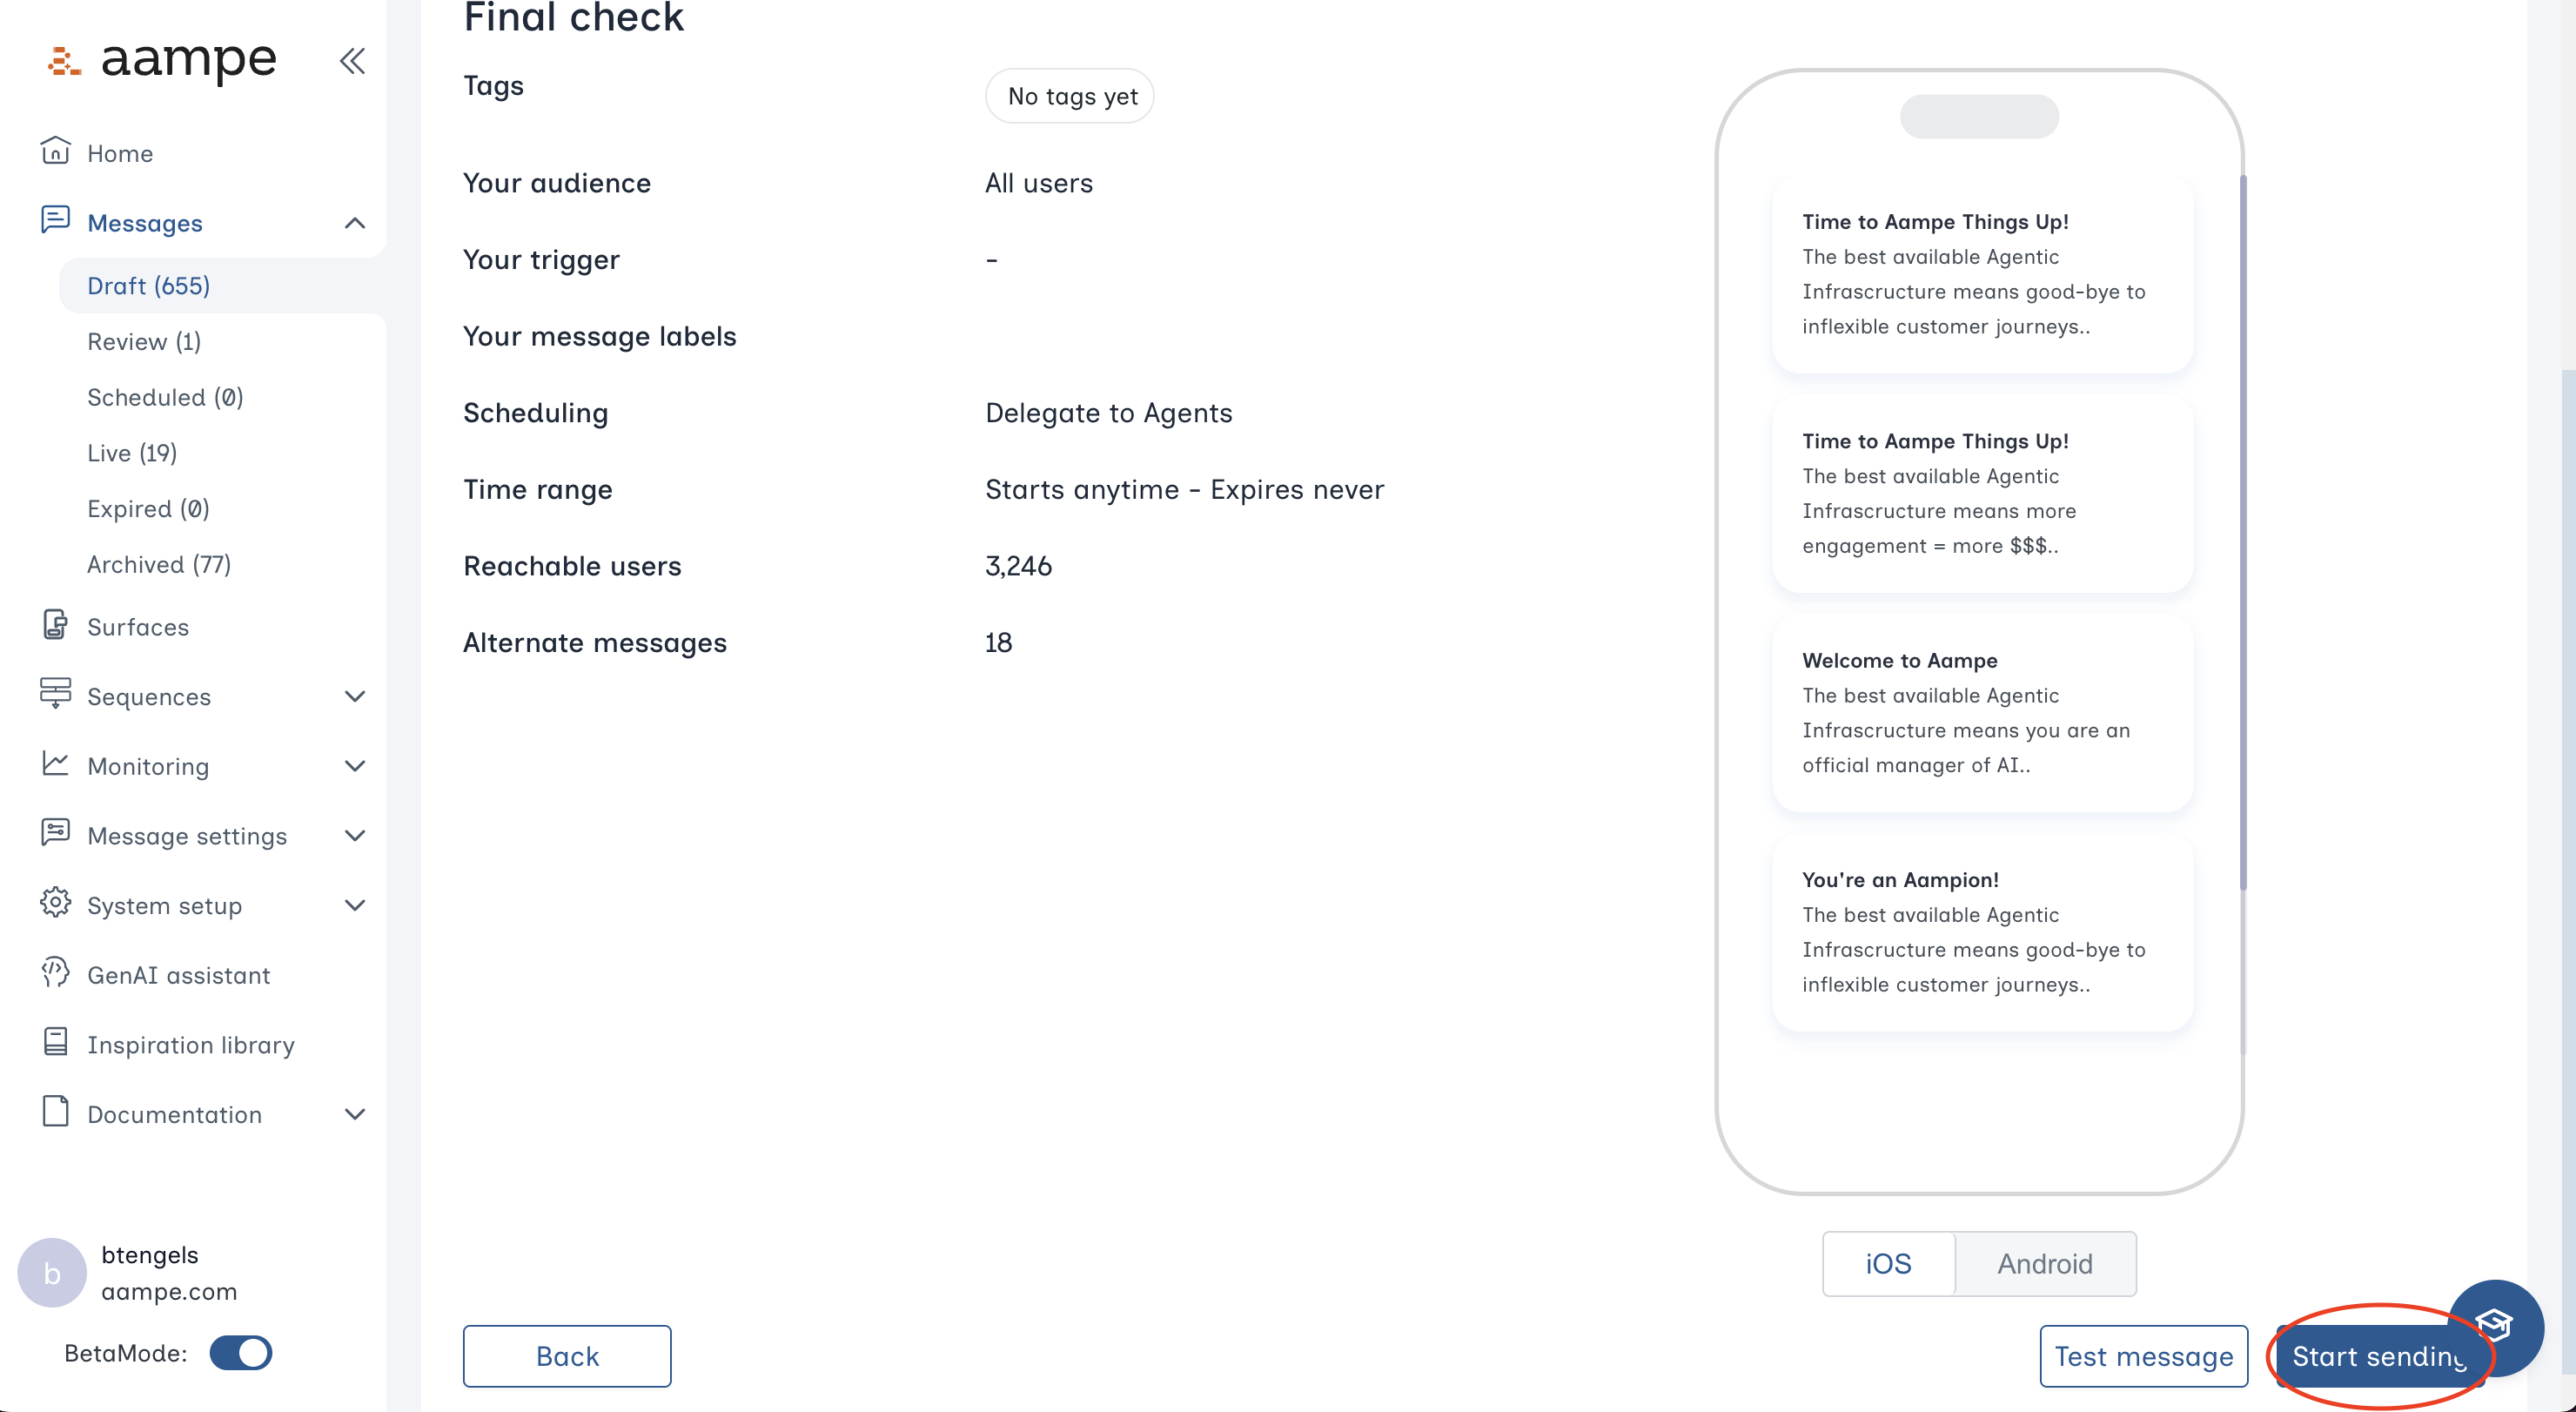
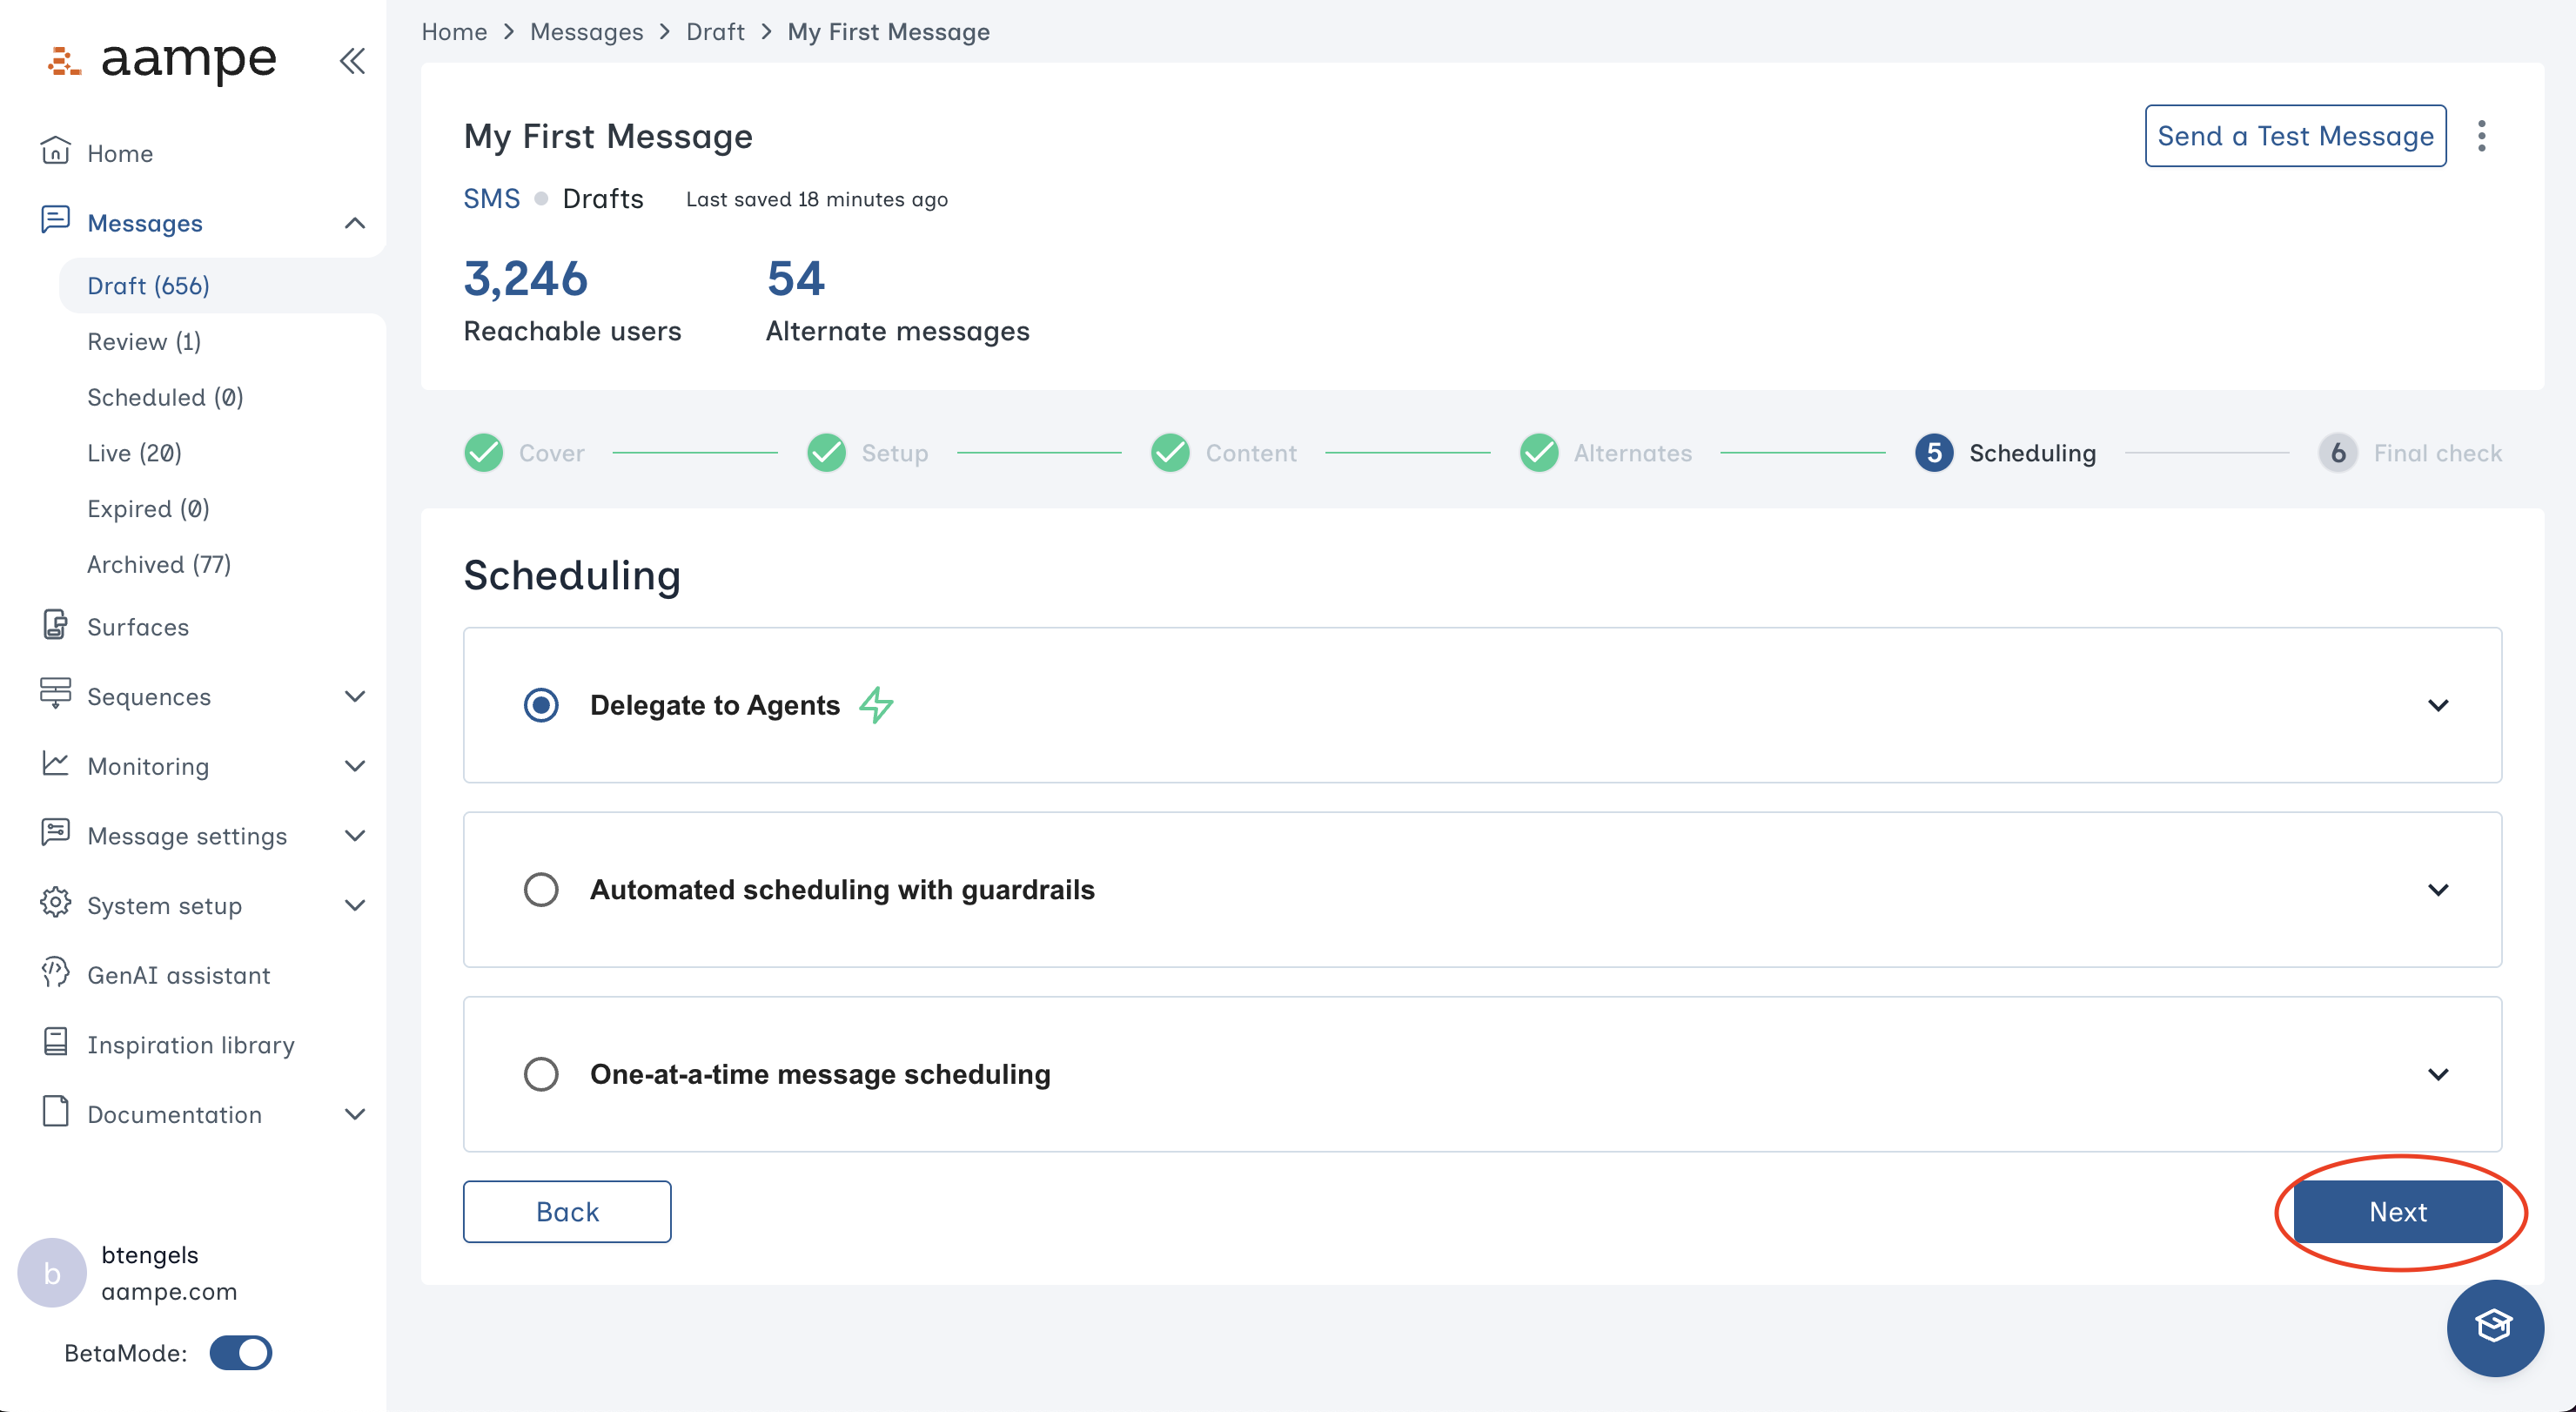
Step 3: Schedule and Review
Choose your preferred scheduling heuristic.- Delegate to agents: Your agents determine the ideal variant and time for each user.
- Automated scheduling with guardrails: Specify certain days of the week, specific calendar days, or hours of the day that agents can operate within.
- One-at-a-time message scheduling: Send to everyone at once, bypassing the agent.
- Is the audience correct?
- Should the message operate within a specific time range?
- Do the alternates read correctly?